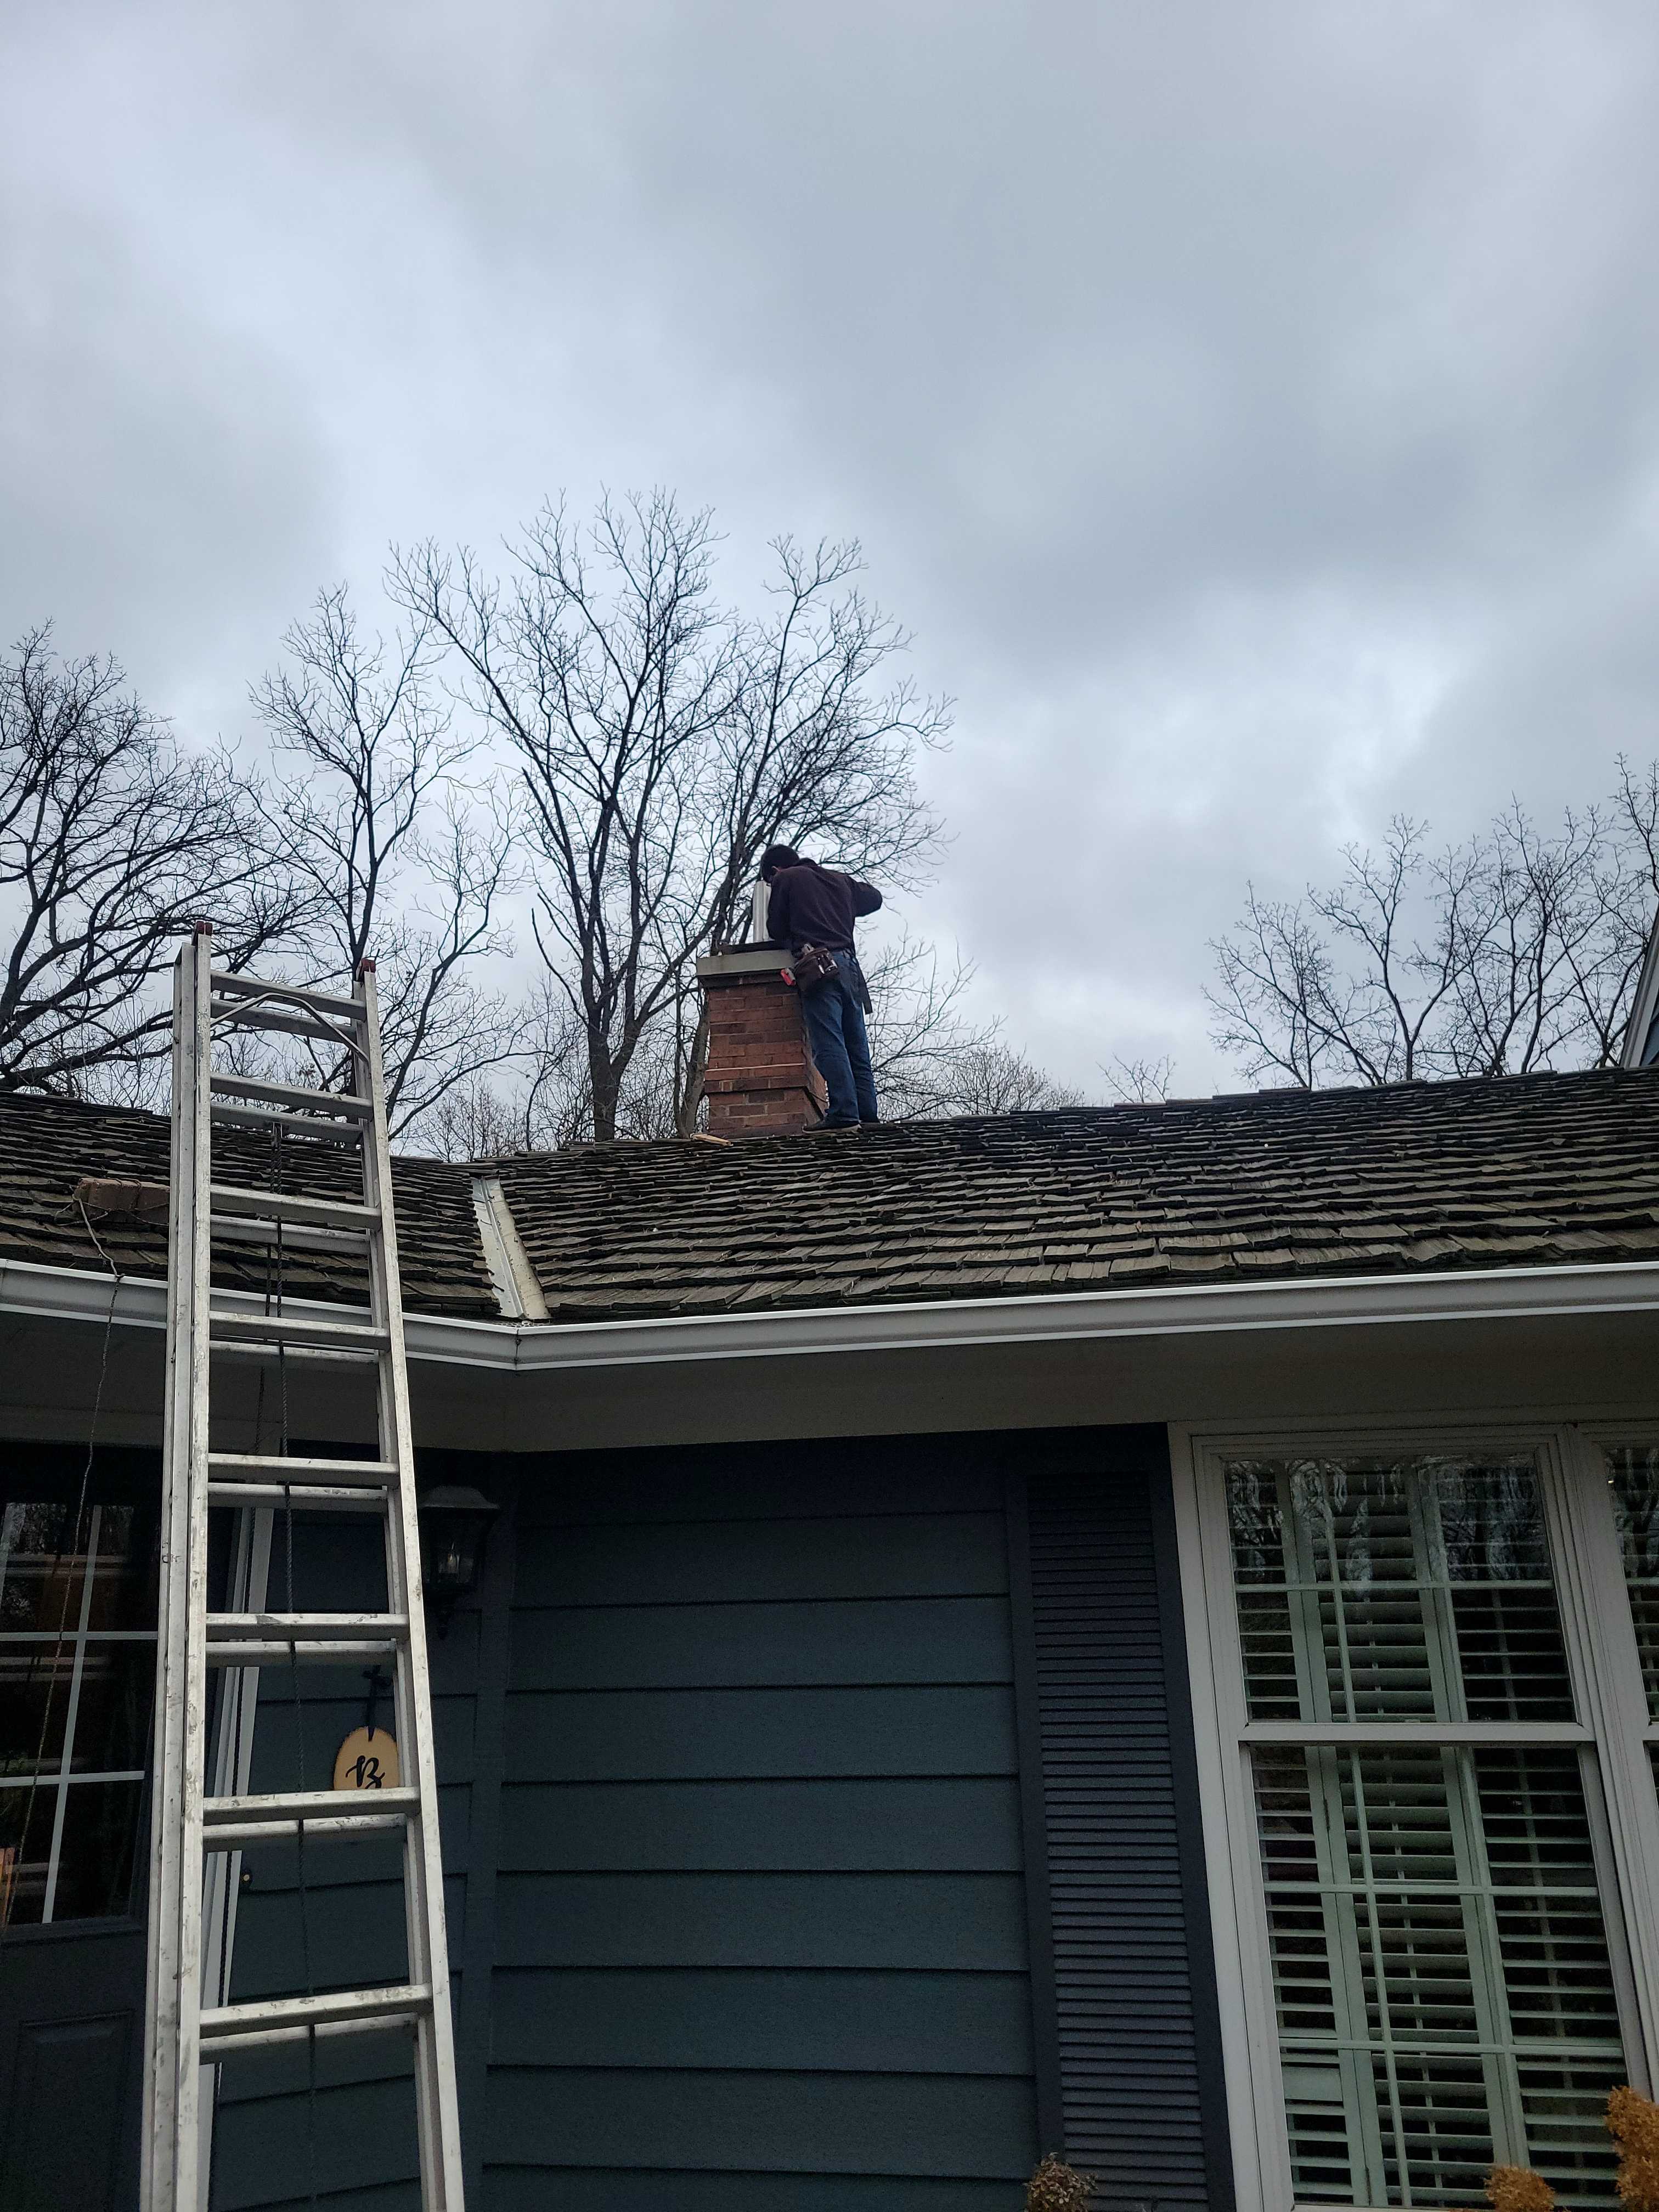
Our new house has two traditional wood burning fireplaces with masonry chimneys. We had them cleaned and inspected, which revealed significant damage to the mortar in the joints between the chimney tiles. Given the high cost to repair, the inefficiencies or traditional wood burning fireplaces, and that we have so much firewood on our property, I decided to install a wood burning insert instead.
Notes:
- A professional quoted us $10k for a unit and installation. We went to a local fireplace store and determined that the unit he was selling us is on the order of $5k, so that left the quote at about $5k for 6 hours of labor for a team of two guys (~$412 / hour).
- I did some research on the process and concluded that there are no special tools or skills required, and as such that rate they wanted to charge was a highway robbery. Decided to DIY.
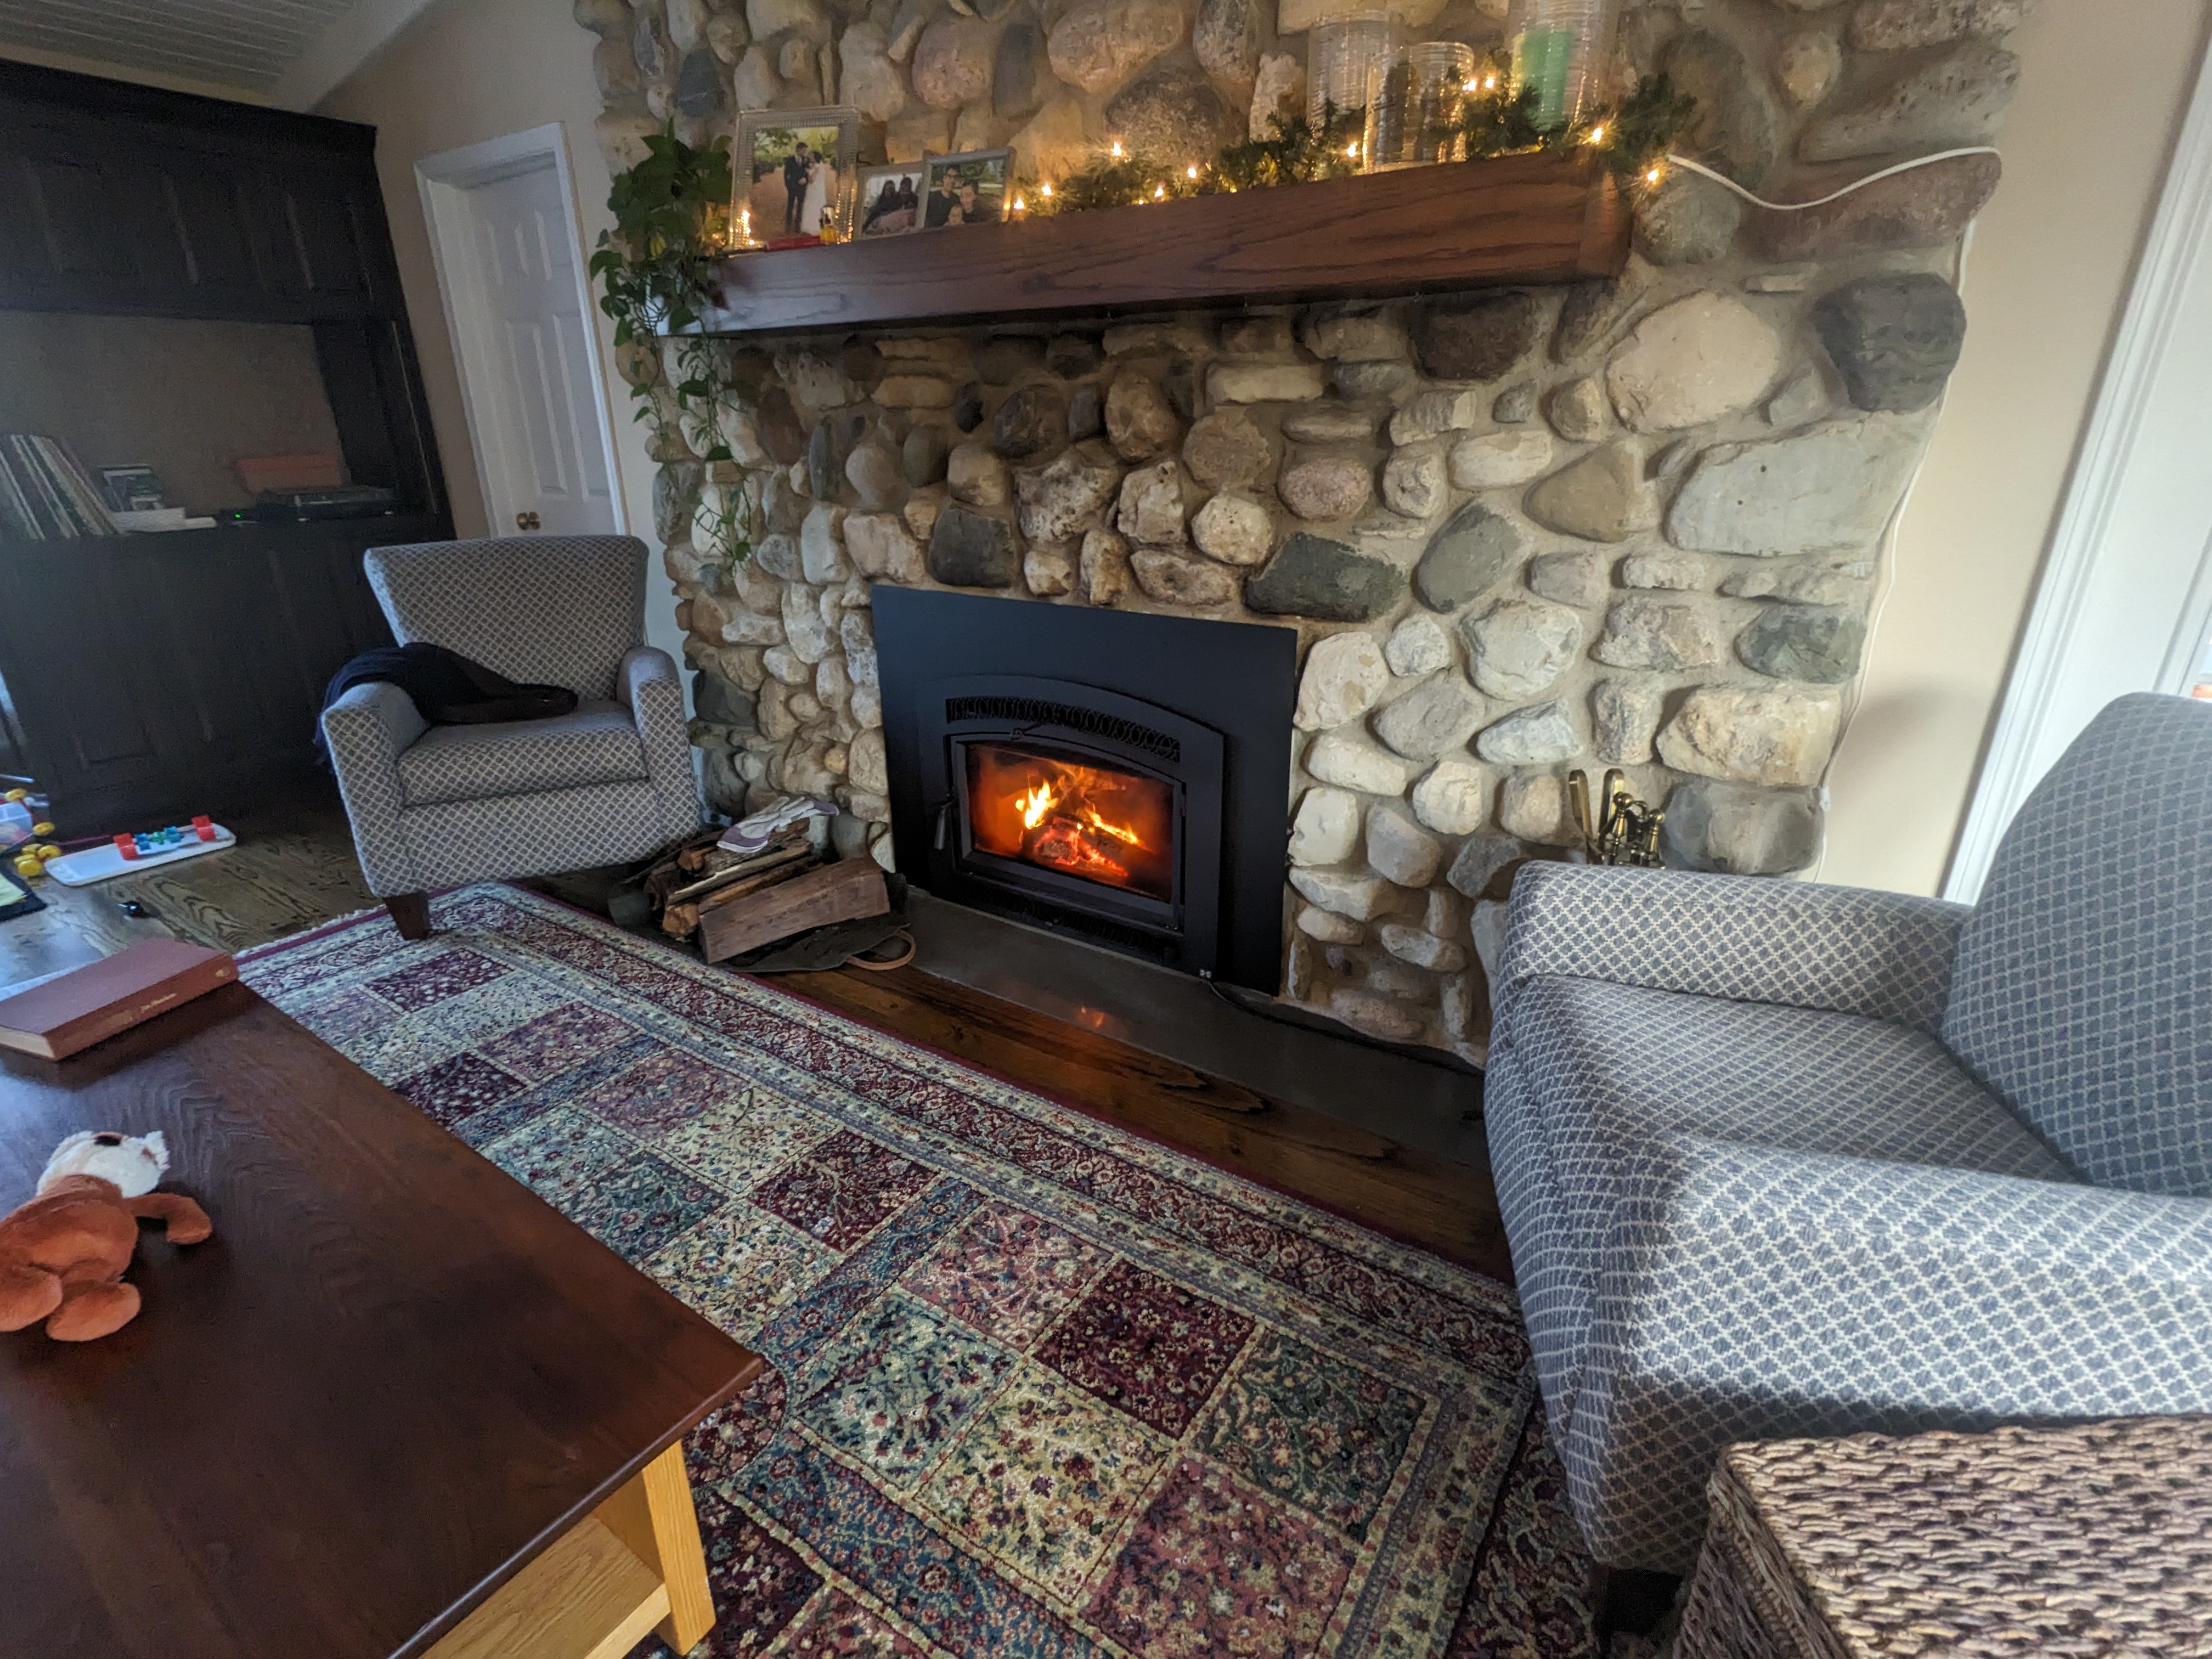
- Went with a “Lopi Large Flush Wood NexGen-Fyre with Classic Arch” unit. Also purchased: 12’ of rigid stainless steel chimney liner (only ended up needing 8’), 9’ flexible stainless steel liner (only ended up needing 6.5’), hardware for topping off the top of the chimney liner, an insulation kit for the chimney liner, fireplace cement, high temp silicon, and fiberglass insulation bats.
- Installed over the course of two days.
- The first day was prep:
- Removed the original fireplace face frame.
- Installed the insulation on the chimney liner.
- Cut the face frame to size using an angle grinder, re-paint the edge with black stove paint.
- The second day:
- Rented a furniture dolley from home depot.
- Picked up an extra section of flexible steel chimney liner because I determined my original 4’ wasn’t quite long enough.
- Moved the 500+ lb unit into the house, including up two stairs. This turned out to be pretty reasonable with the dolley.
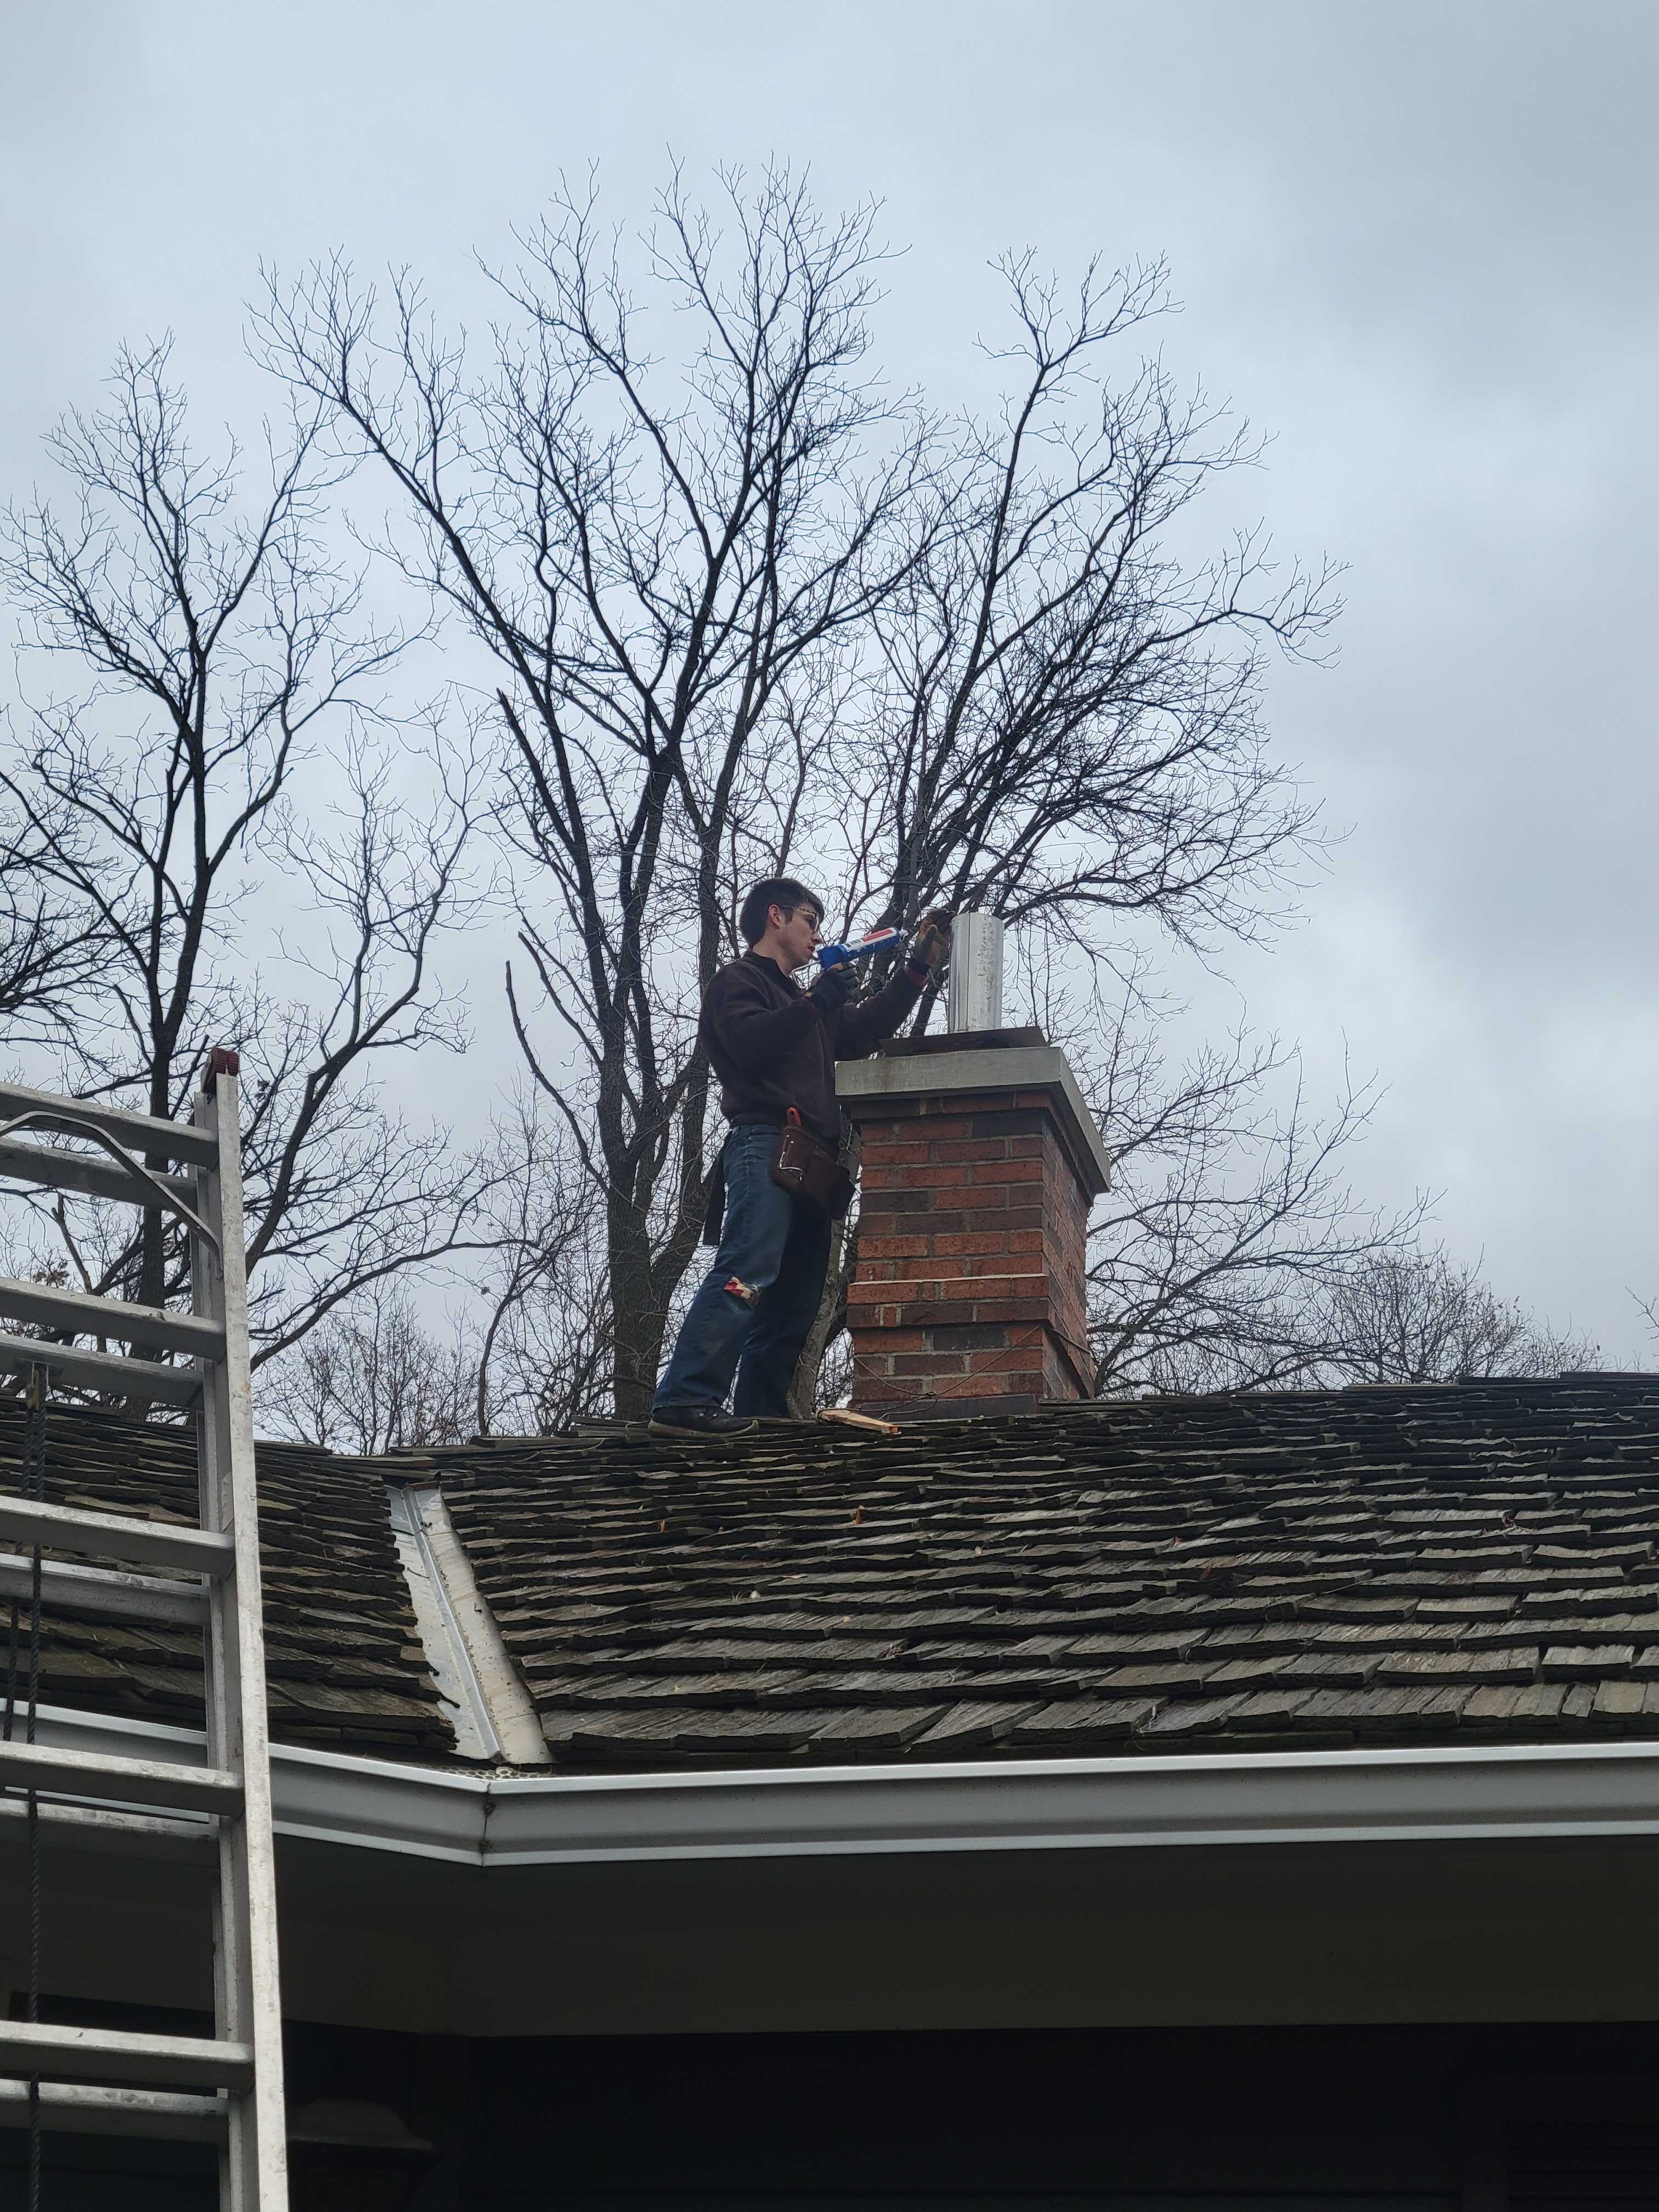
- Jumped up on the roof, and lowered the chimney liner into place, adding rivets along the way to lock the rigid sections together.
- Working from the top and bottom, squeezed the flexible chimney liner section through the flue opening.
- Attached the flexible chimney liner to the unit, and sealed the connection with fireplace cement.
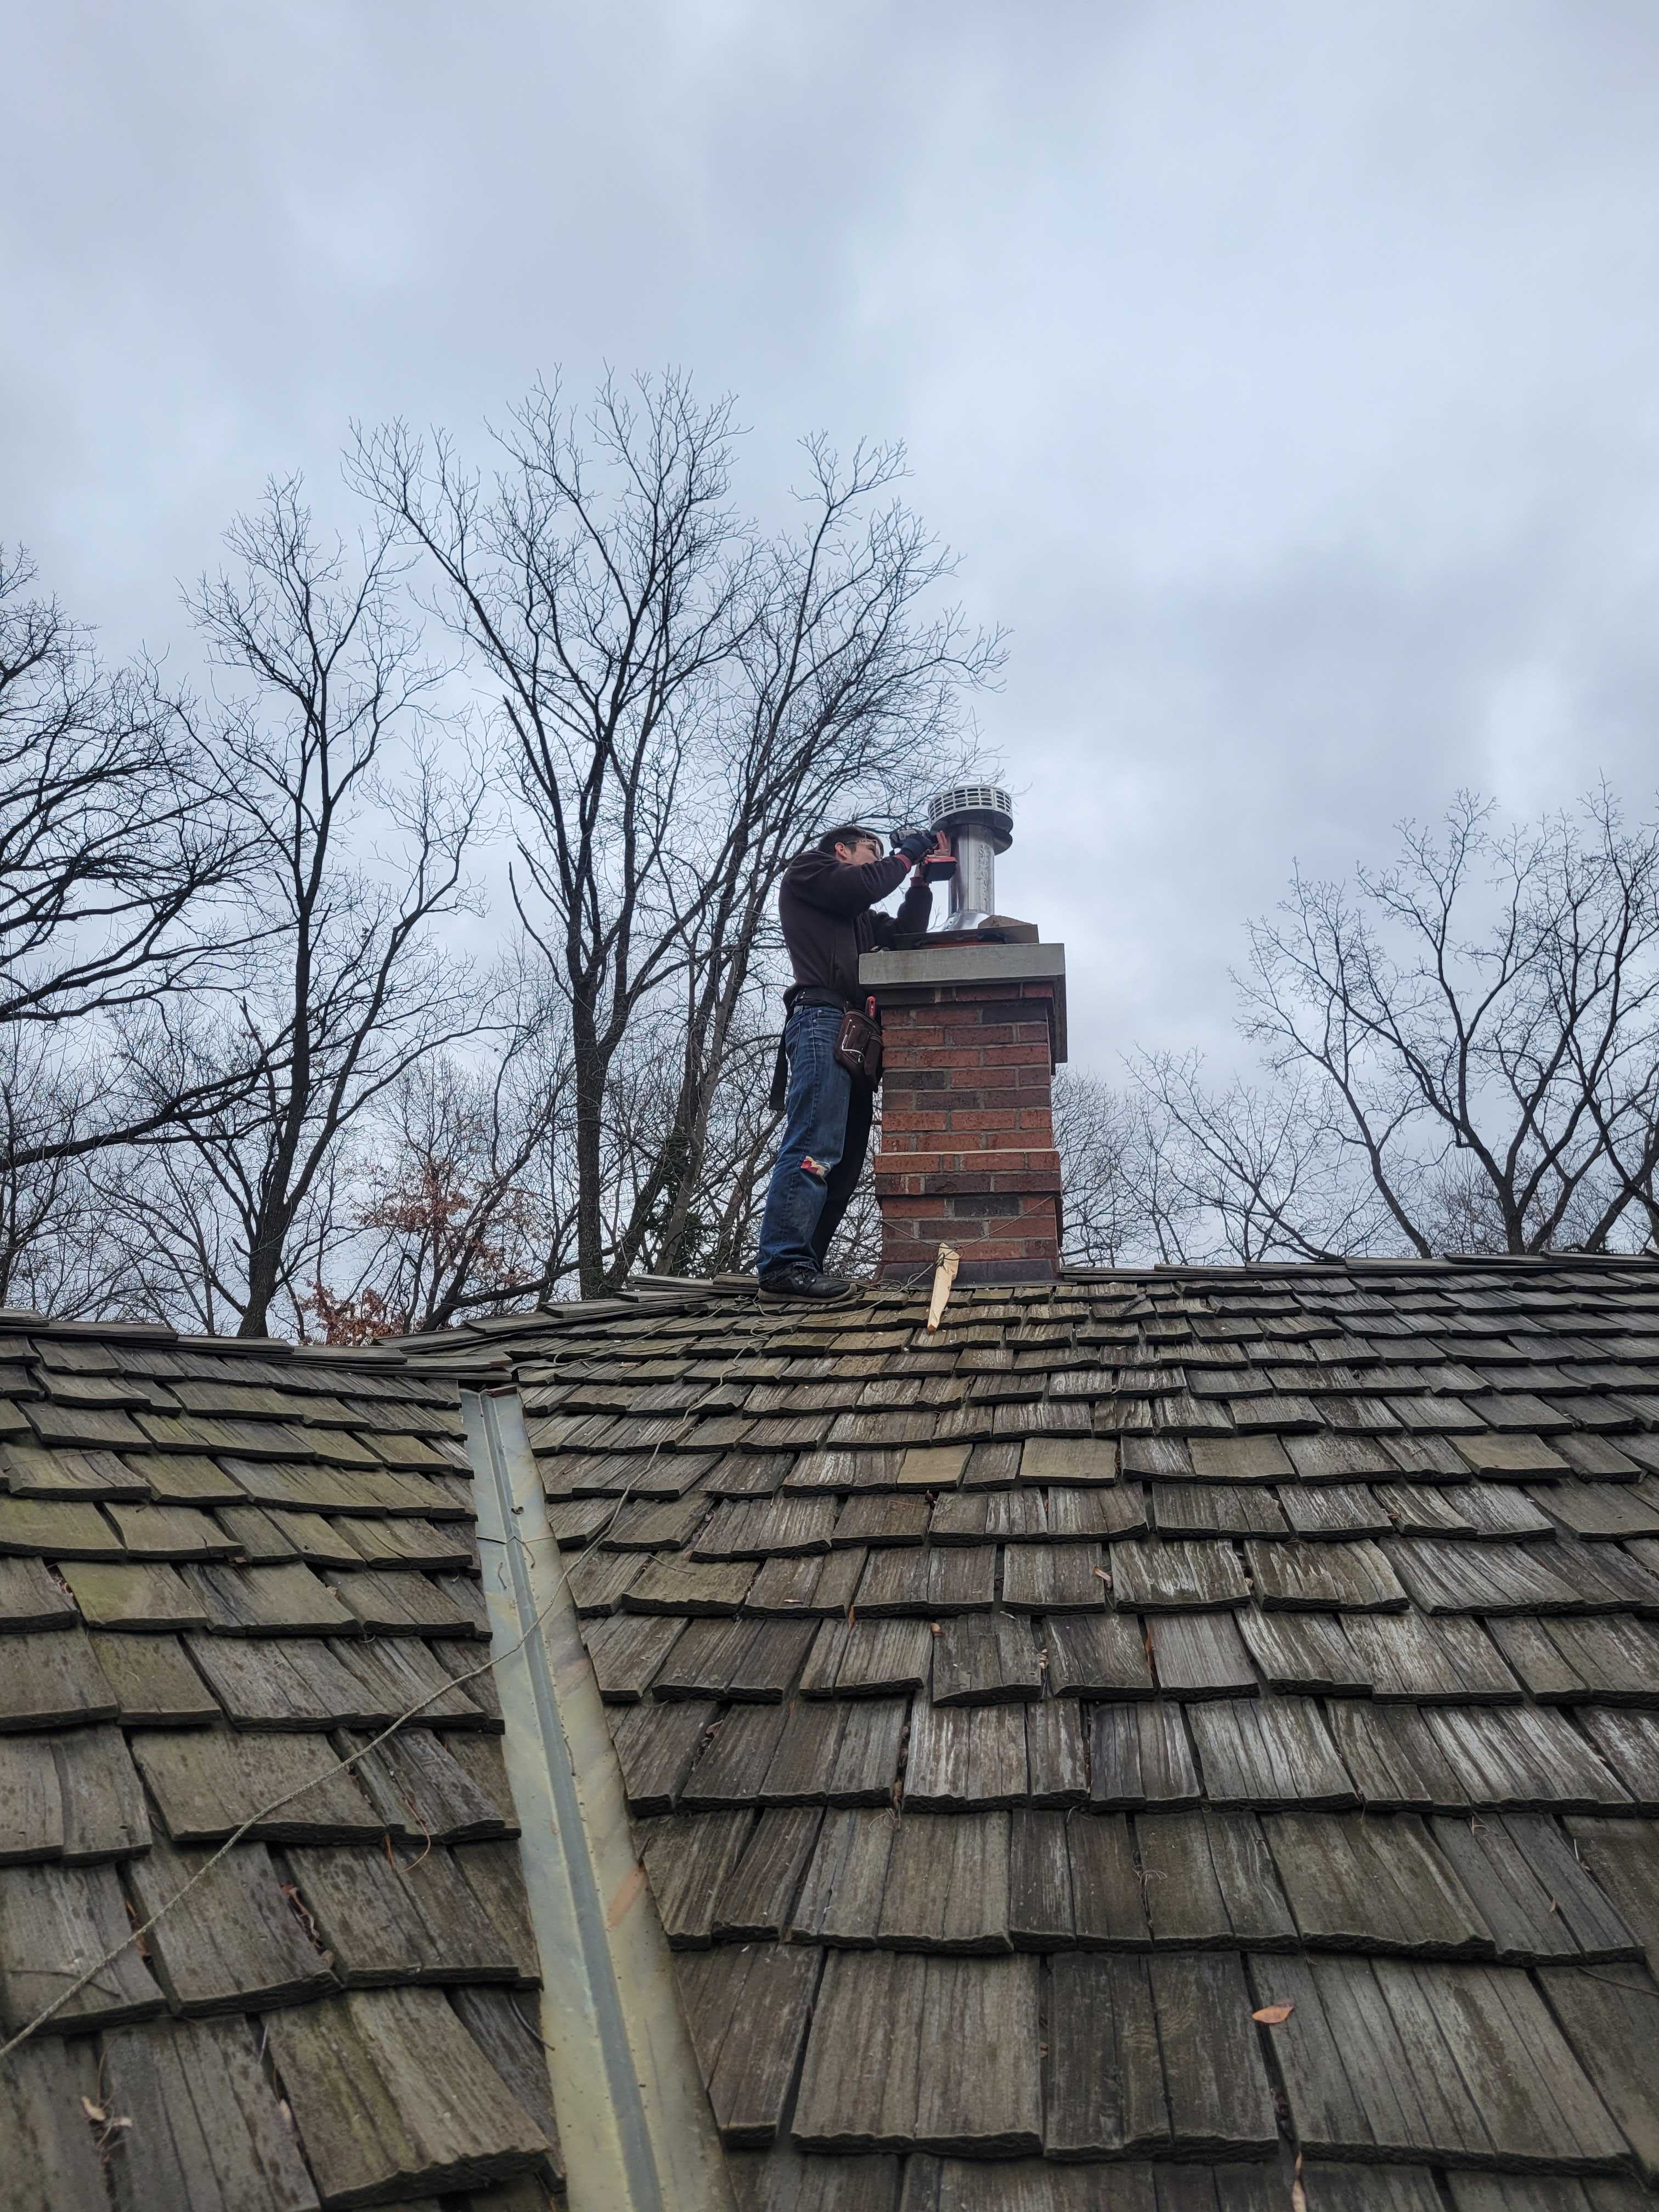
- Install all the hardware at the top of the chimney liner.
- Install fiberglass insulation in the flue opening around the chimney liner.
- Re-cut the face frame because I realized I measured assuming it would be sitting on the floor, when it turned out to sit about 1” above the floor.
- Install the face frame and the facade.
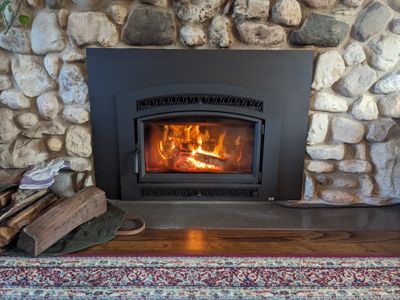
- Light the first fire for a little party!
- After a few days, we were having trouble with the blower. It has a thermostat in the circuit which requires the unit be at a certain temperature before allowing the blower to turn on. Was only able to get the blower to turn on once over the course of 3 very hot fires. Decided to remove the thermostat from the circuit - the feature doesn’t appeal to me.
- A month in, the fireplace is a freaking power house. It can be a bit tricky to start: there’s a learning curve with the prep of kindling, and starting the draft can be problematic (have been using a candle and / or a burning piece of paper to break through cold air bubble that forms).
Gallery