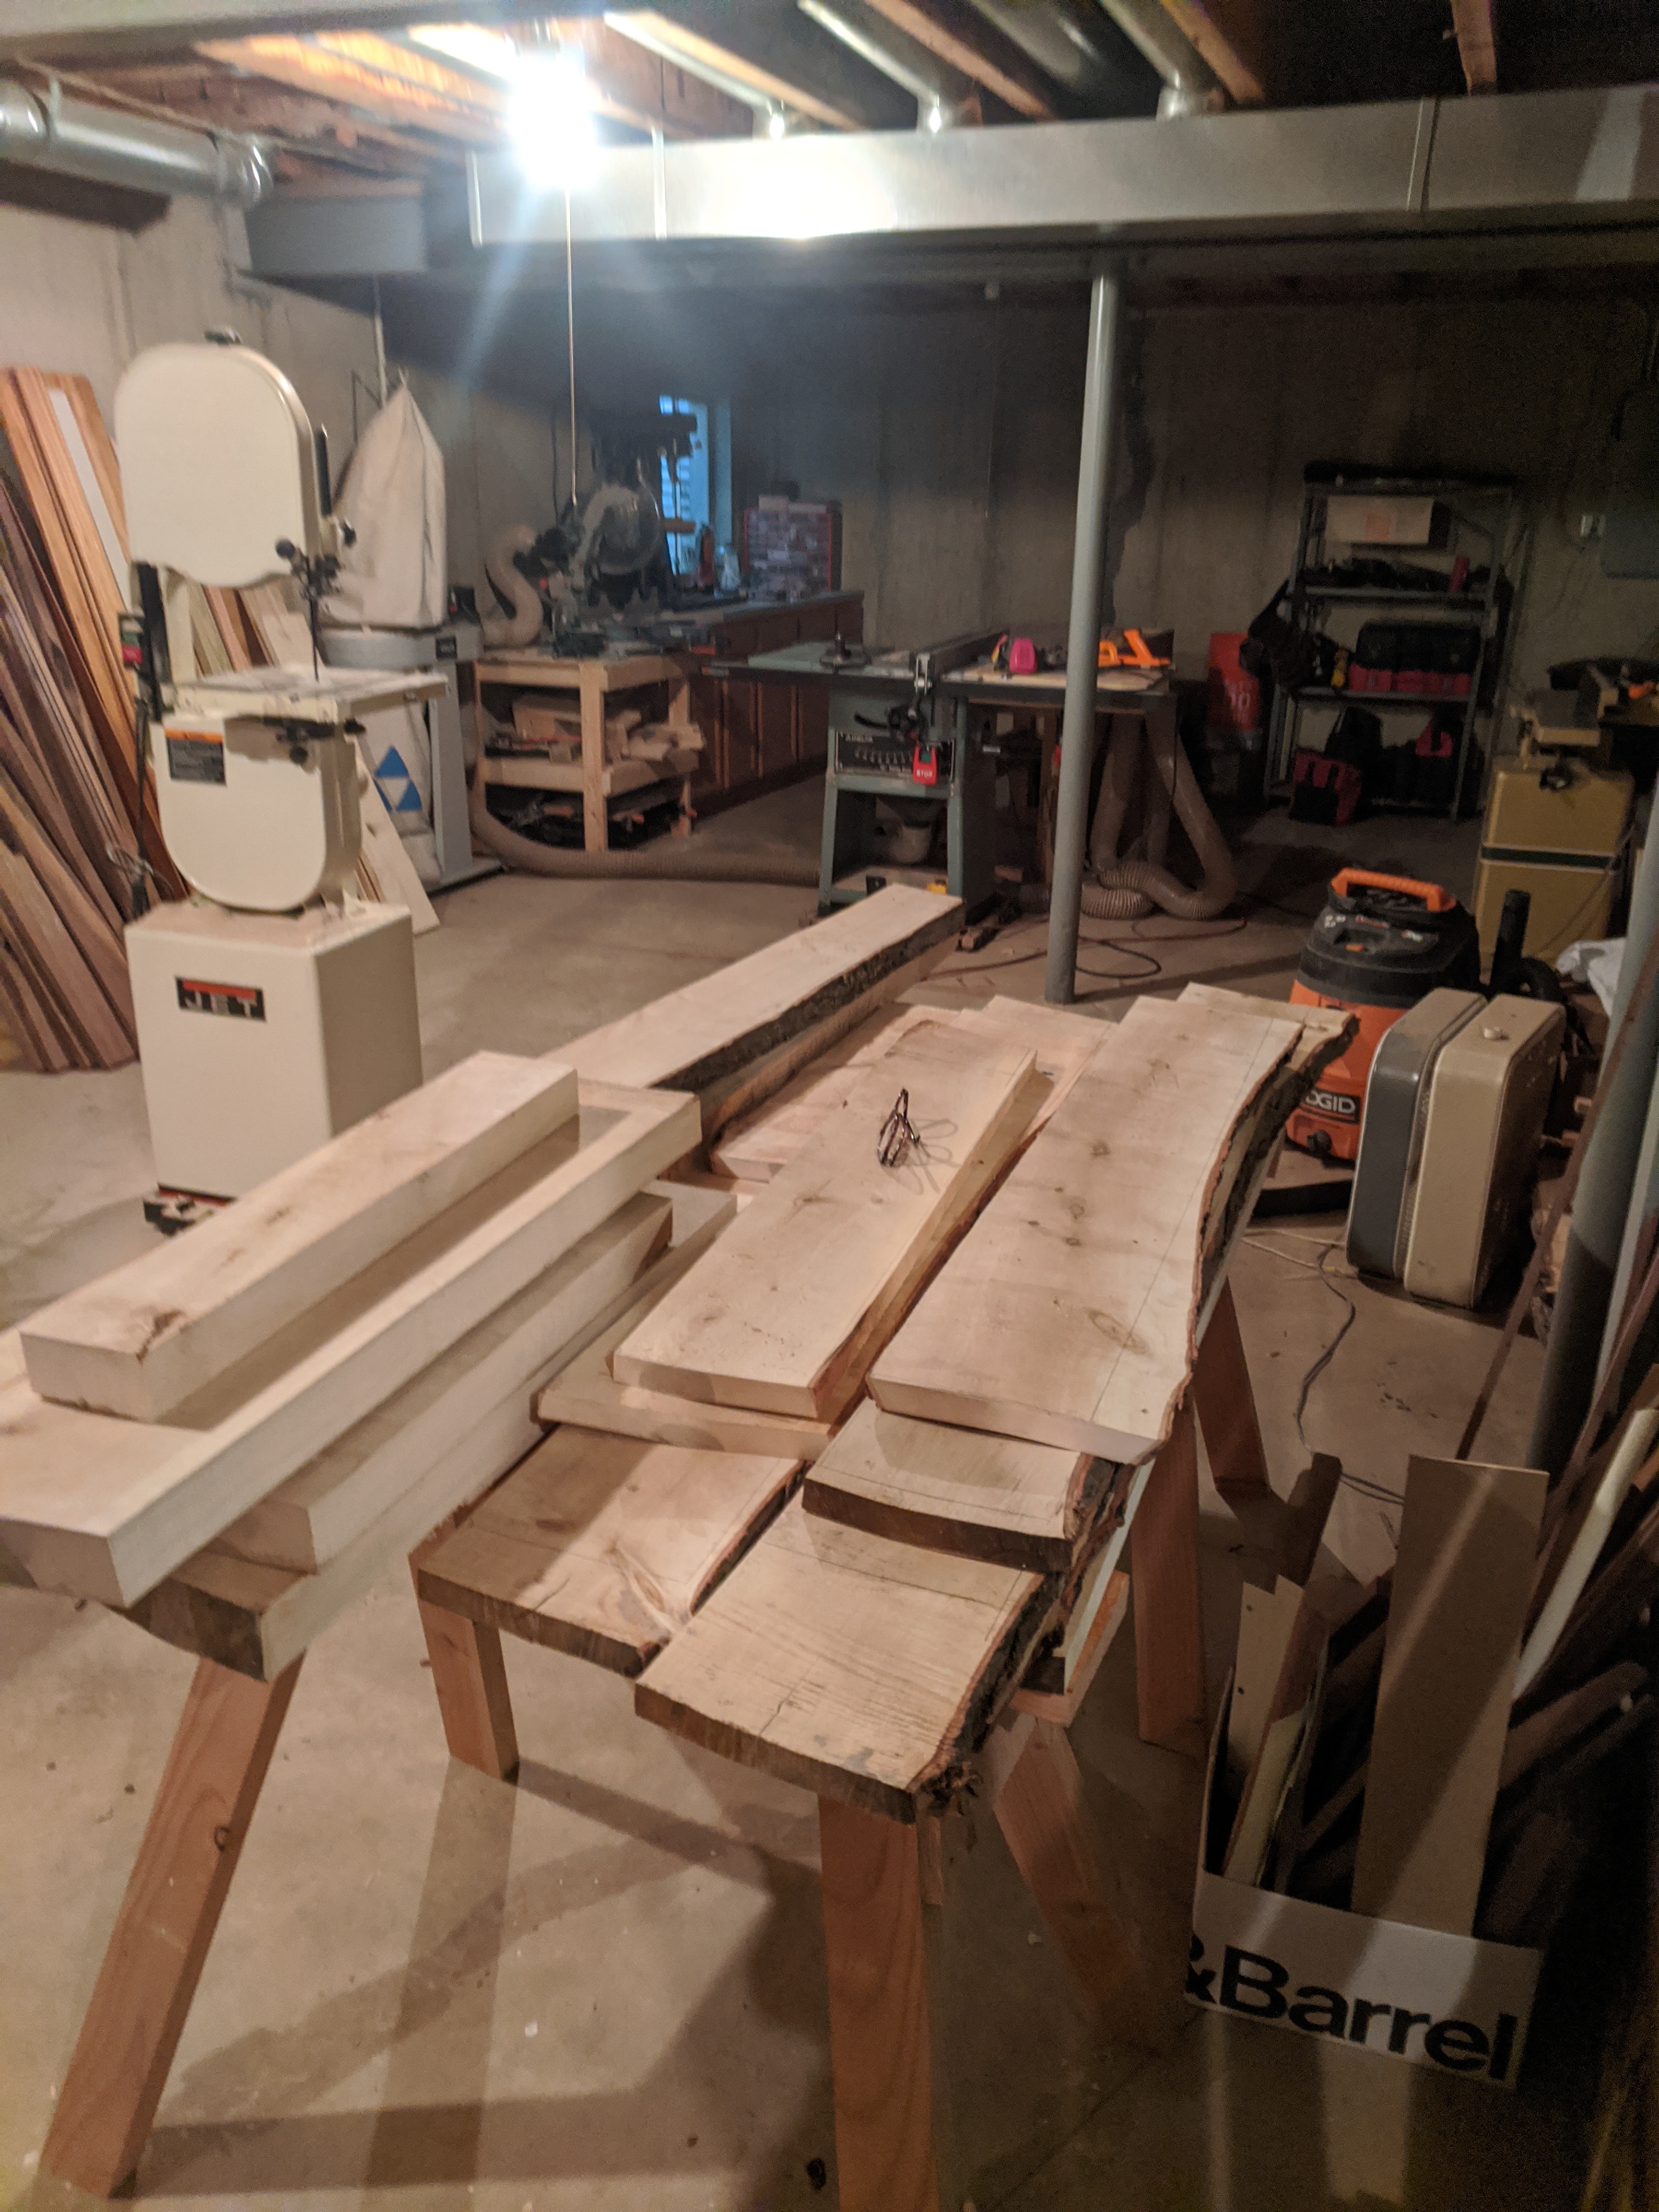
My wife and I are expecting our first child, and I decided that I wanted to build the crib myself. A few years back a bad storm rolled through and knocked down a few sizable limbs from a soft maple tree in my mother-in-law’s yard. My friend Grant helped me get the logs milled into boards, and the wood has been sitting in my basement drying ever since. I constructed the crib from this wood, and so now our baby will sleep in a crib made from a tree that my wife grew up alongside. What a great connection!
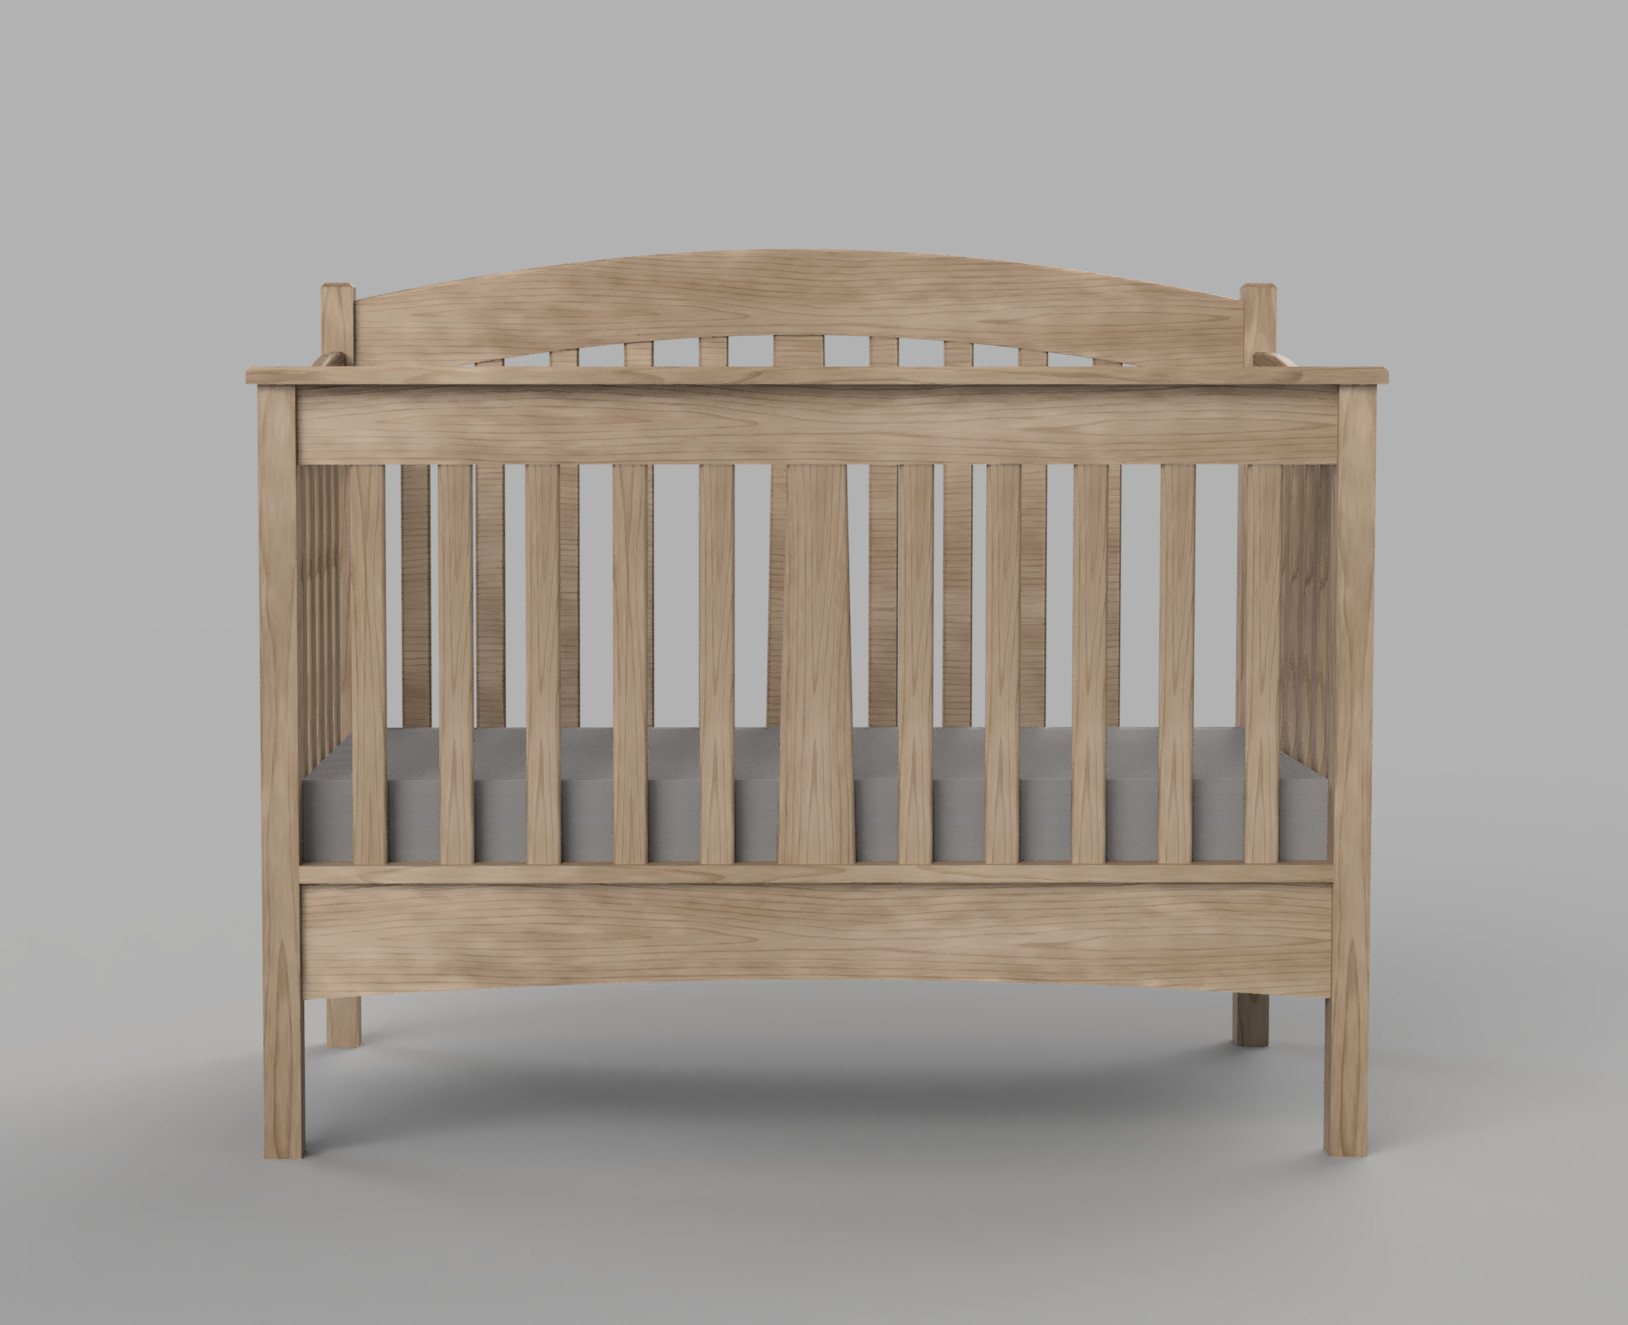
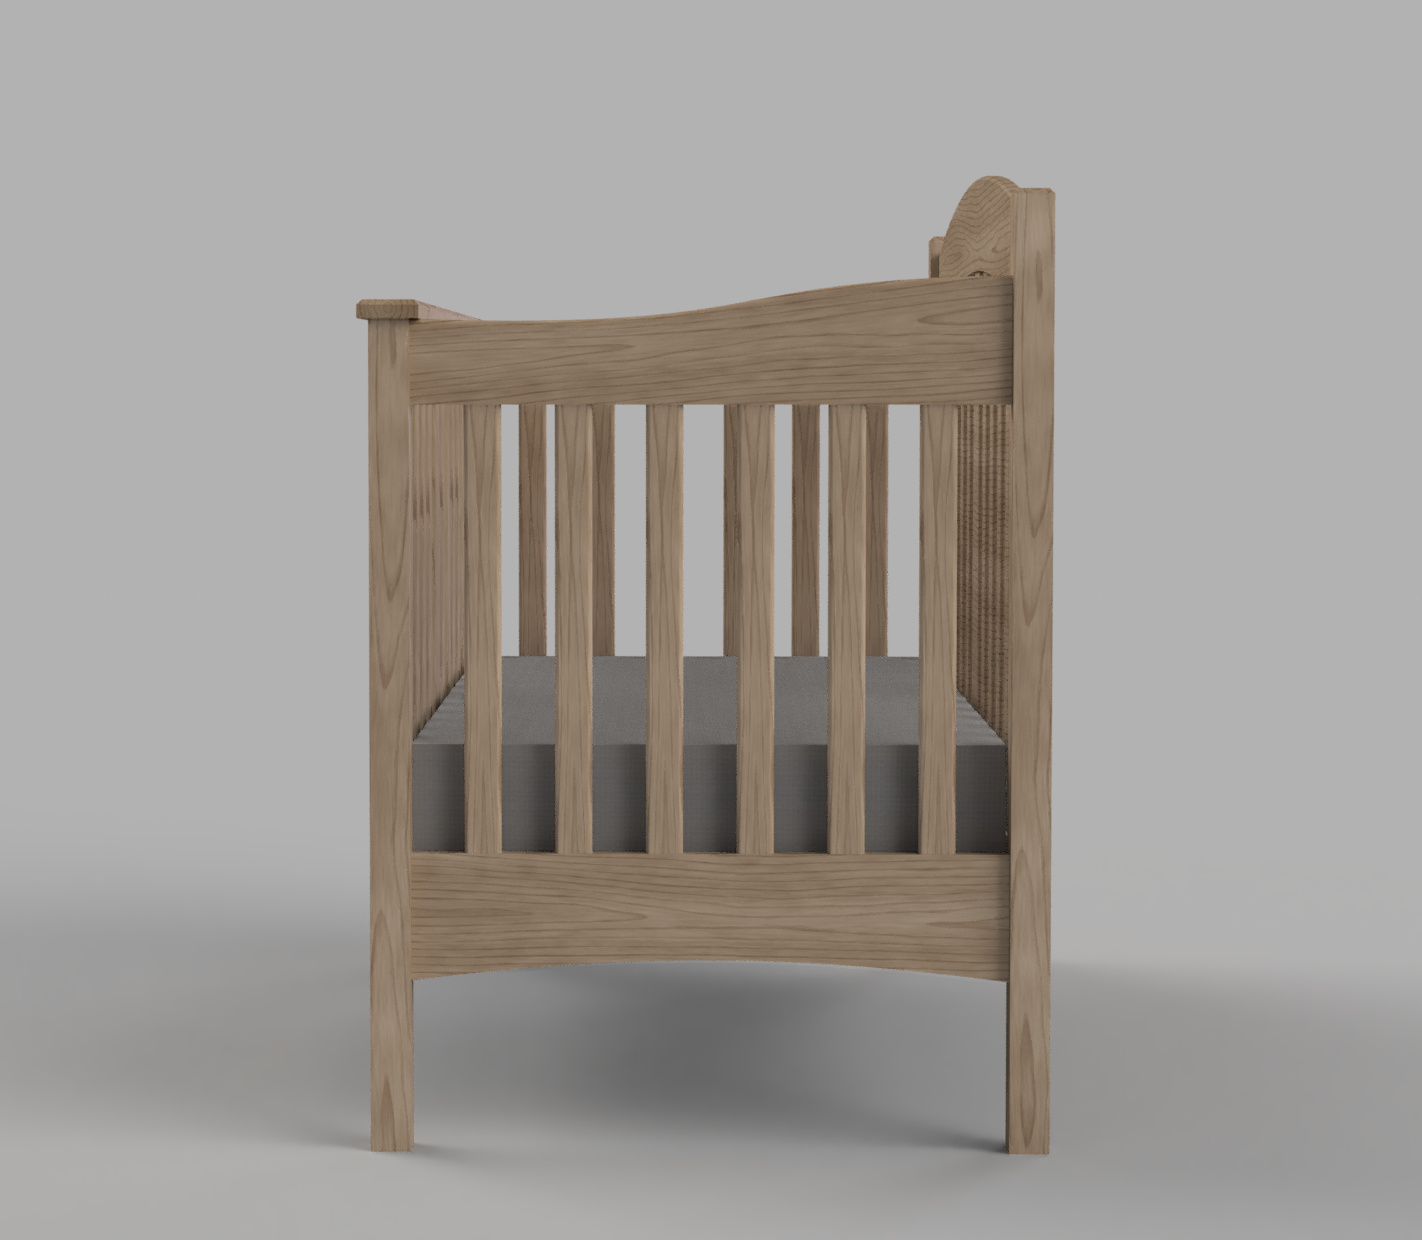
Back in college I studied Civil Engineering and took a class on 3D modeling with CAD software. I’ve been wanting to pick those skills back up to help augment my woodworking. I took a free online class on Autodesk Fusion 360 to refresh my skills, and used this crib project as a tool to test out my design skills and start to form a workflow using Fusion 360. Here’s one of the renders of the design I came up with:

Here’s a drawing a put together with several views and measurements: Crib_Drawing.pdf
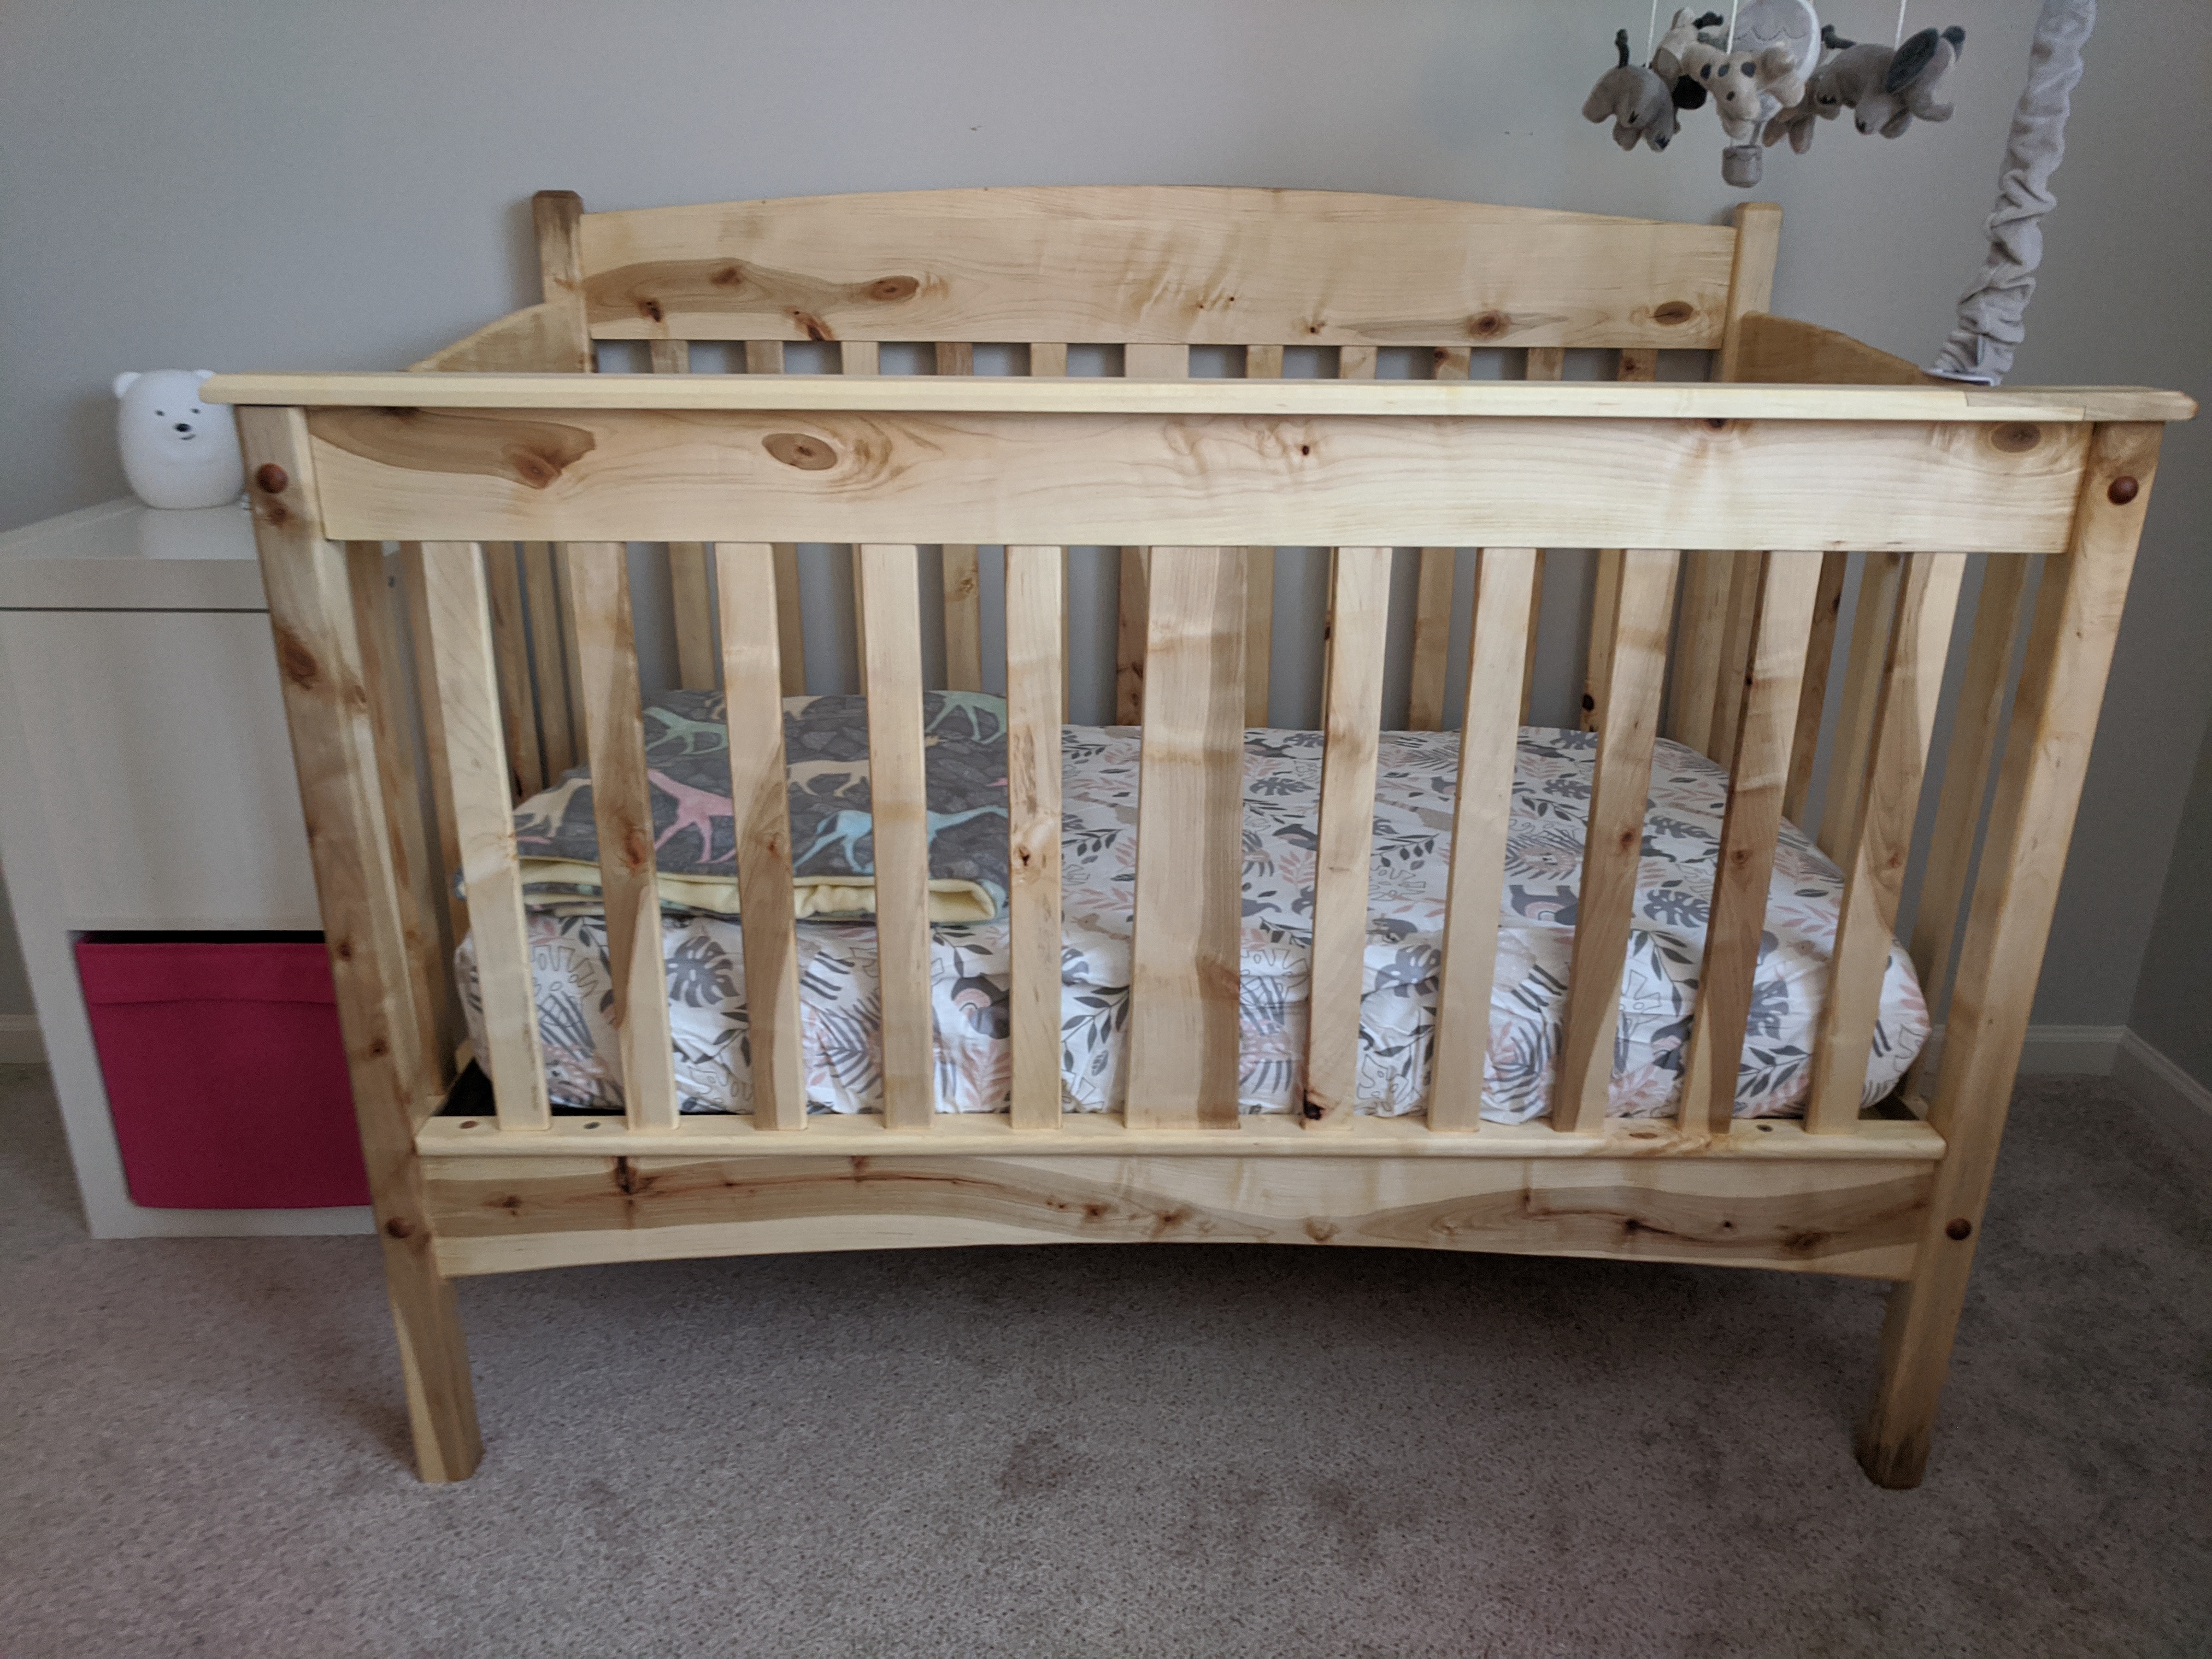
I ended up making a few design tweaks when building the real thing: the top back rail is flat on the bottom instead of arched, and I believe I made some subtle tweaks to the width of the rails. Overall though, the end result looks very similar to the render, which has helped me gain trust in Fusion 360 as a means producing realistic mockups of a design’s visuals and proportions.
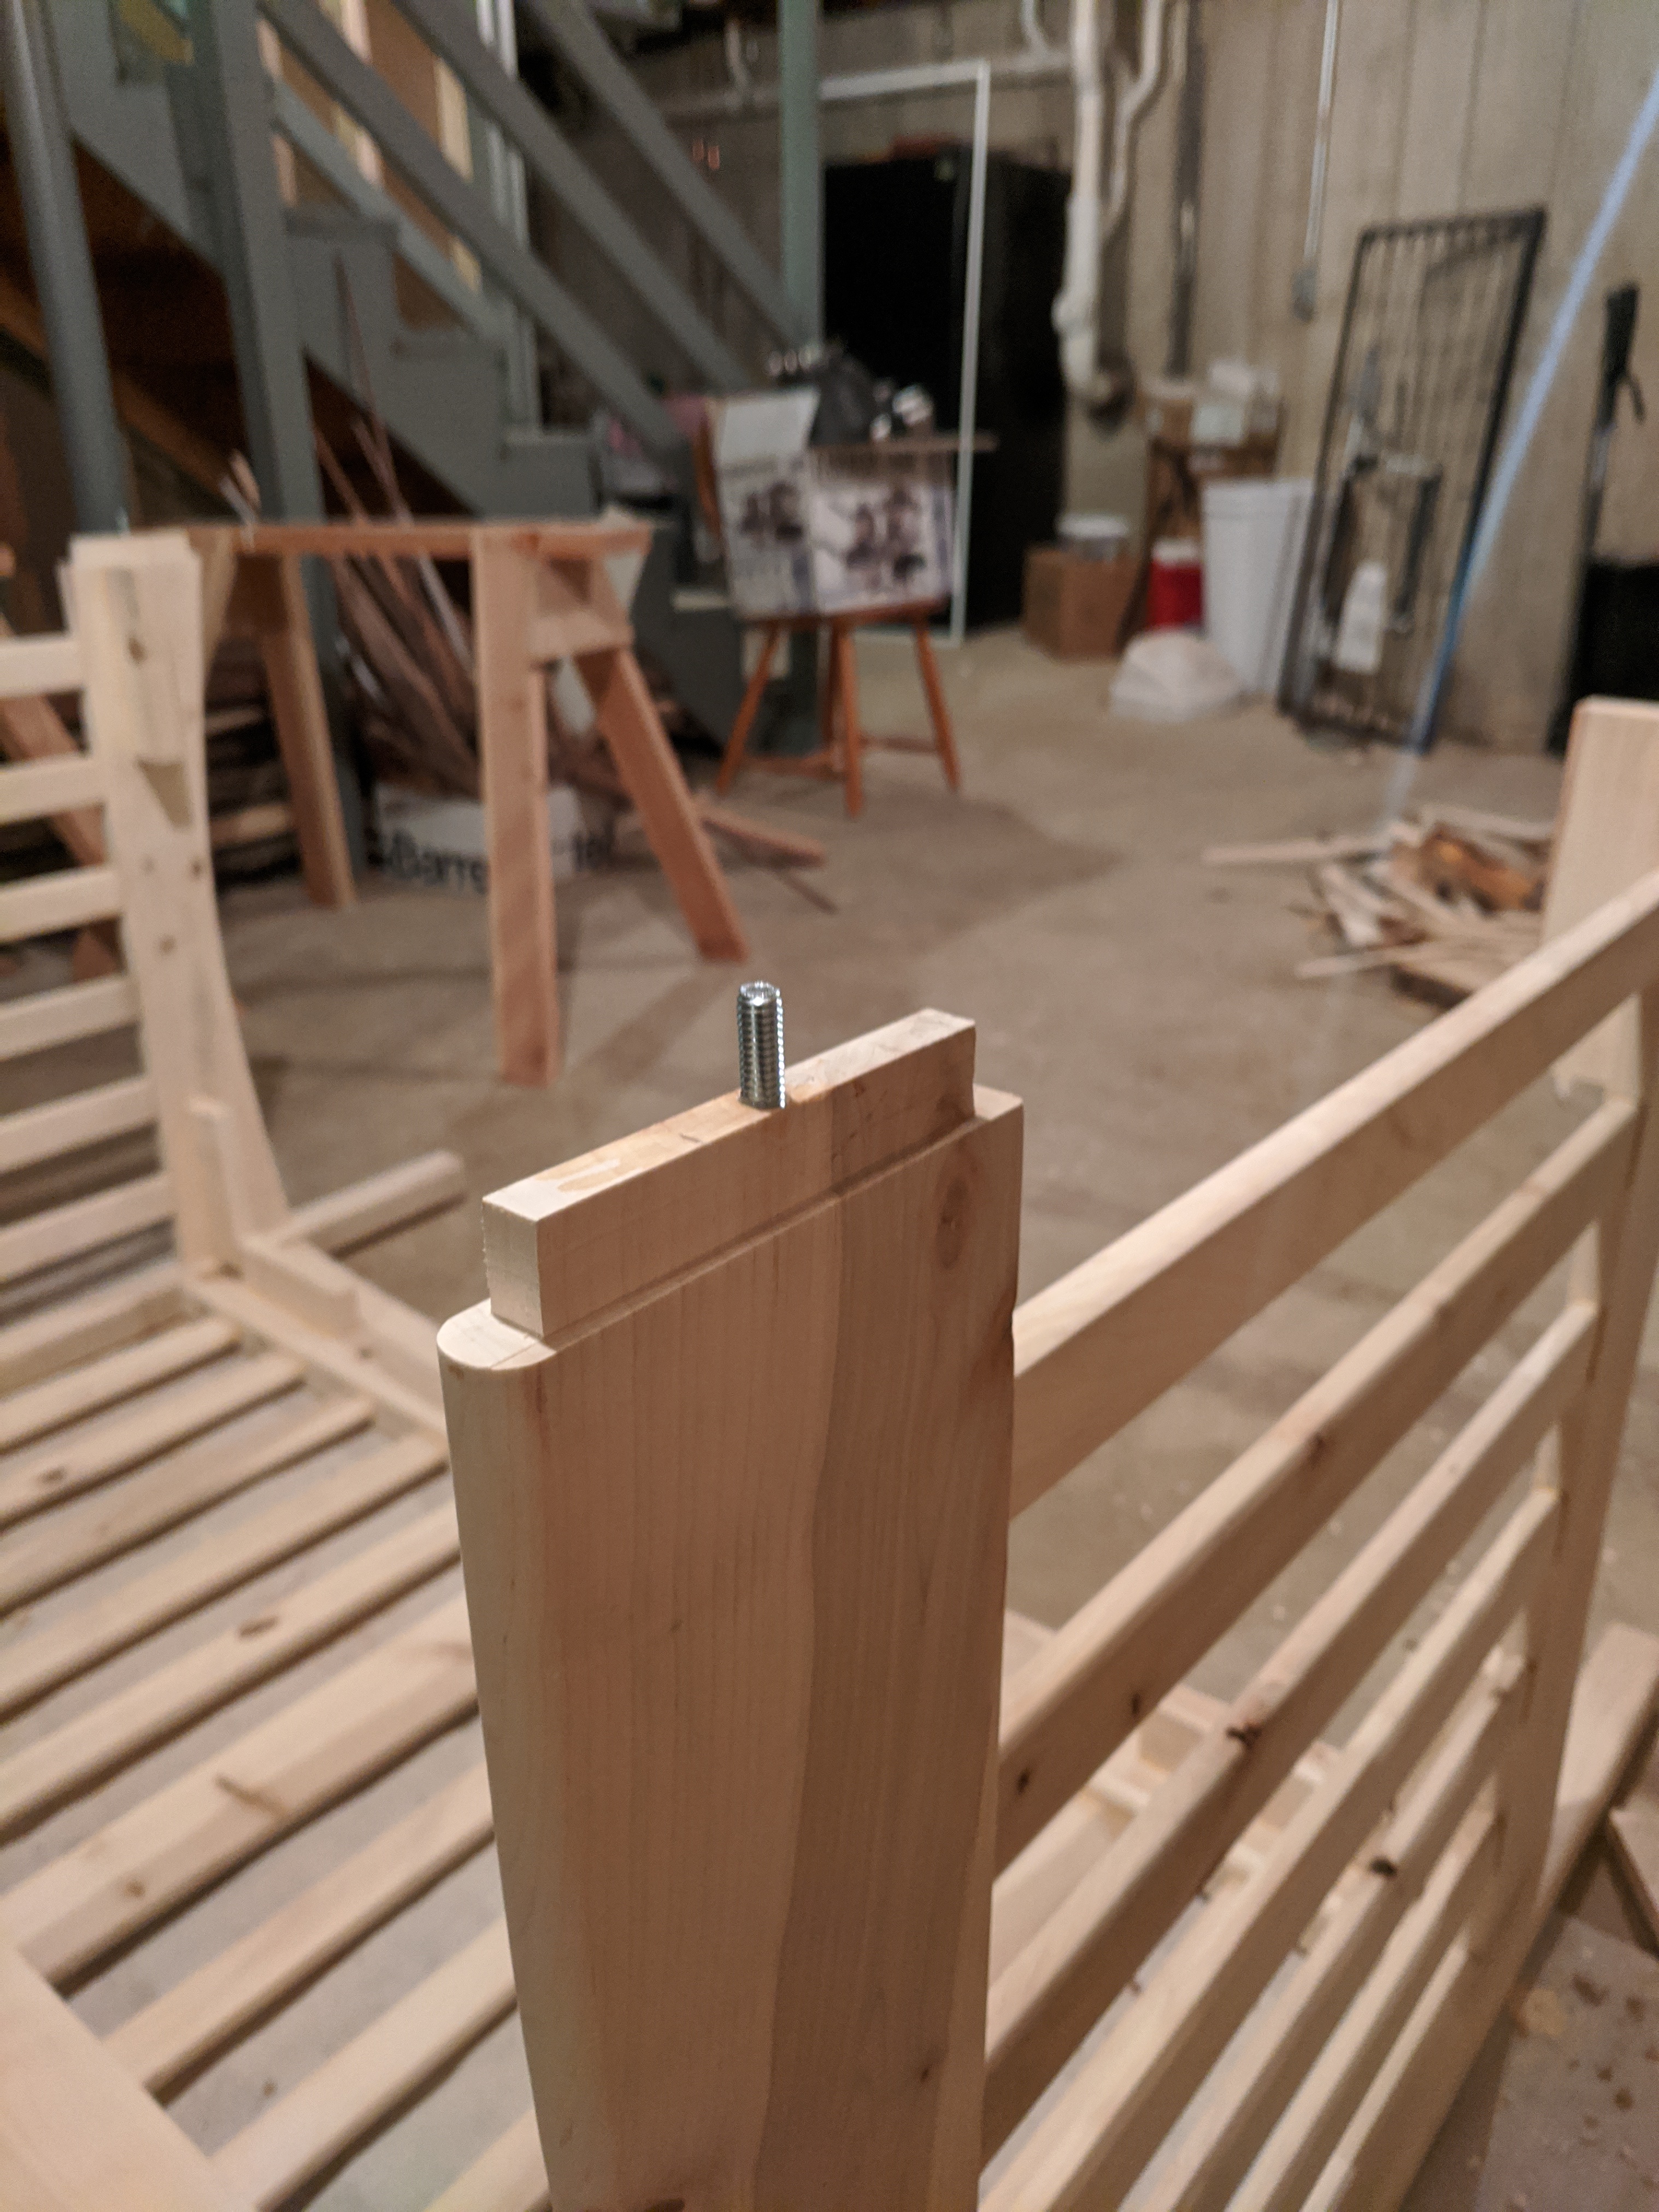
Crib mattresses have standard dimensions which are too wide to fit through a standard door. This meant I had to make the crib disassemblable. I accomplished this by treating the front, rear, and sides as separate assemblies which are joined with nuts and bolts. The front and rear assemblies consist of the legs, the rails, and the stiles. The sides mate with the front and rear assemblies with mortise and tenon joints which aren’t glued. Instead, the tenons of the side assemblies have a bolt protruding from them. The legs have corresponding holes to recieve these bolts, and allow them to be locked into place with a washer and nut when assembled. This was inconvenient because it complicated the joinery, but I imagine I’ll end up appreciating that this allows the crib to be stored flat when not in use. I covered these bolt holes with removable maple plugs.
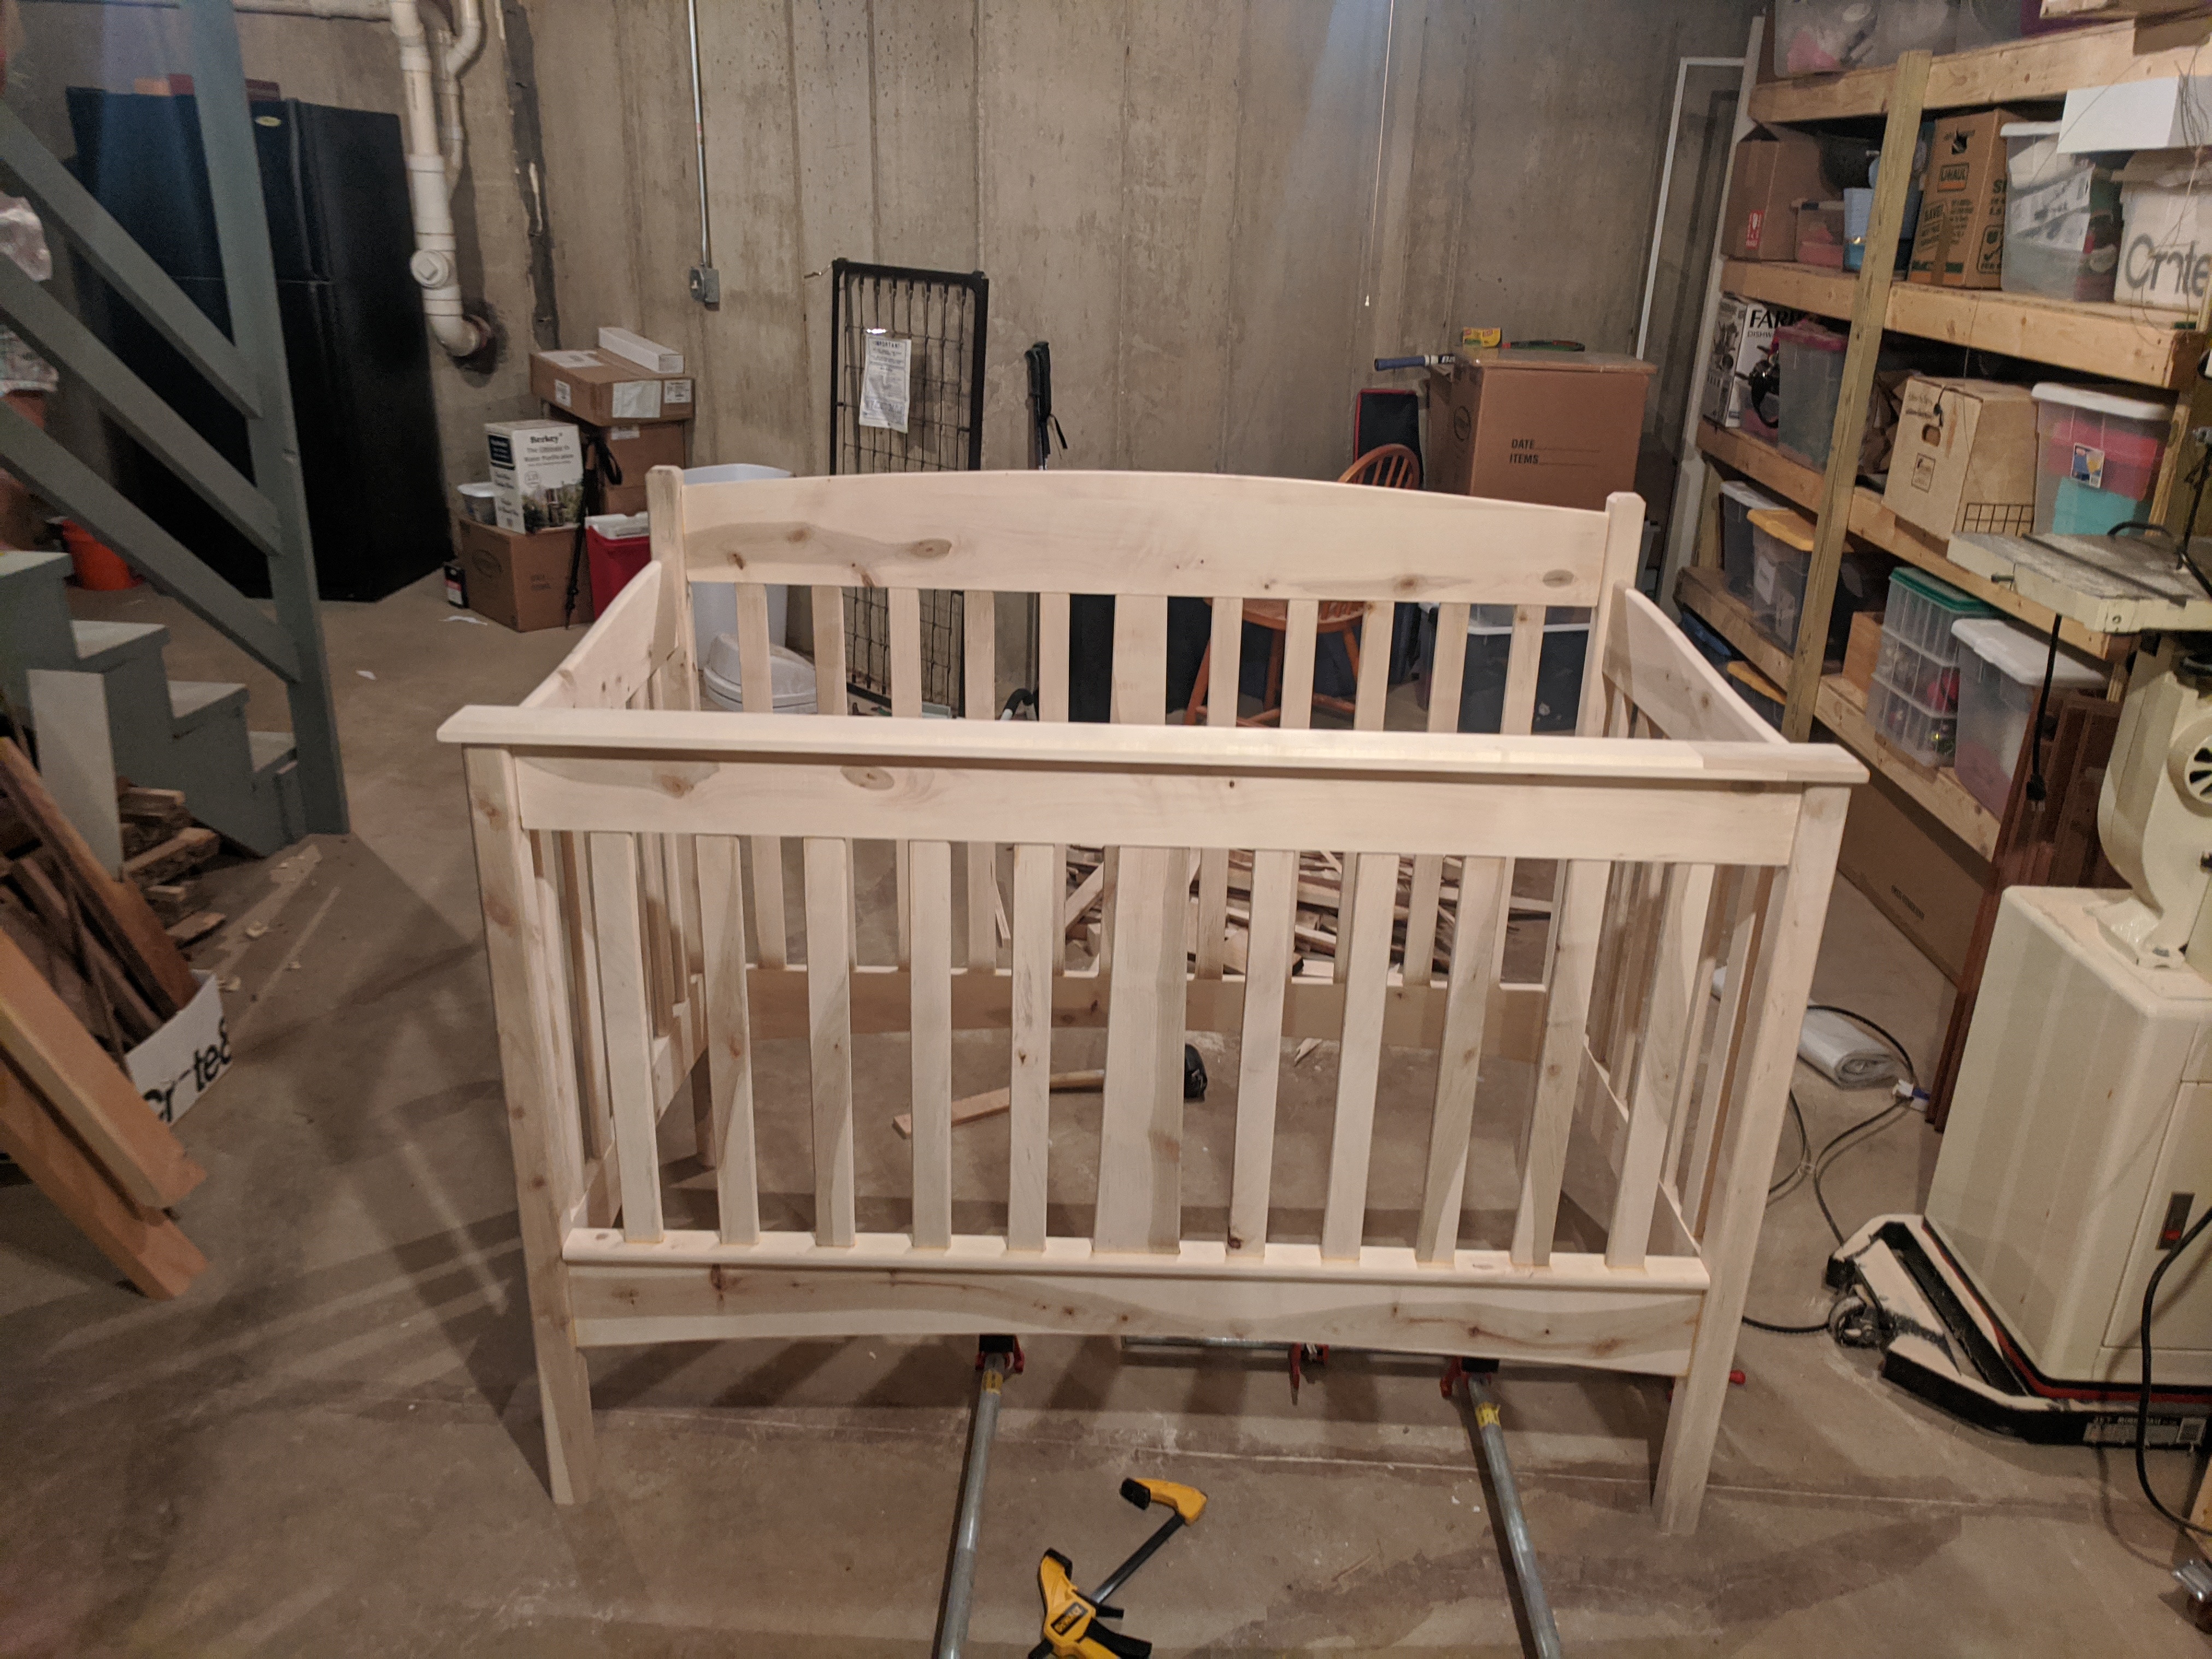
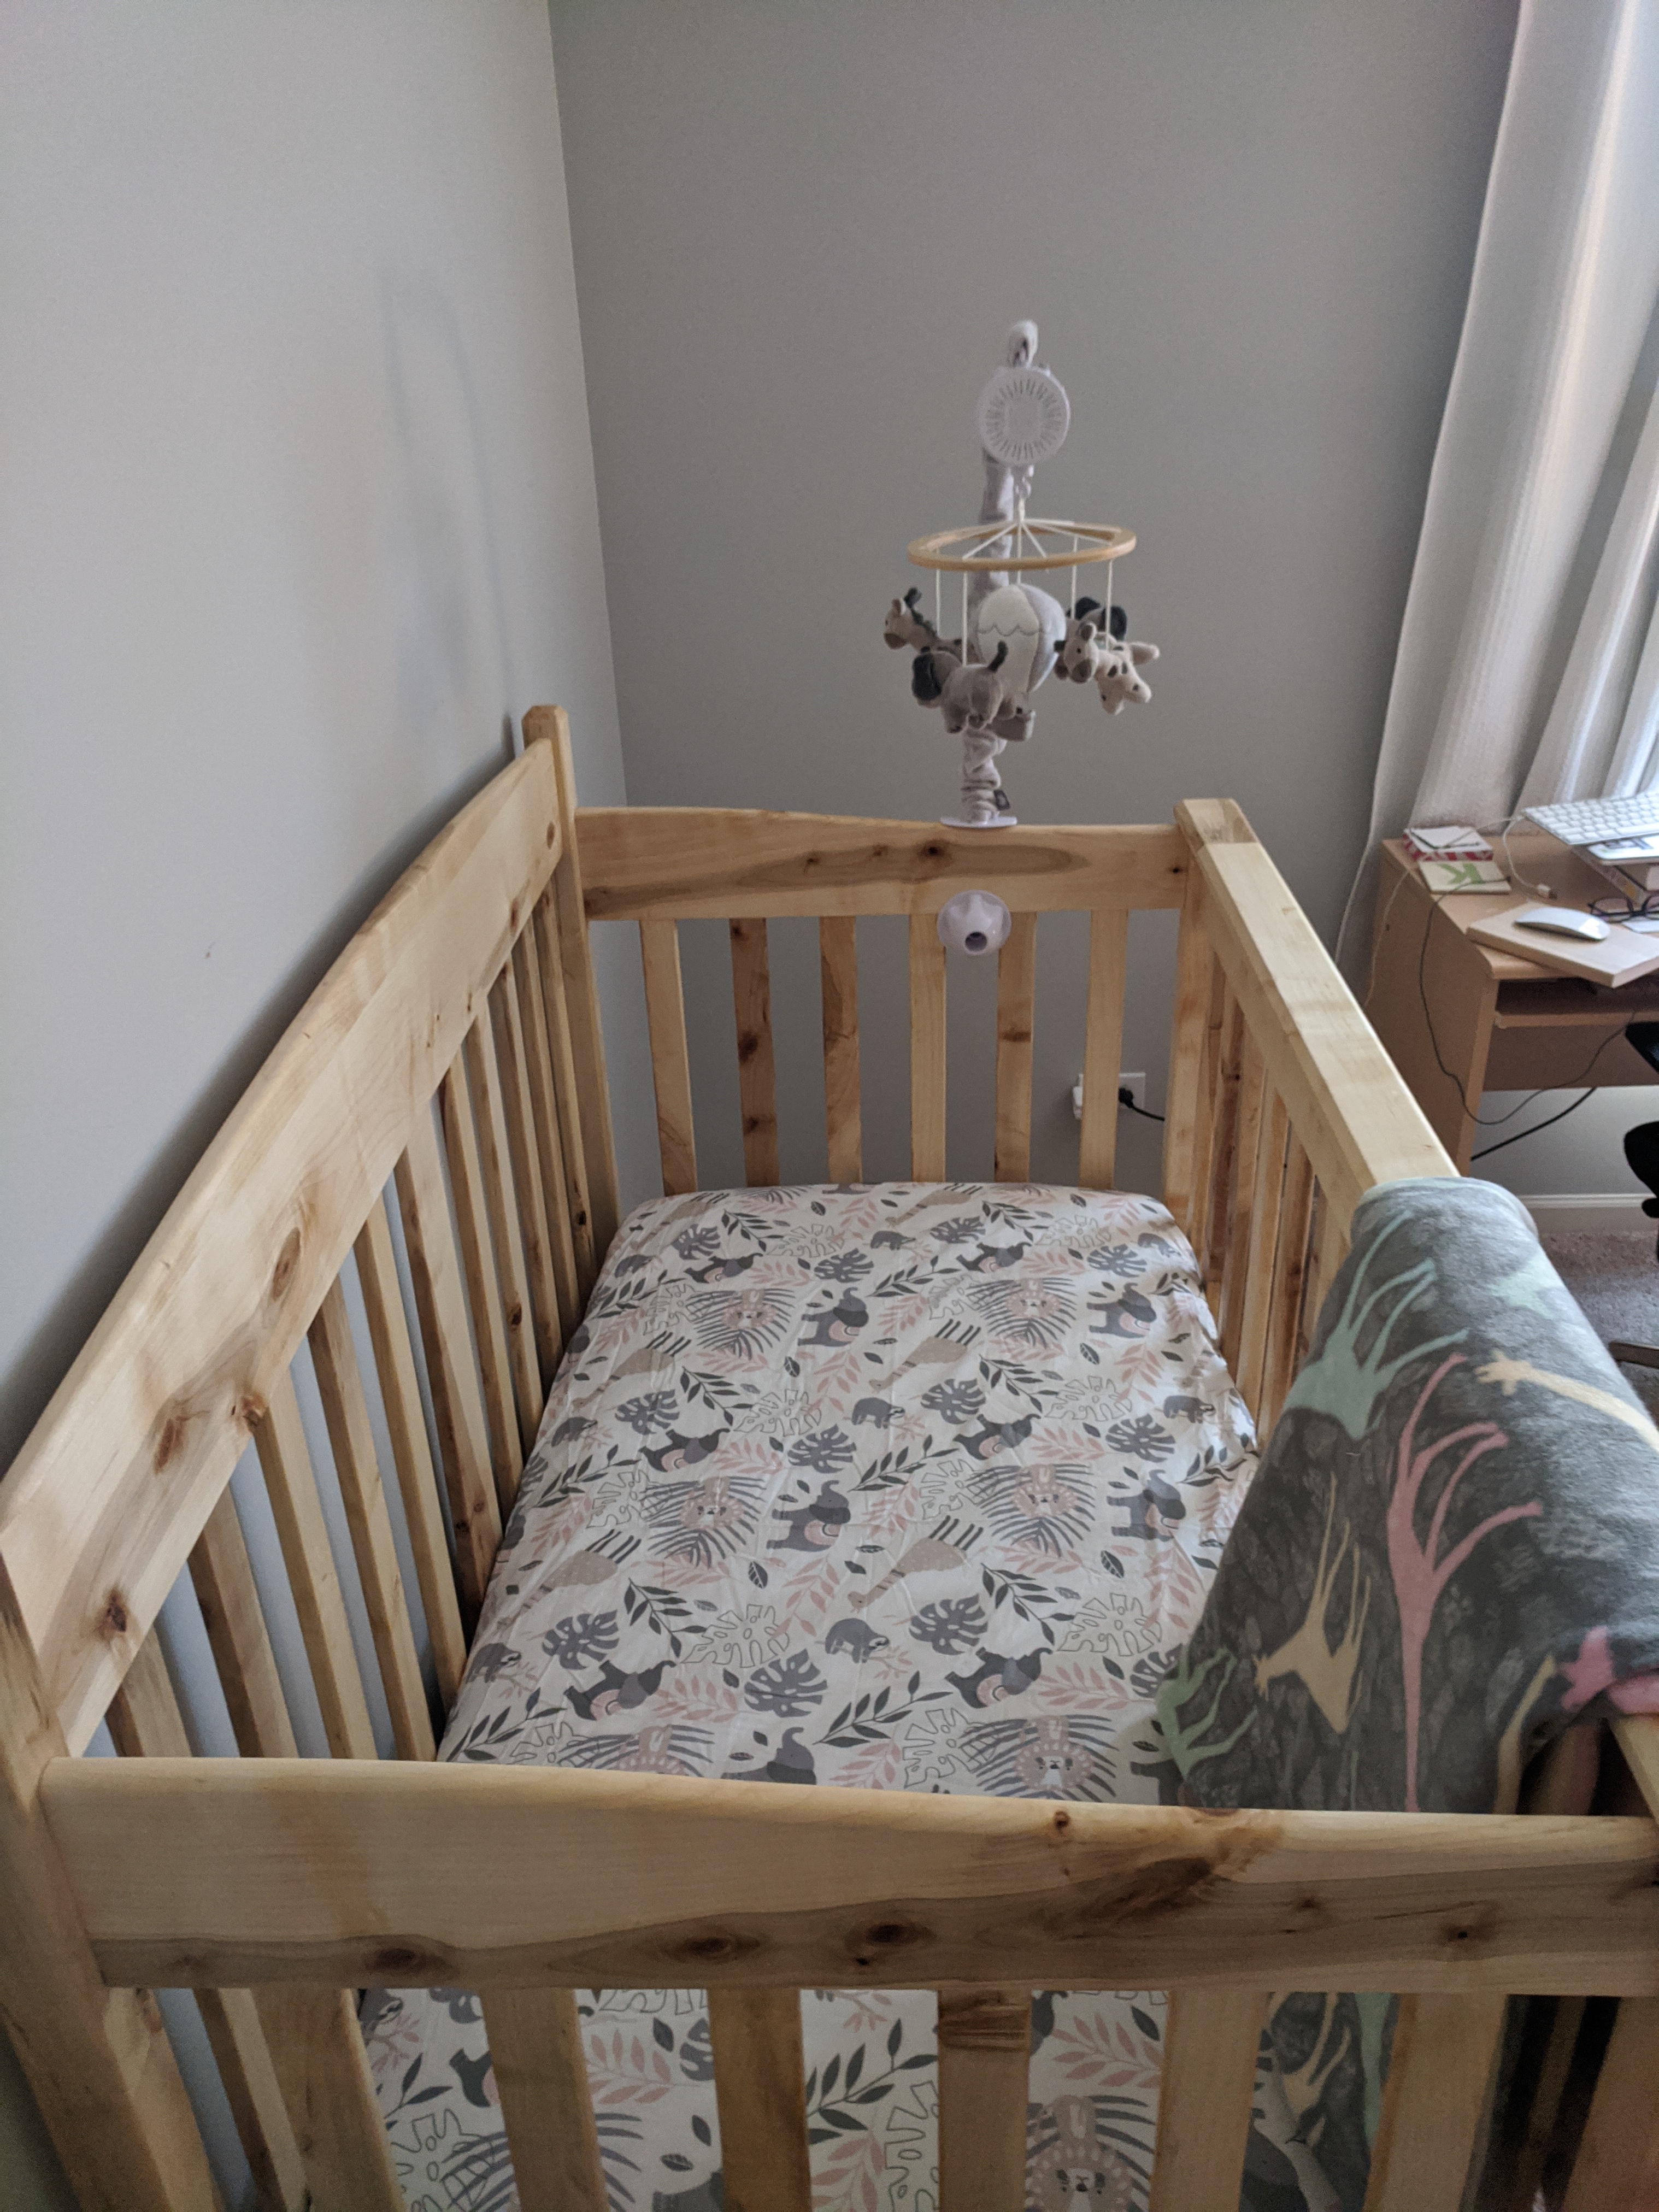
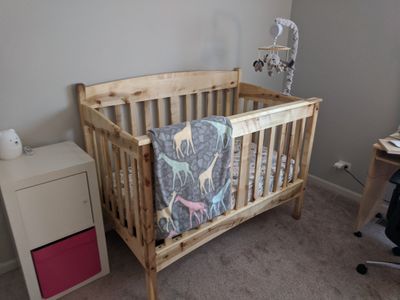
We wanted this crib to be useful when the baby becomes a toddler. To accomplish this, I made part of the front assembly removable, which would allow a toddler to get in and out easily. The front assembly has two subassemblies: The first subassembly consists of the legs and the bottom rail. The second subassembly consists of the bottom plate, the stiles, the top rail, and the top molding. Each subassembly’s components are glued together. The two subassemblies seat with each other, and lock into place with bolts and threaded insert nuts. Here’s what the assembled crib looks like in toddler mode:
Here’s a quick rundown of the build process I took:
- Roughly mark and cut the various parts from rough lumber using the bandsaw and miter saw. At this point, the boards don’t have any clean / square edges, so using the table saw is unsafe.
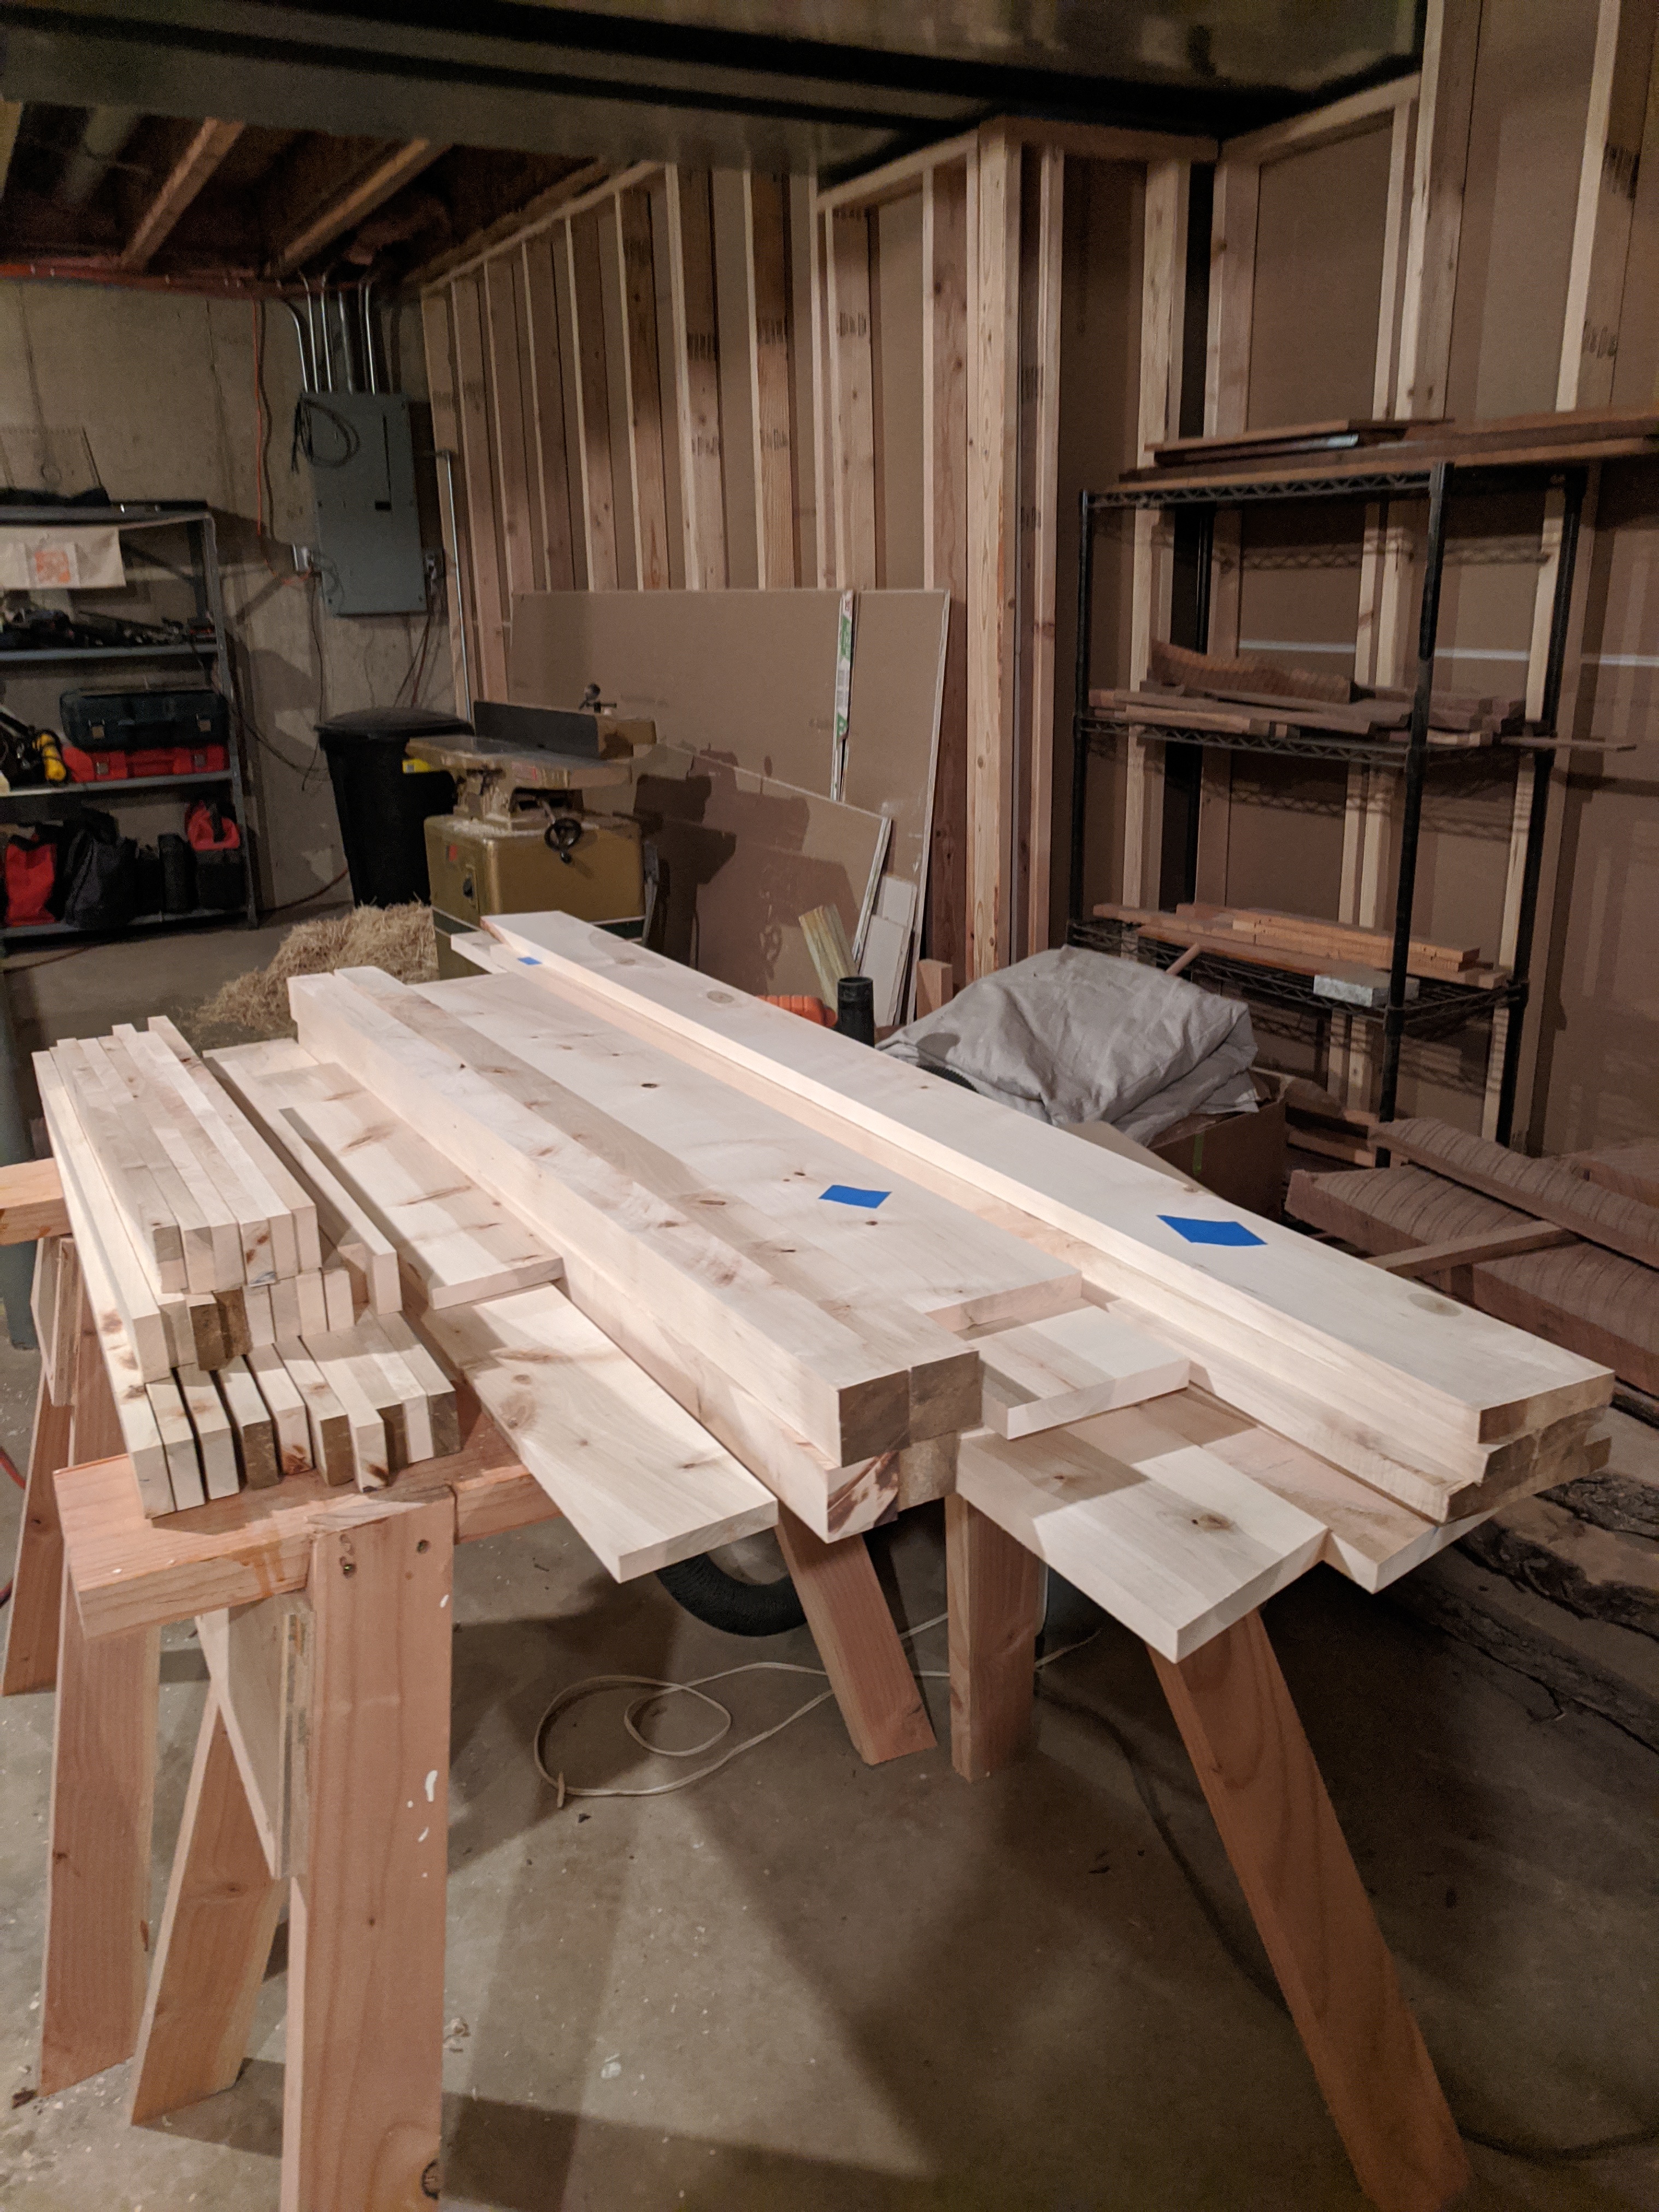
- Milling day. Take all the pieces from rough sawn to S4S (surfaced four sides). For non-woodworkers, this means for each piece flattening one face on the jointer, then making the opposite face parallel on the thickness planer, then making one edge straight and perpendicular to the two parallel faces using the jointer, and finally making the opposite edge (the forth side) parallel by running the board through the table saw. For a project with so many individual pieces, this is tedious and time consuming.
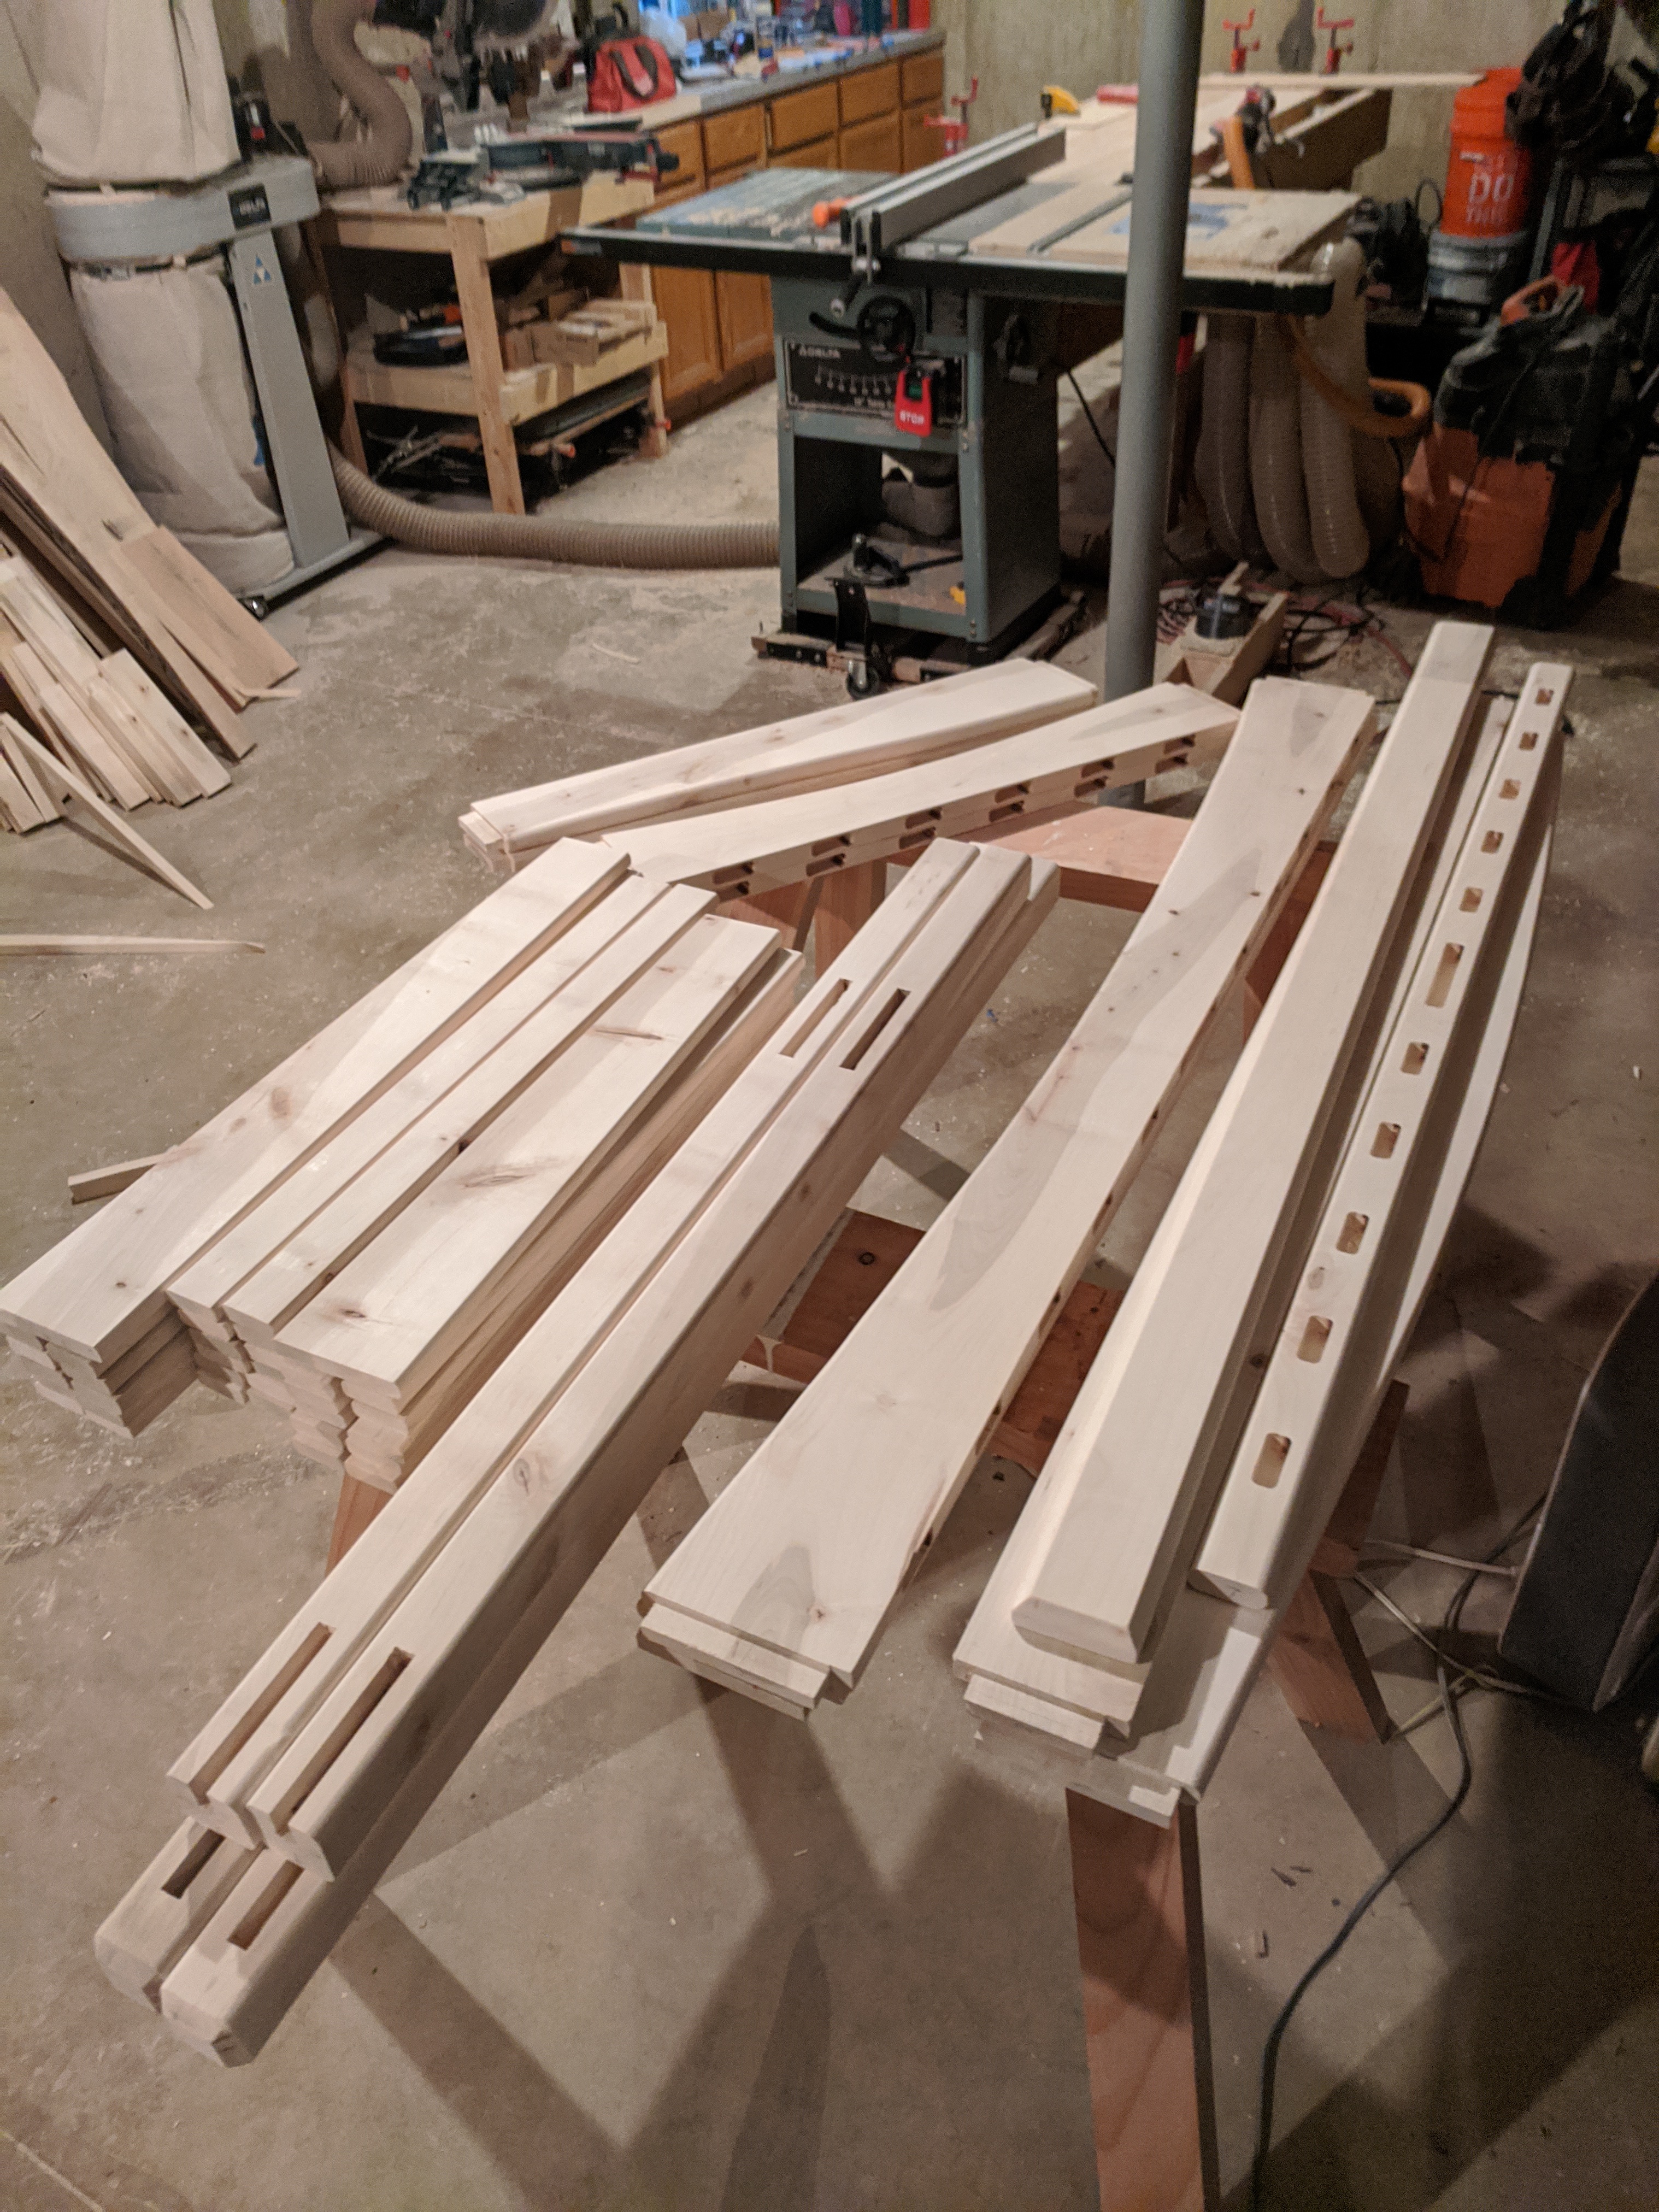
- Cut the mortise and tenon joints connecting the rails to the legs. Cut the mortises using the plunge router with a spiral upcut bit, and the tenons with the table saw and a dado stack.
- Shape the stiles by putting a roundover on all four edges, and cut a million mortises where they mate with the rails, again using the plunge router with a spiral upcut bit.
- Shape the rails with pleasant curves. Cut arches into the bottom of the bottom rails, and splines on the top of the side rails. To cut curves, first draw a curve by tracing along a thin piece of bent wood. Cut along the line with the bandsaw, and refine the result using a sanding block. When multiple of the same curve need to be produced, use the first as a template for subsequent curves: trace a line from the first to the second, cut the curve using the bandsaw making sure to leave the pencil line, and use the router with a flush trim bit to create an exact copy of the first cut. Glue the offcut of one of the bottom rail arches to the top of the rear top rail to give it extra width and a top curve.
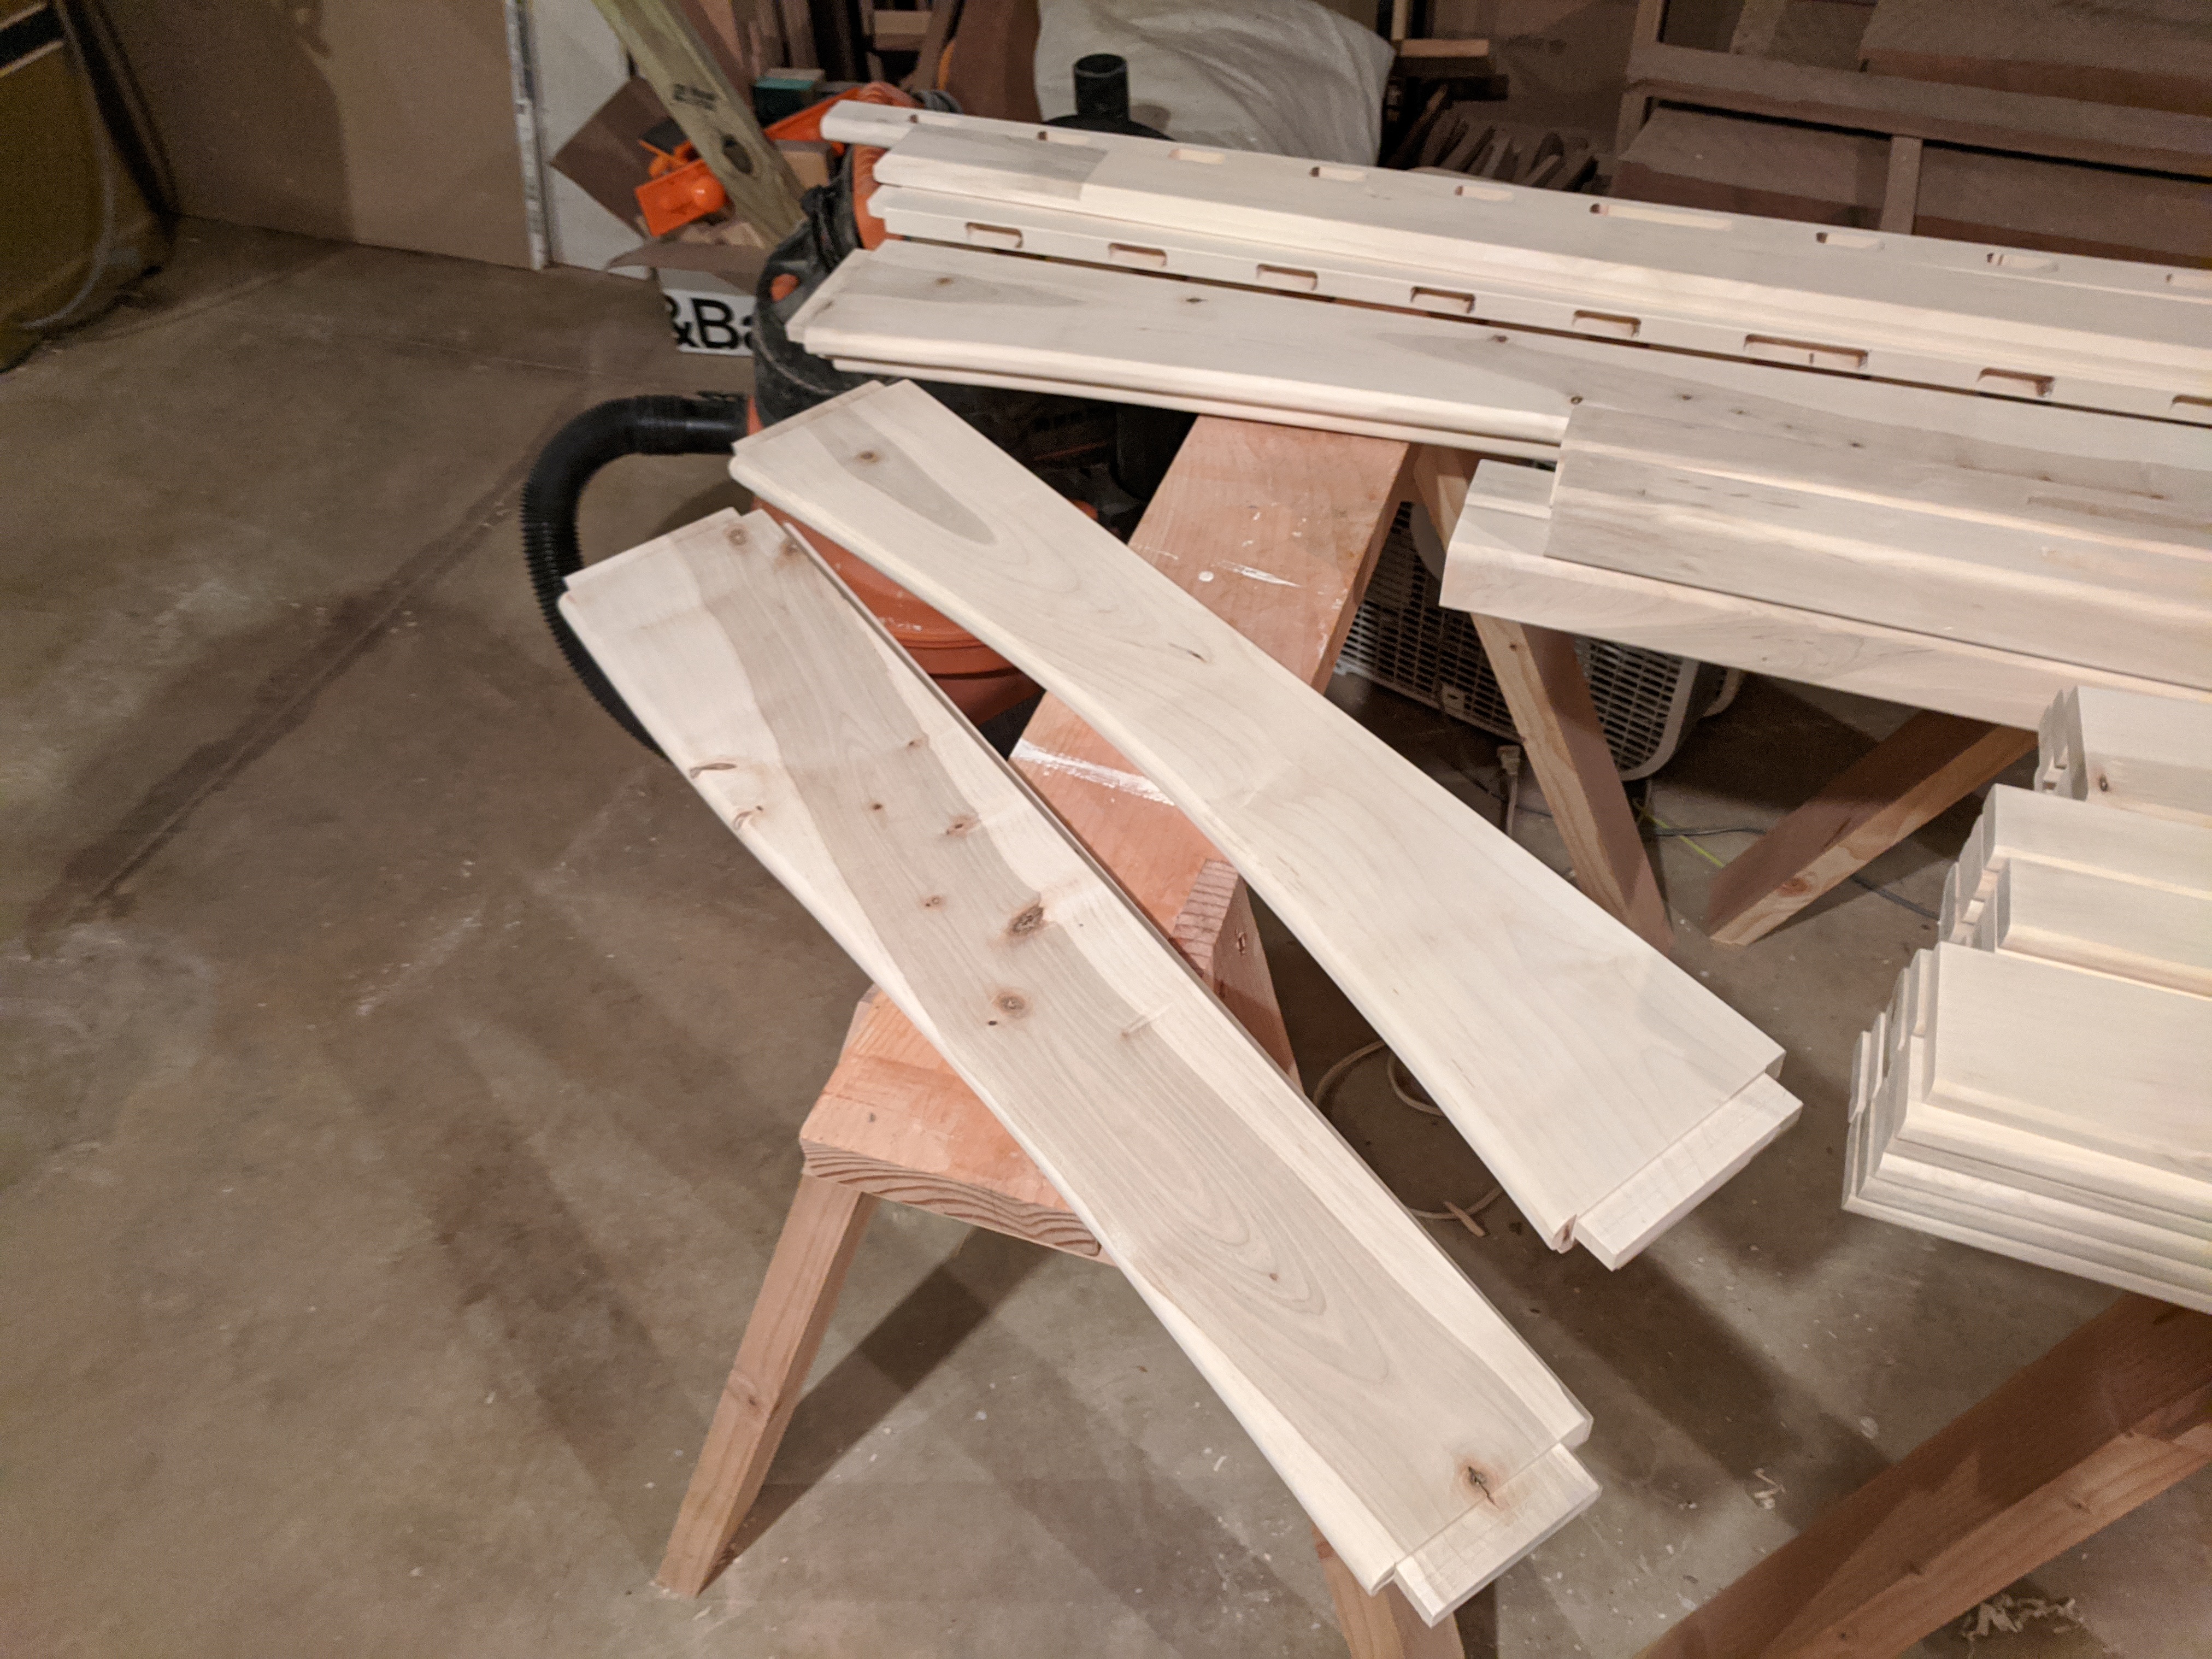
- Cut and perform the joinery allowing the removable front for toddler mode. The removable front assembly consists of the bottom plate, the stiles, the top rail, and the top molding. The bottom plate seats with the bottom rail via a few alignment dowels. Similarly, the top molding seats with the legs with alignment dowels. The assembly locks into place with two recessed bolts which hold the bottom plate to the bottom rail by threading into locking nuts in the bottom rail.
- Put a roundover on all the edges, making it pleasant to touch, and sand all parts up to 150 grit.
- Finally, assemble everything, and finish with raw linseed oil. Raw linseed oil, or flaxseed oil, is a (slow) drying oil that is safe for babies, and even safe to consume in food. It takes forever to dry and leaves a sort of yellowish tinge to maple, which isn’t ideal, but is acceptable in the name of safety.
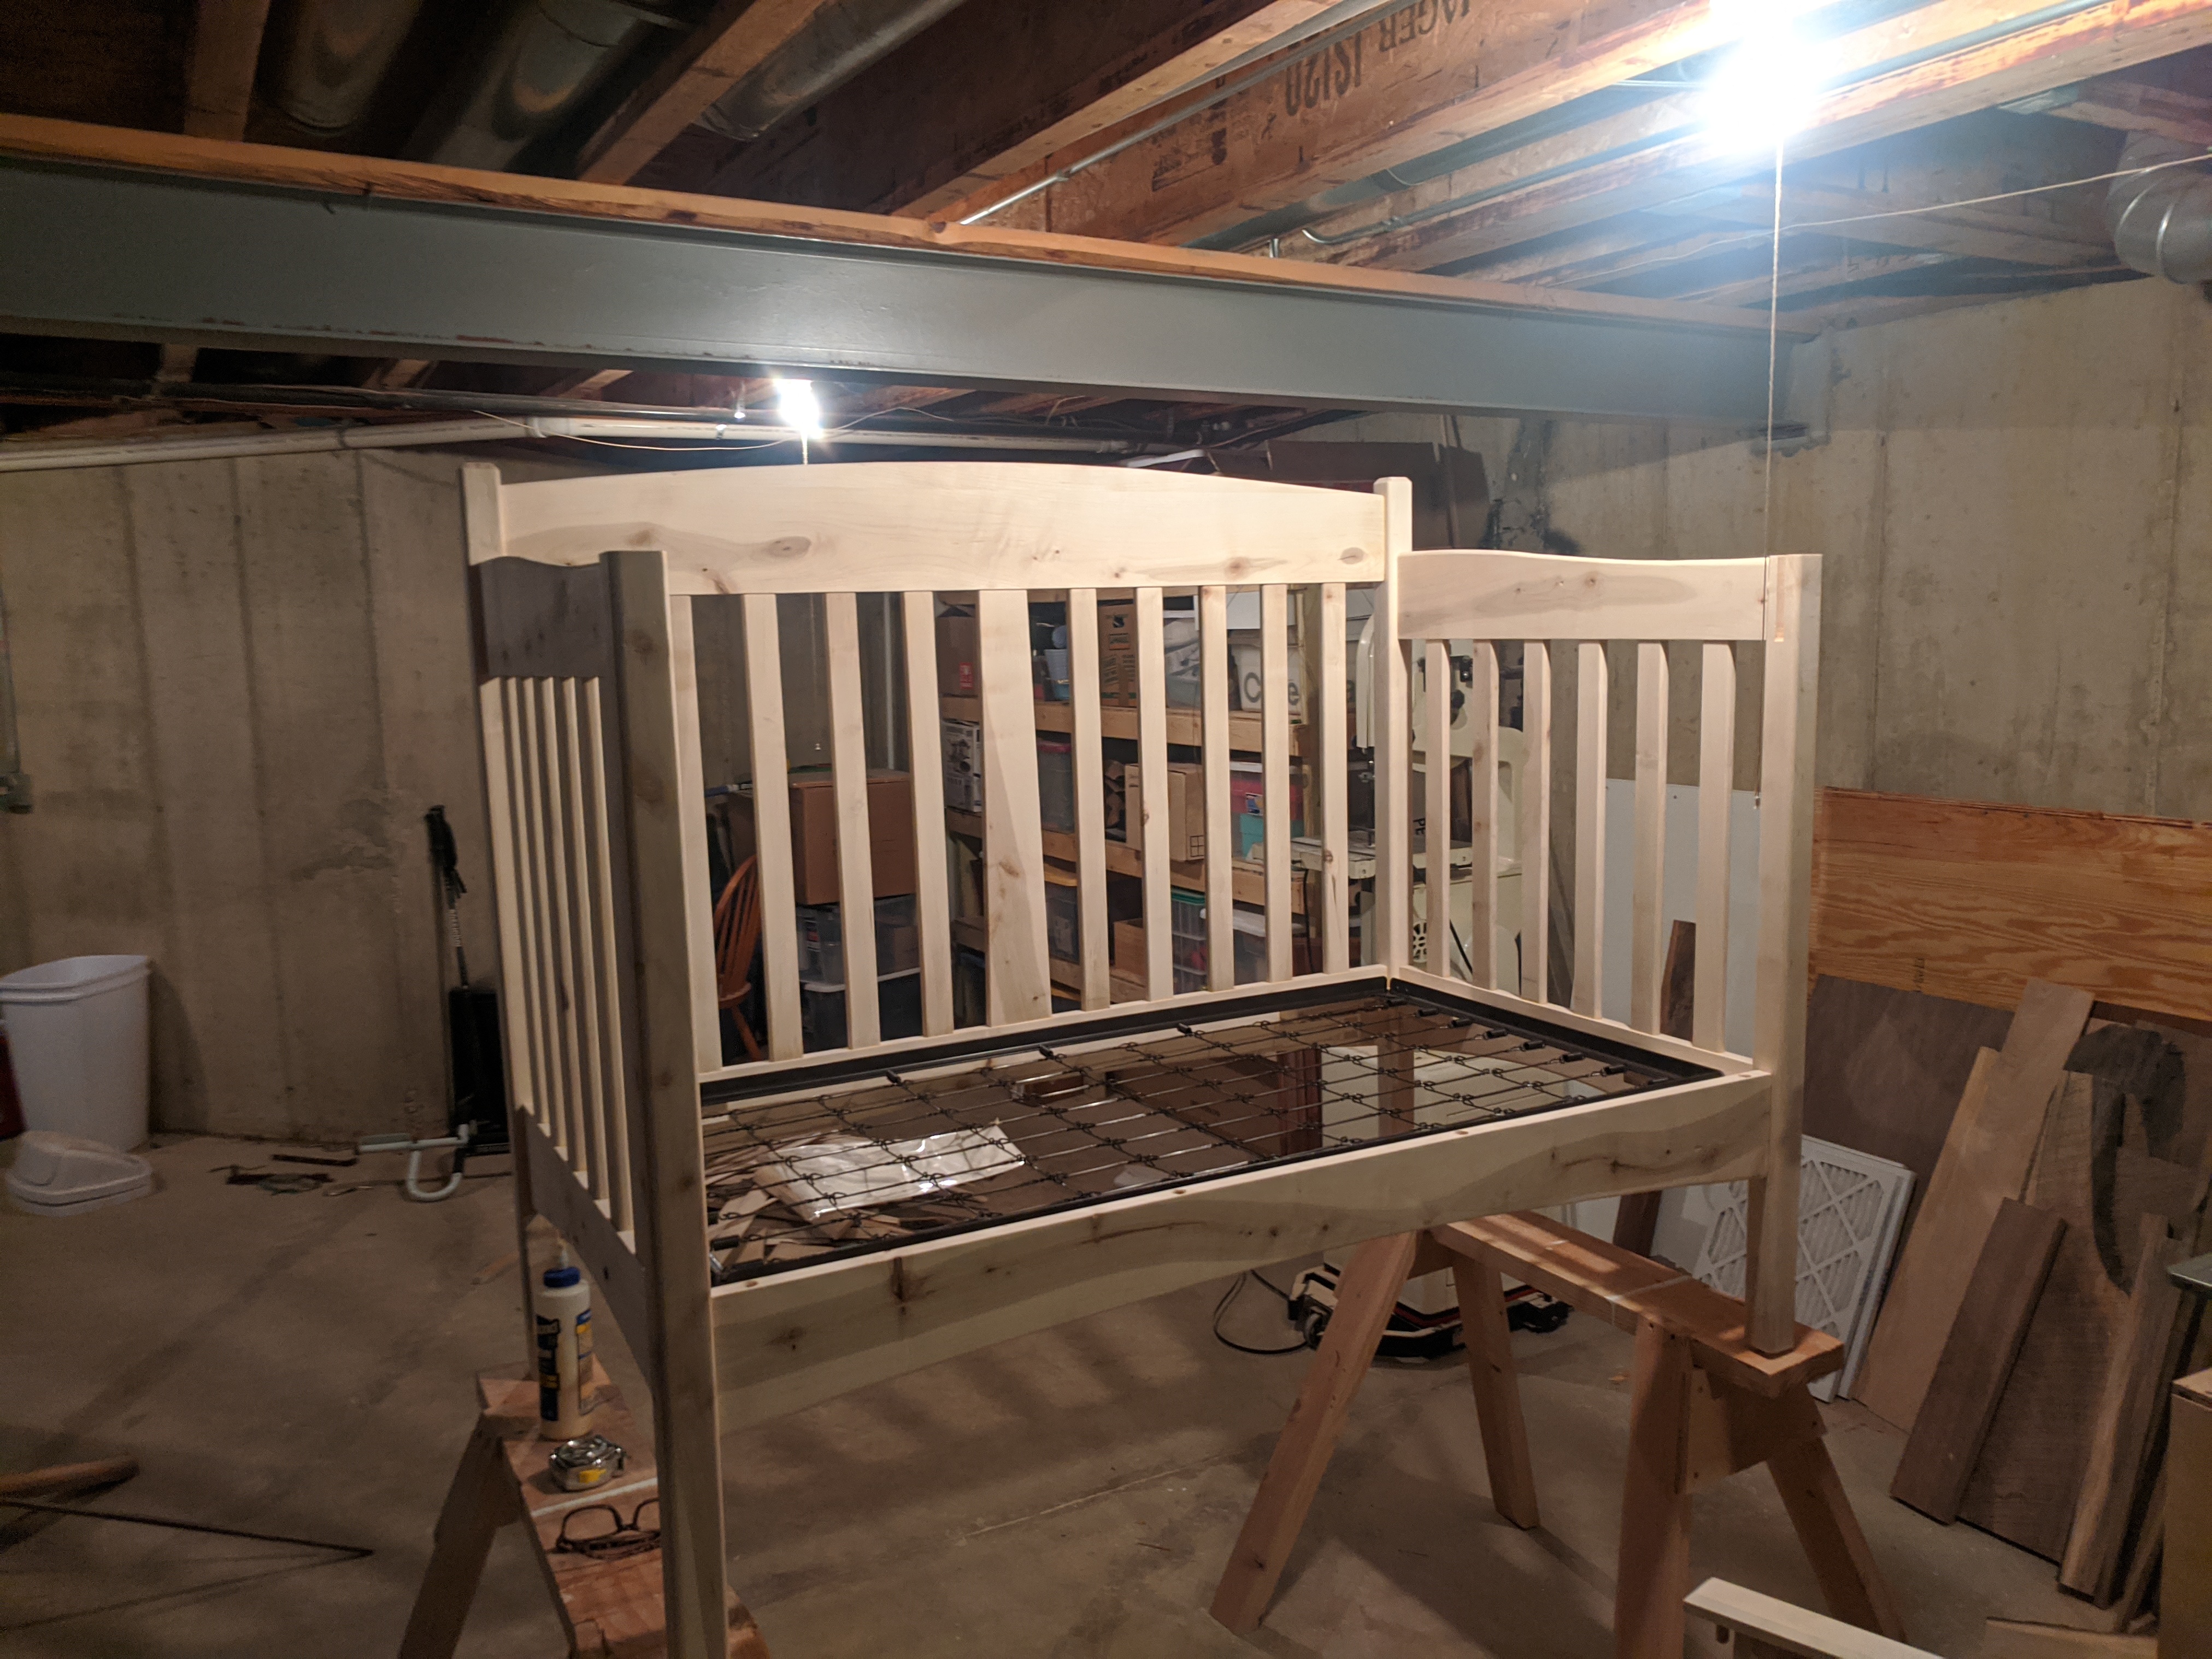
I think the project turned out great, and hope it serves my family for generations to come. Here’s a full set of the pictures I captured:
Gallery