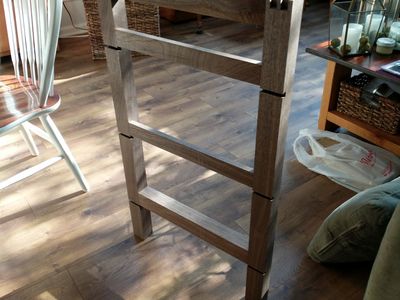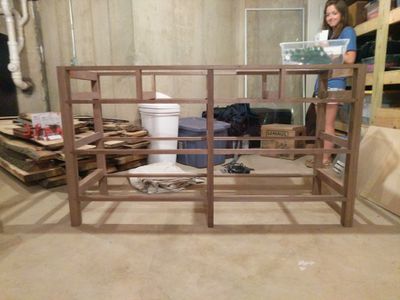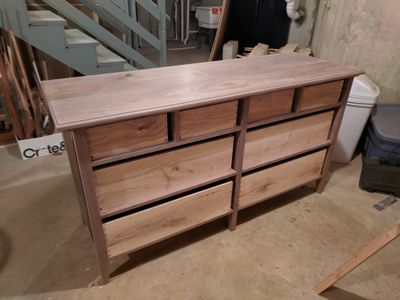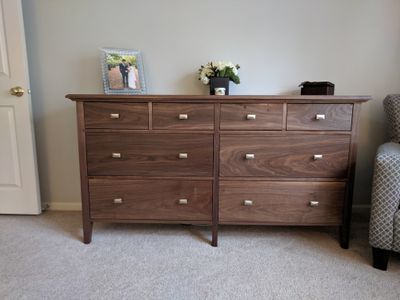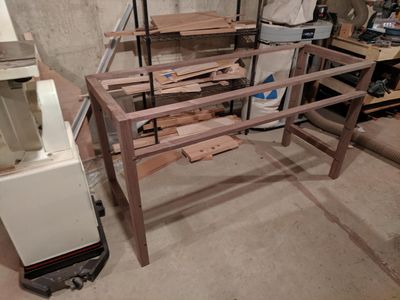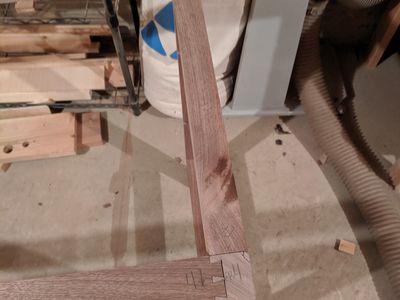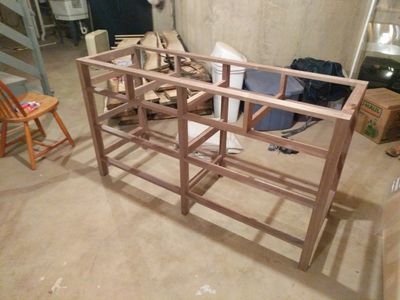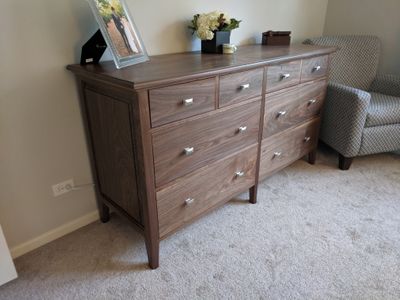
At the beginnning of 2019 we had been living in our house for just under 2 years. The storage situation in our master bedroom had been irritating us for while, and I started thinking of building a proper dresser. I wanted to build a dresser that would last at least my whole life, and which would never go out of style, so I choose to build it out of solid walnut, using traditional joinery everywhere except the drawer slides.
Leading up to this project, I had been working more with different types of joinery, and was starting to feel comfortable with executing the key joints (mortise and tenons, dovetails, lap, finger, bridal, etc.) using the equipment in my shop. Still, a dresser would have more pieces and different types of joints than anything I had done up to that point.
And so, rather than trying to design it myself, I decided to use a set of plans to limit the number of variables: Marty Schlosser’s Heirloom Dresser.
The plans called for 51 board feet of the primary wood (walnut in my case), 49 board feet of the secondary wood (ash in my case) for building the drawer boxes, and three sheets of plywood (for the drawer bottom, the back, and for a dust panel). Quite a bit of wood! For the most part I stuck to the plans, but deviated in a few instances:
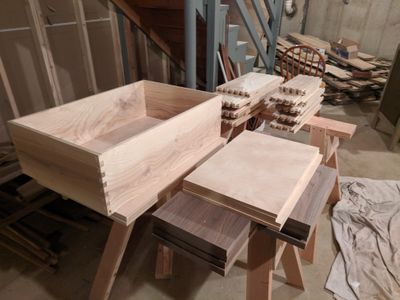
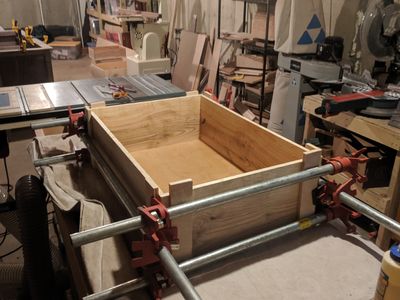
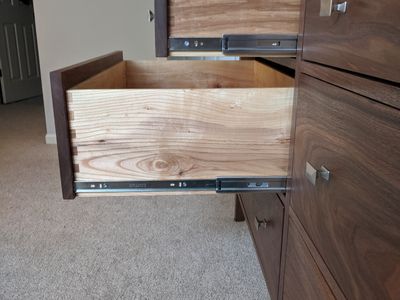
- Use of finger joints instead of dovetails for the drawer box assembly. I didn’t have the tools to machine dovetails quickly, and didn’t feel like cutting 8 large drawers worth by hand.
- Use of simple flat drawer fronts for simpler construction and a more modern look.
For an execution sequence, check out Marty’s post on Canadian Woodworking. Here are some notes from my build:
- Per Marty’s recommendation, I spent a full day tuning up my tools before embarking. I sharpened chisels and plane blades, replaced the dull blades on the thickness planer, tuned the blades on the jointer, and put a fresh carbide blade on the miter saw which had been running with the stock blade it came with. This was well worth the time, and tuning up my blades has become part of my prep routine on subsequent projects.
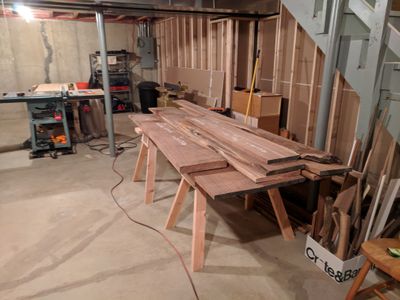
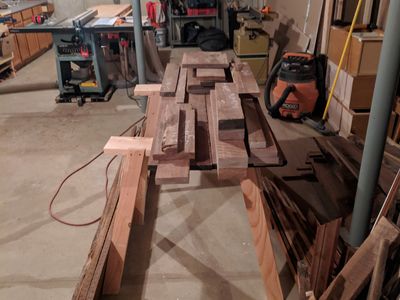
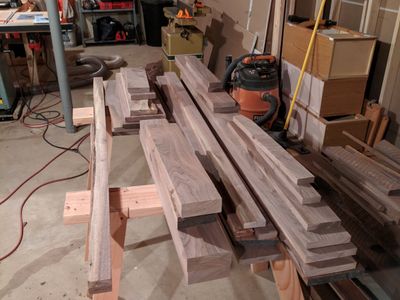
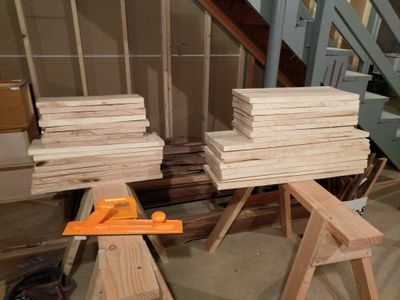
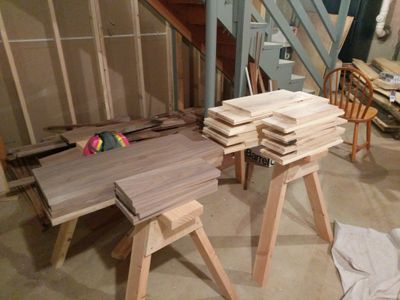
- The dresser was made from a load of rough cut walnut I had acquired a few years earlier from a small sawmill operation in western Illinois. The material had been drying in my basement for just under two years and I verified it was sufficiently dry with a moisture sensor. The ash for the drawer boxes was also rough cut, which I acquired via craiglist from a guy who operated his own woodmizer sawmill.
- Milling the material from rough cut to S4S (surfaced four sides) was fairly time consuming, taking probably 3 days in total. The ash was very knotty, and had some issues with tear out. There wasn’t any obvious way to fix this, so I just arranged the boxes so that the worse faces were less visible (i.e. facing towards the back, butted up to the drawer front or an interior face).
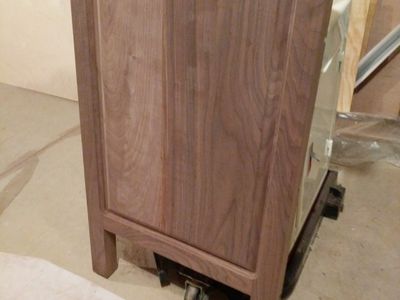
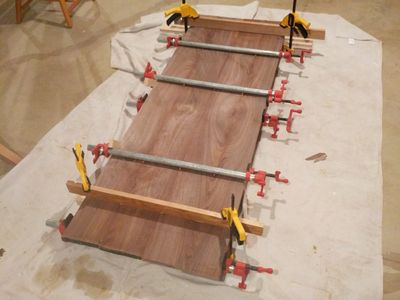
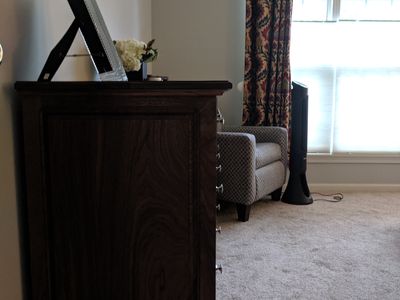
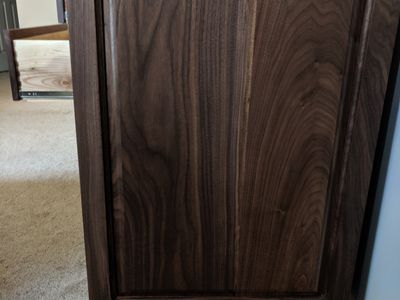
- The sides are solid walnut raised panels. This was my first time doing raised panels. I purhcased this raised panel router bit set, and although it was a bit intimidating to see so much metal spinning so quickly, adding the profile to the panel went without a hitch.
- I applied several coats of General Finish’s Arm-R-Seal satin urethane top coat, lightly sanding between each. The look and touch of the finish is fantastic.
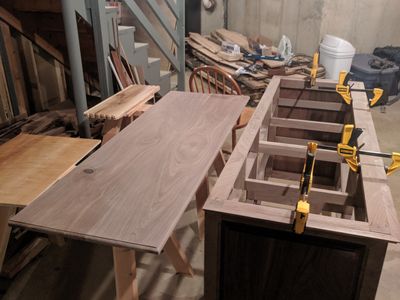
- The top has a “dupont” edge profile, with a piece of cove moulding which looks handsome and substantial. It’s attached with fasteners that seat into slots in the frame and screw into the top, which allows for seasonal expansion and contraction.
- The drawer slides are soft close, full extension that I found online from a company called Lonton. They work, but frankly I’m dissapointed in the quality. The screws were made of soft poor quality metal, which easily stripped and in some cases the heads sheared off. Also, some of the slides aren’t as smooth as others. In the future, I’ll spend the extra money for higher quality.
The project took me several months (I started and stopped several times), and I estimate that I spent between 150-200 hours on it in total. It’s a lovely addition to our bedroom, and currently owns the crown as my favorite piece of furniture!
Gallery
