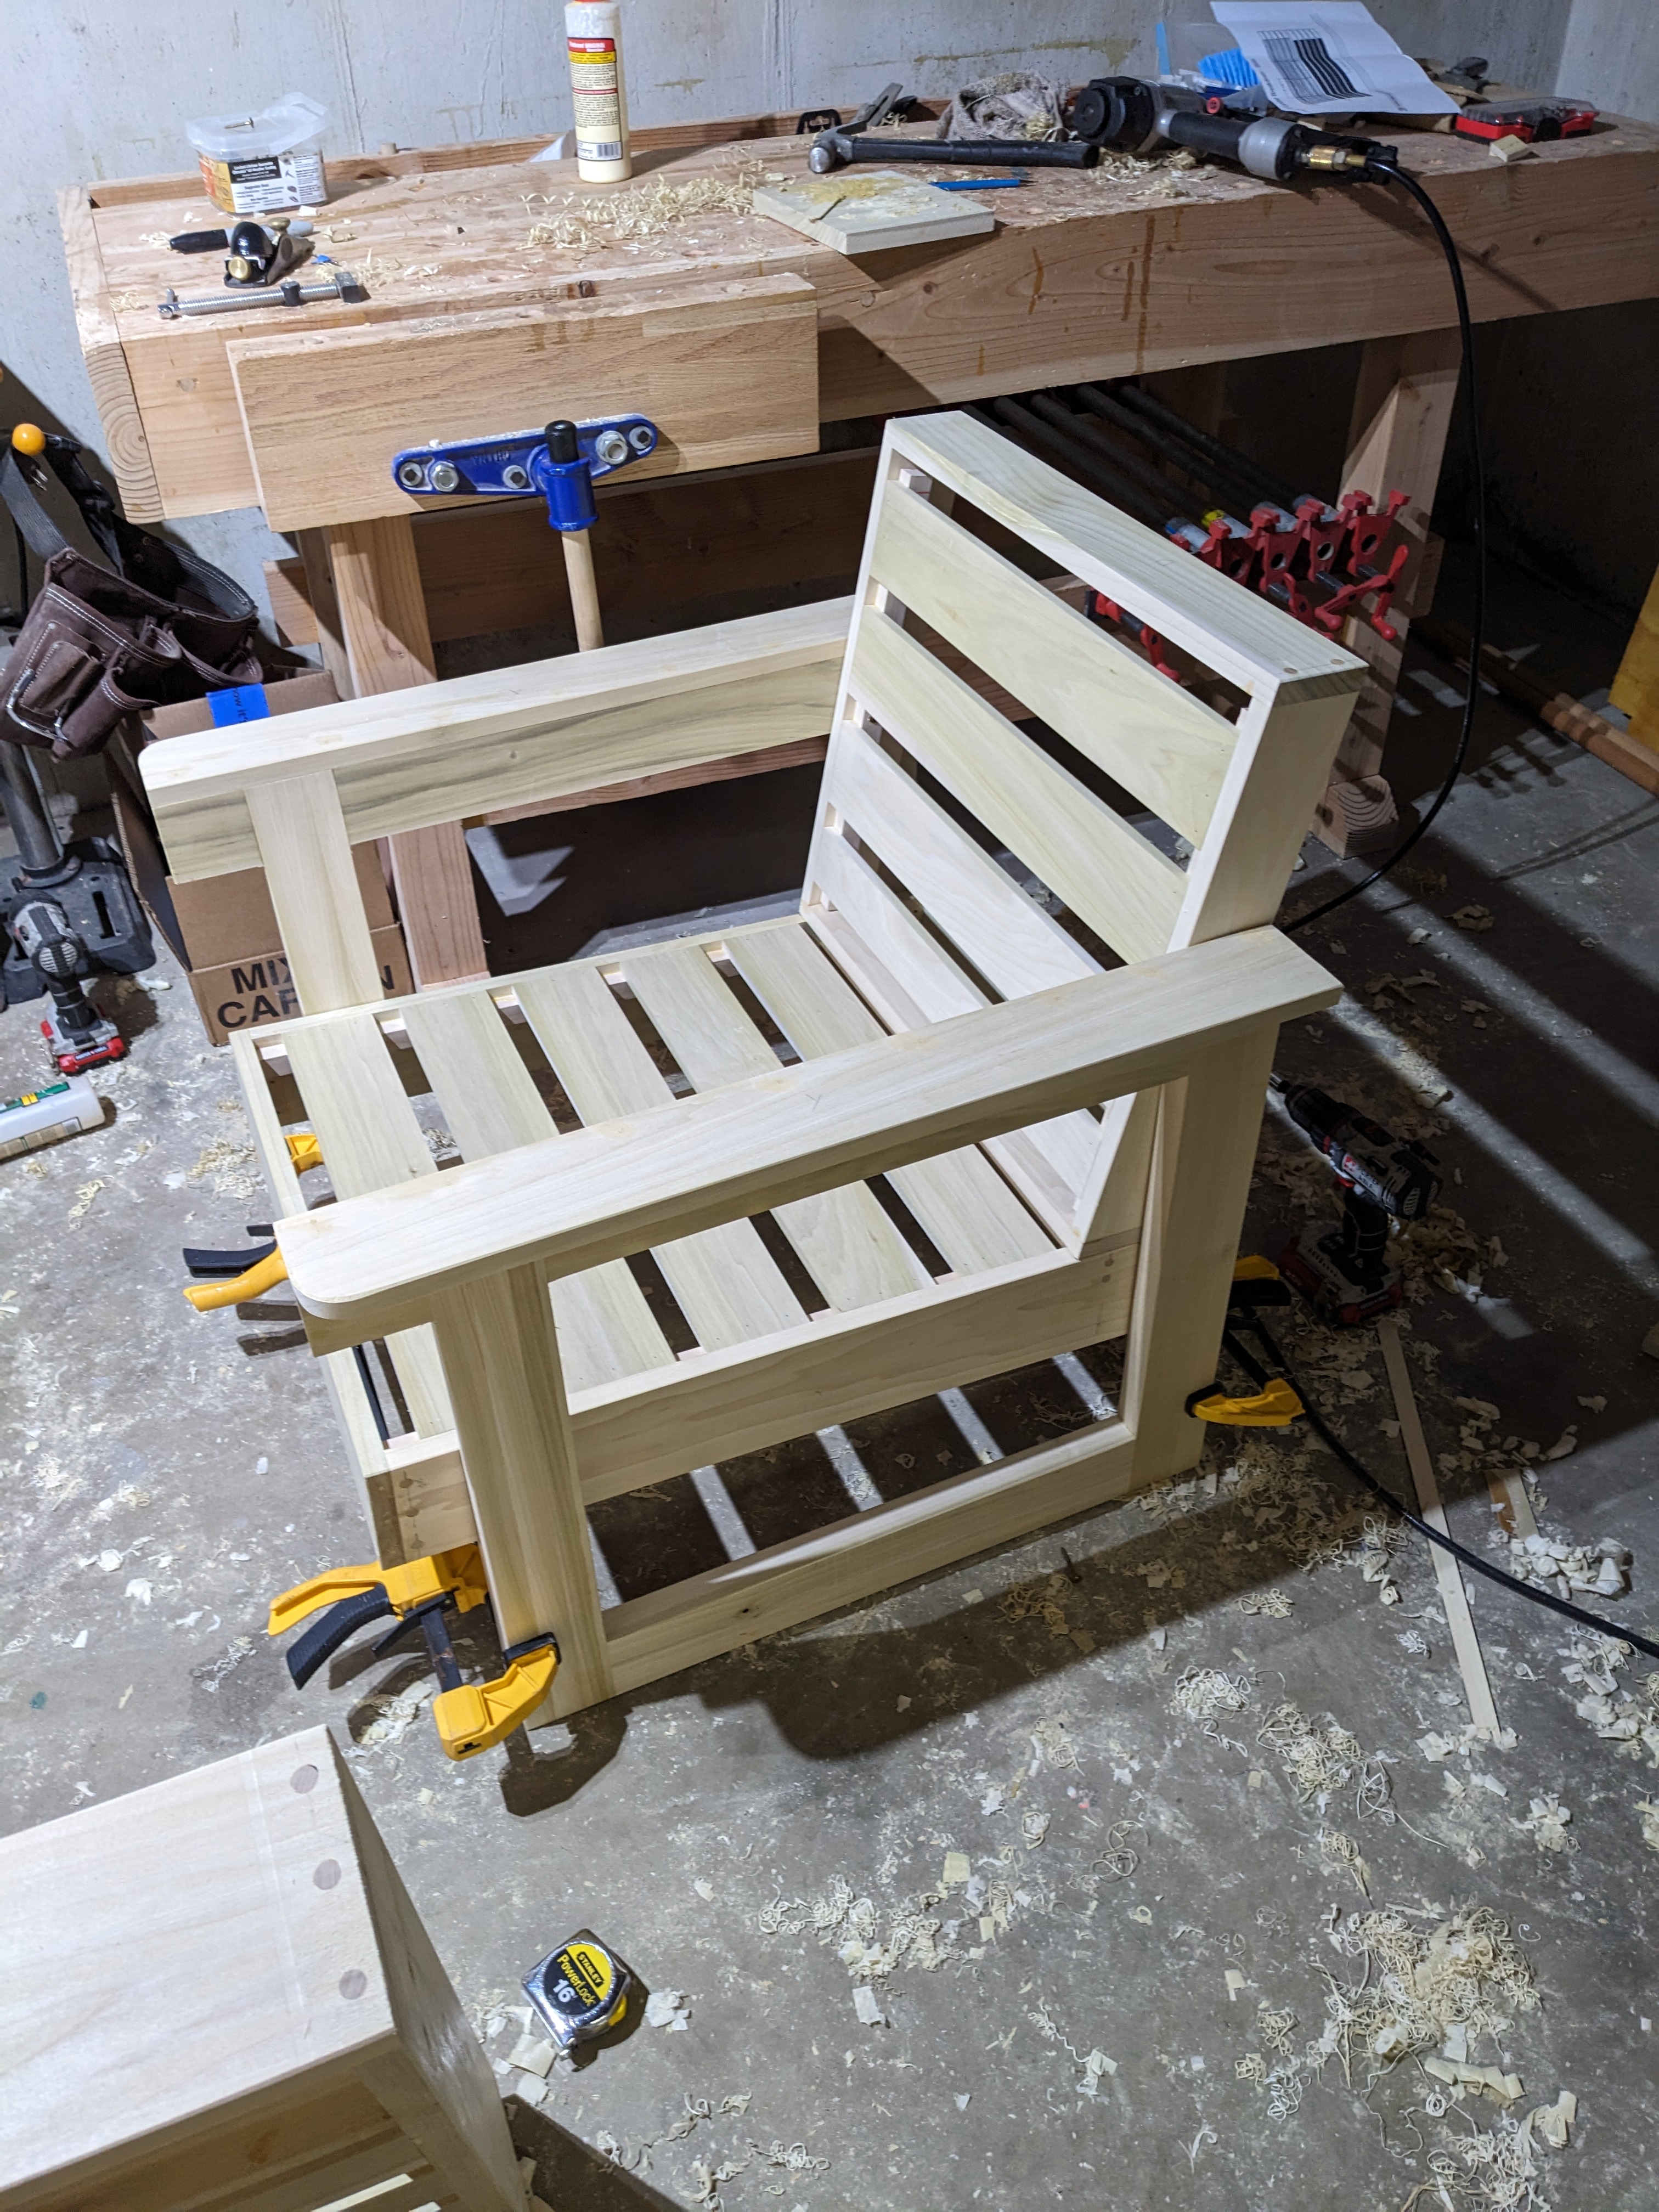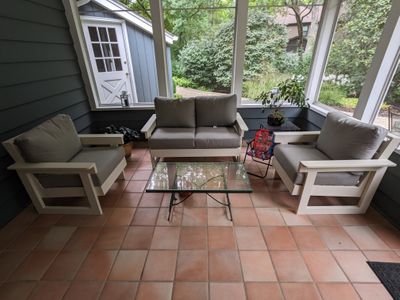
We moved into a new house in July 2023. The house has a screened-in patio which was a perfect opportunity to build some furniture. I set out looking for inspiration on the internet and stumbled across this video from John Builds It. Set out to build a set of my own.
My brain had been a bit overloaded from the chaos fo moving so I purchased his plans rather spending the effort to design myself. What a great way to spend $8! I did end up doing some customizations which make my result a bit different from the plans:
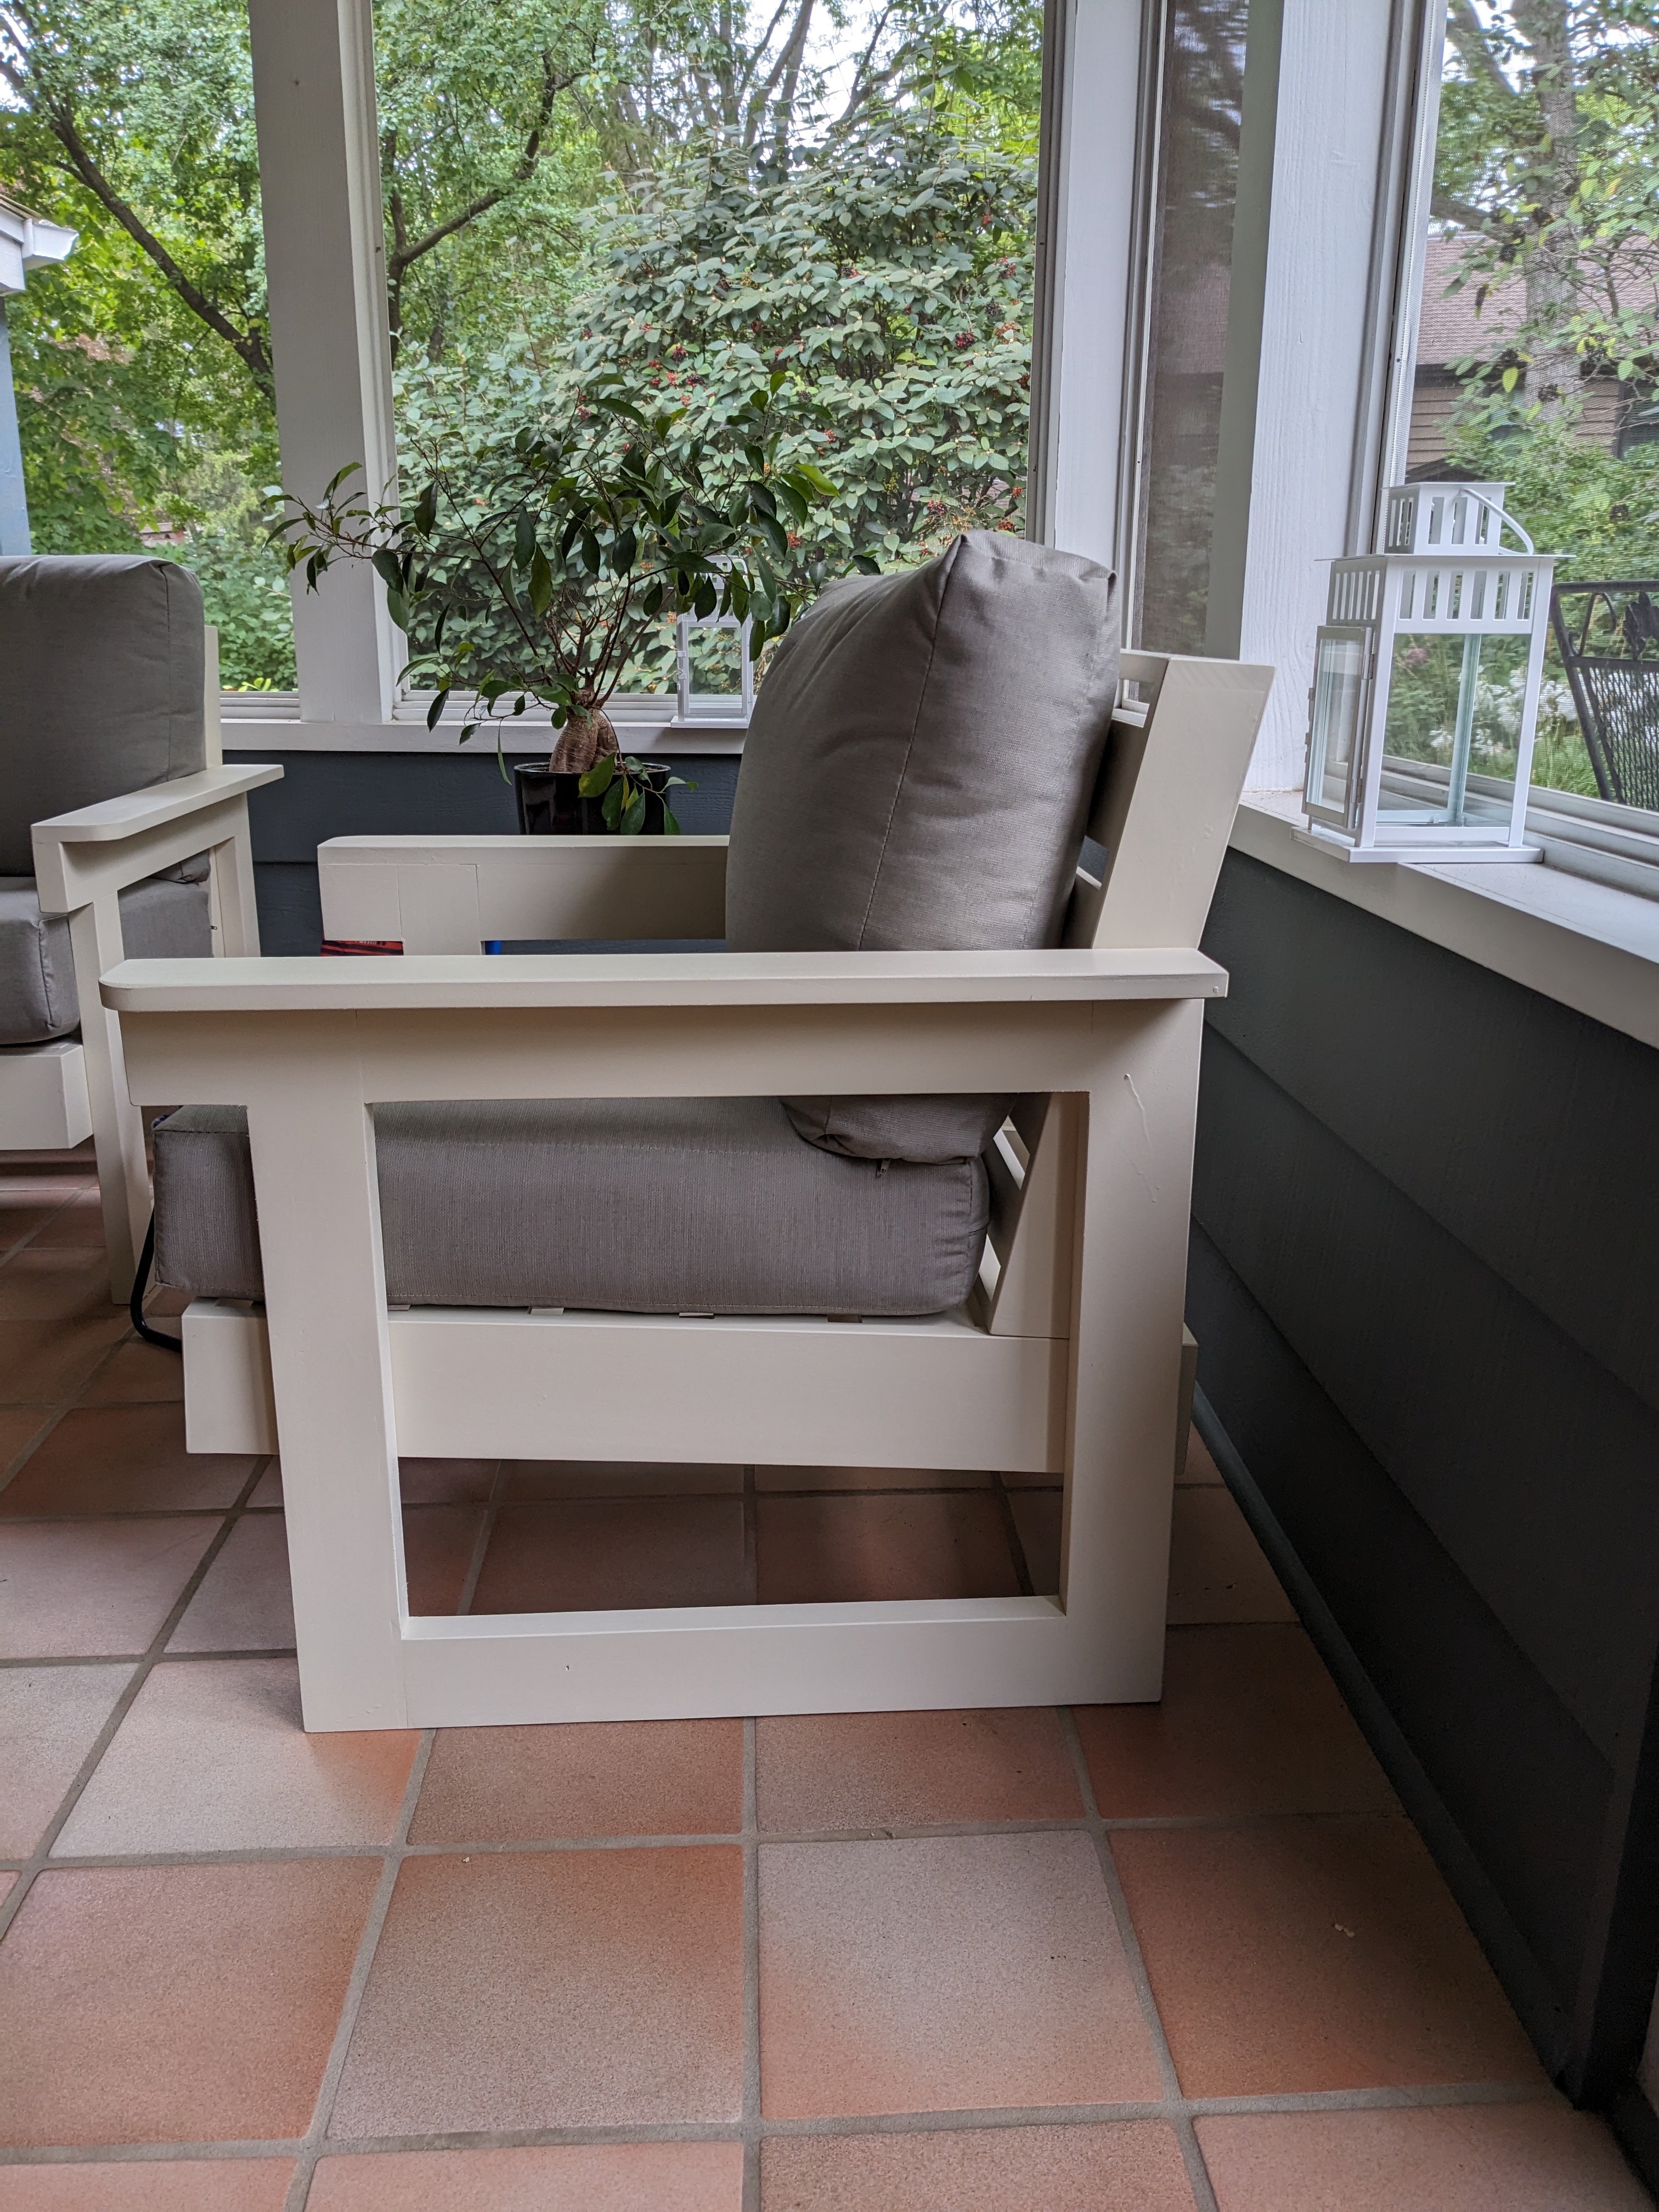
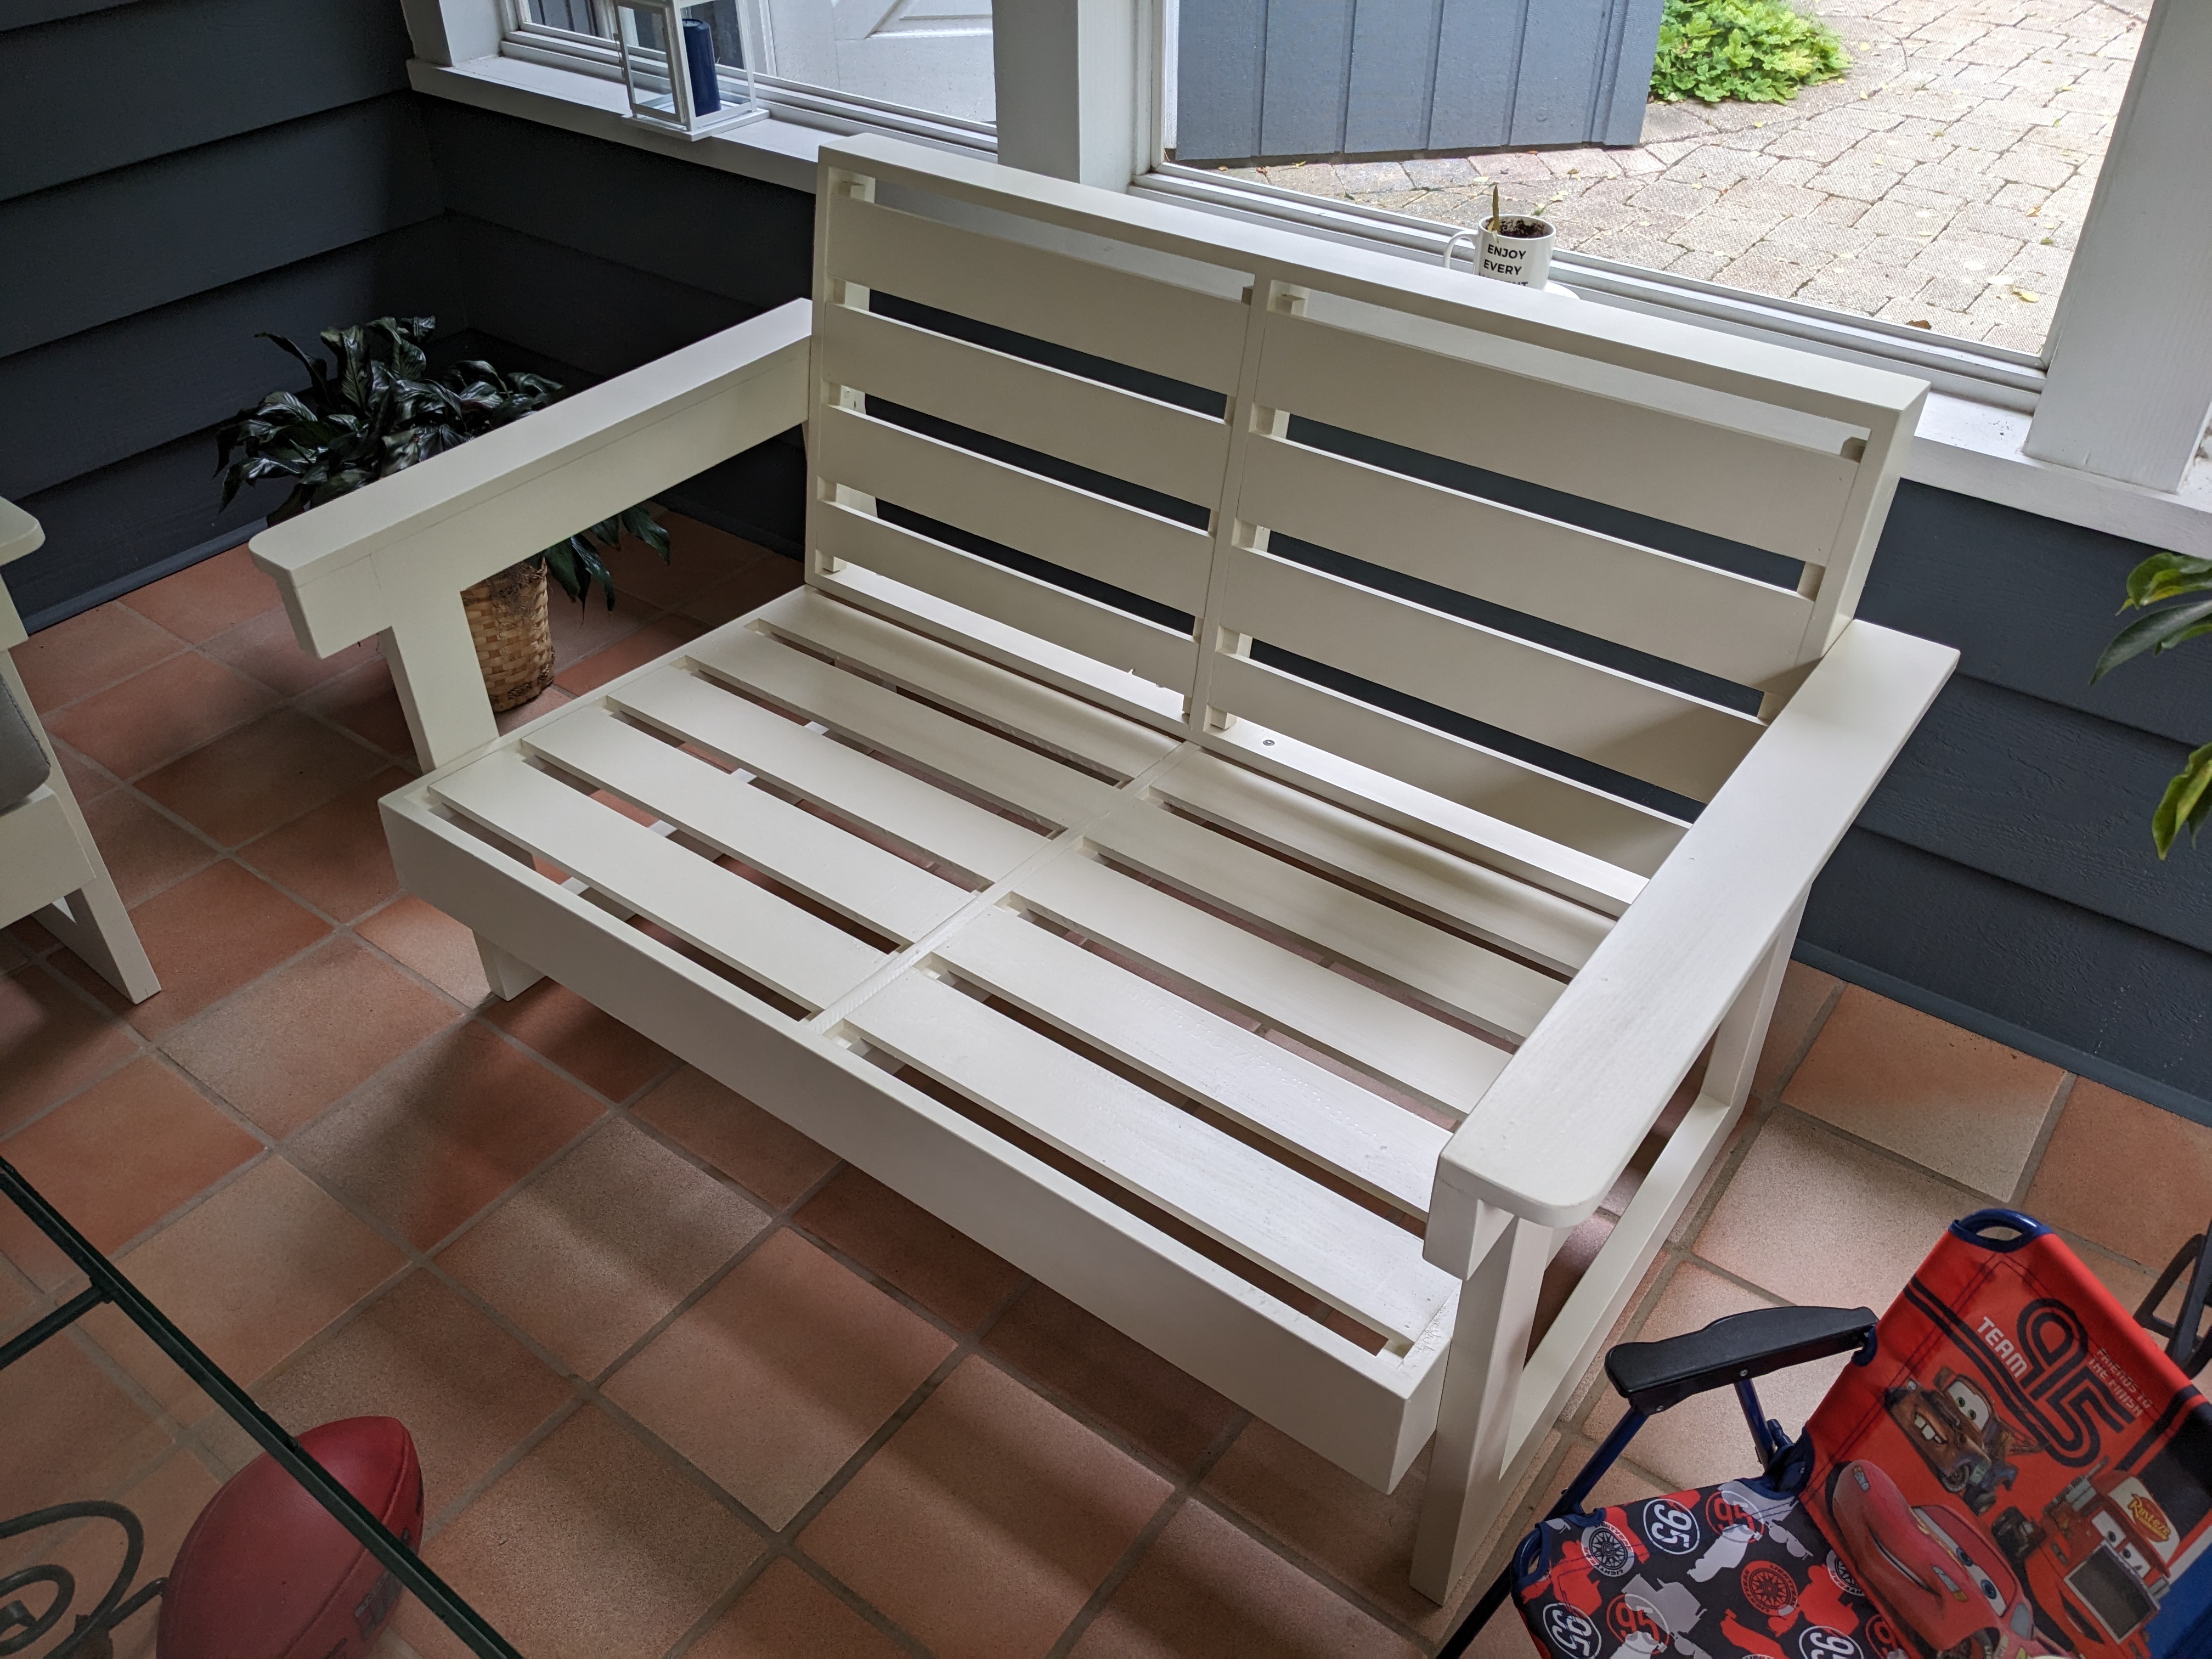
- Added armrests to the top of the legs
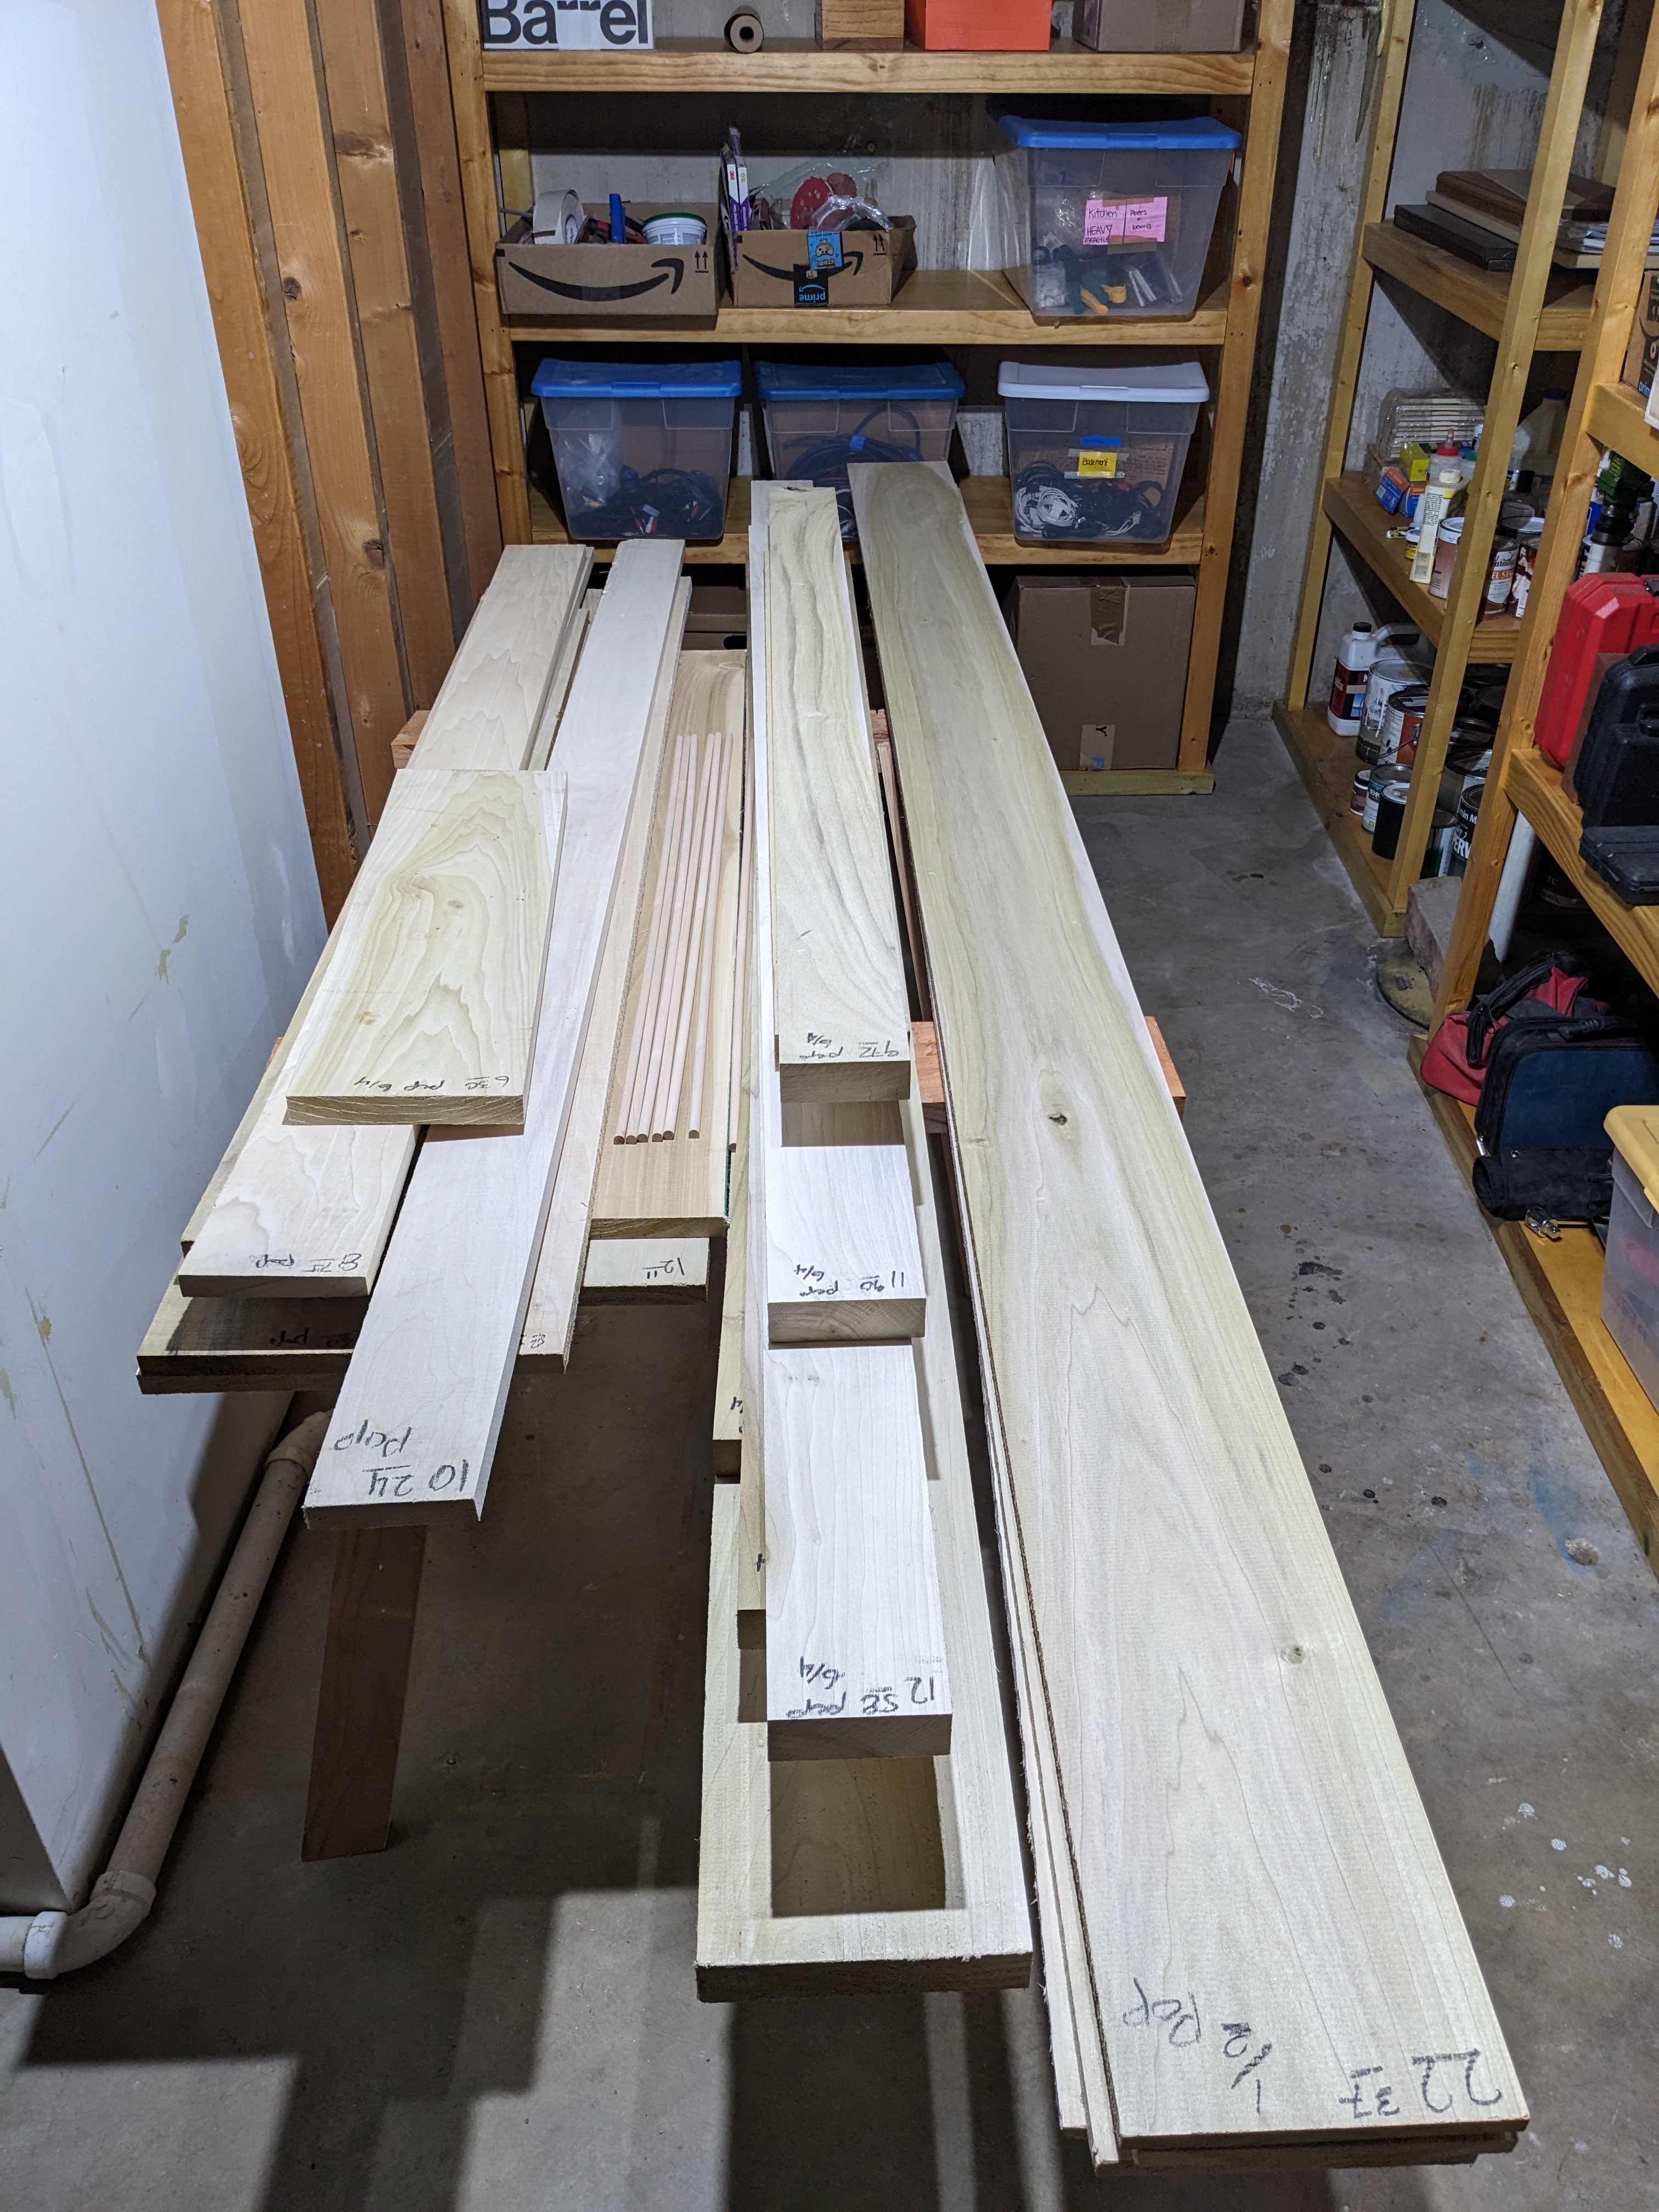
- Used 6/4, 4/4, 1/2 poplar instead of 2x4 material. Spent ~$350 on the wood.
- Slight adjustment on the leg geometry.
- Used 1/4 20 threaded inserts and bolts to attach the legs instead of screws. Hardwear was probably ~$20.
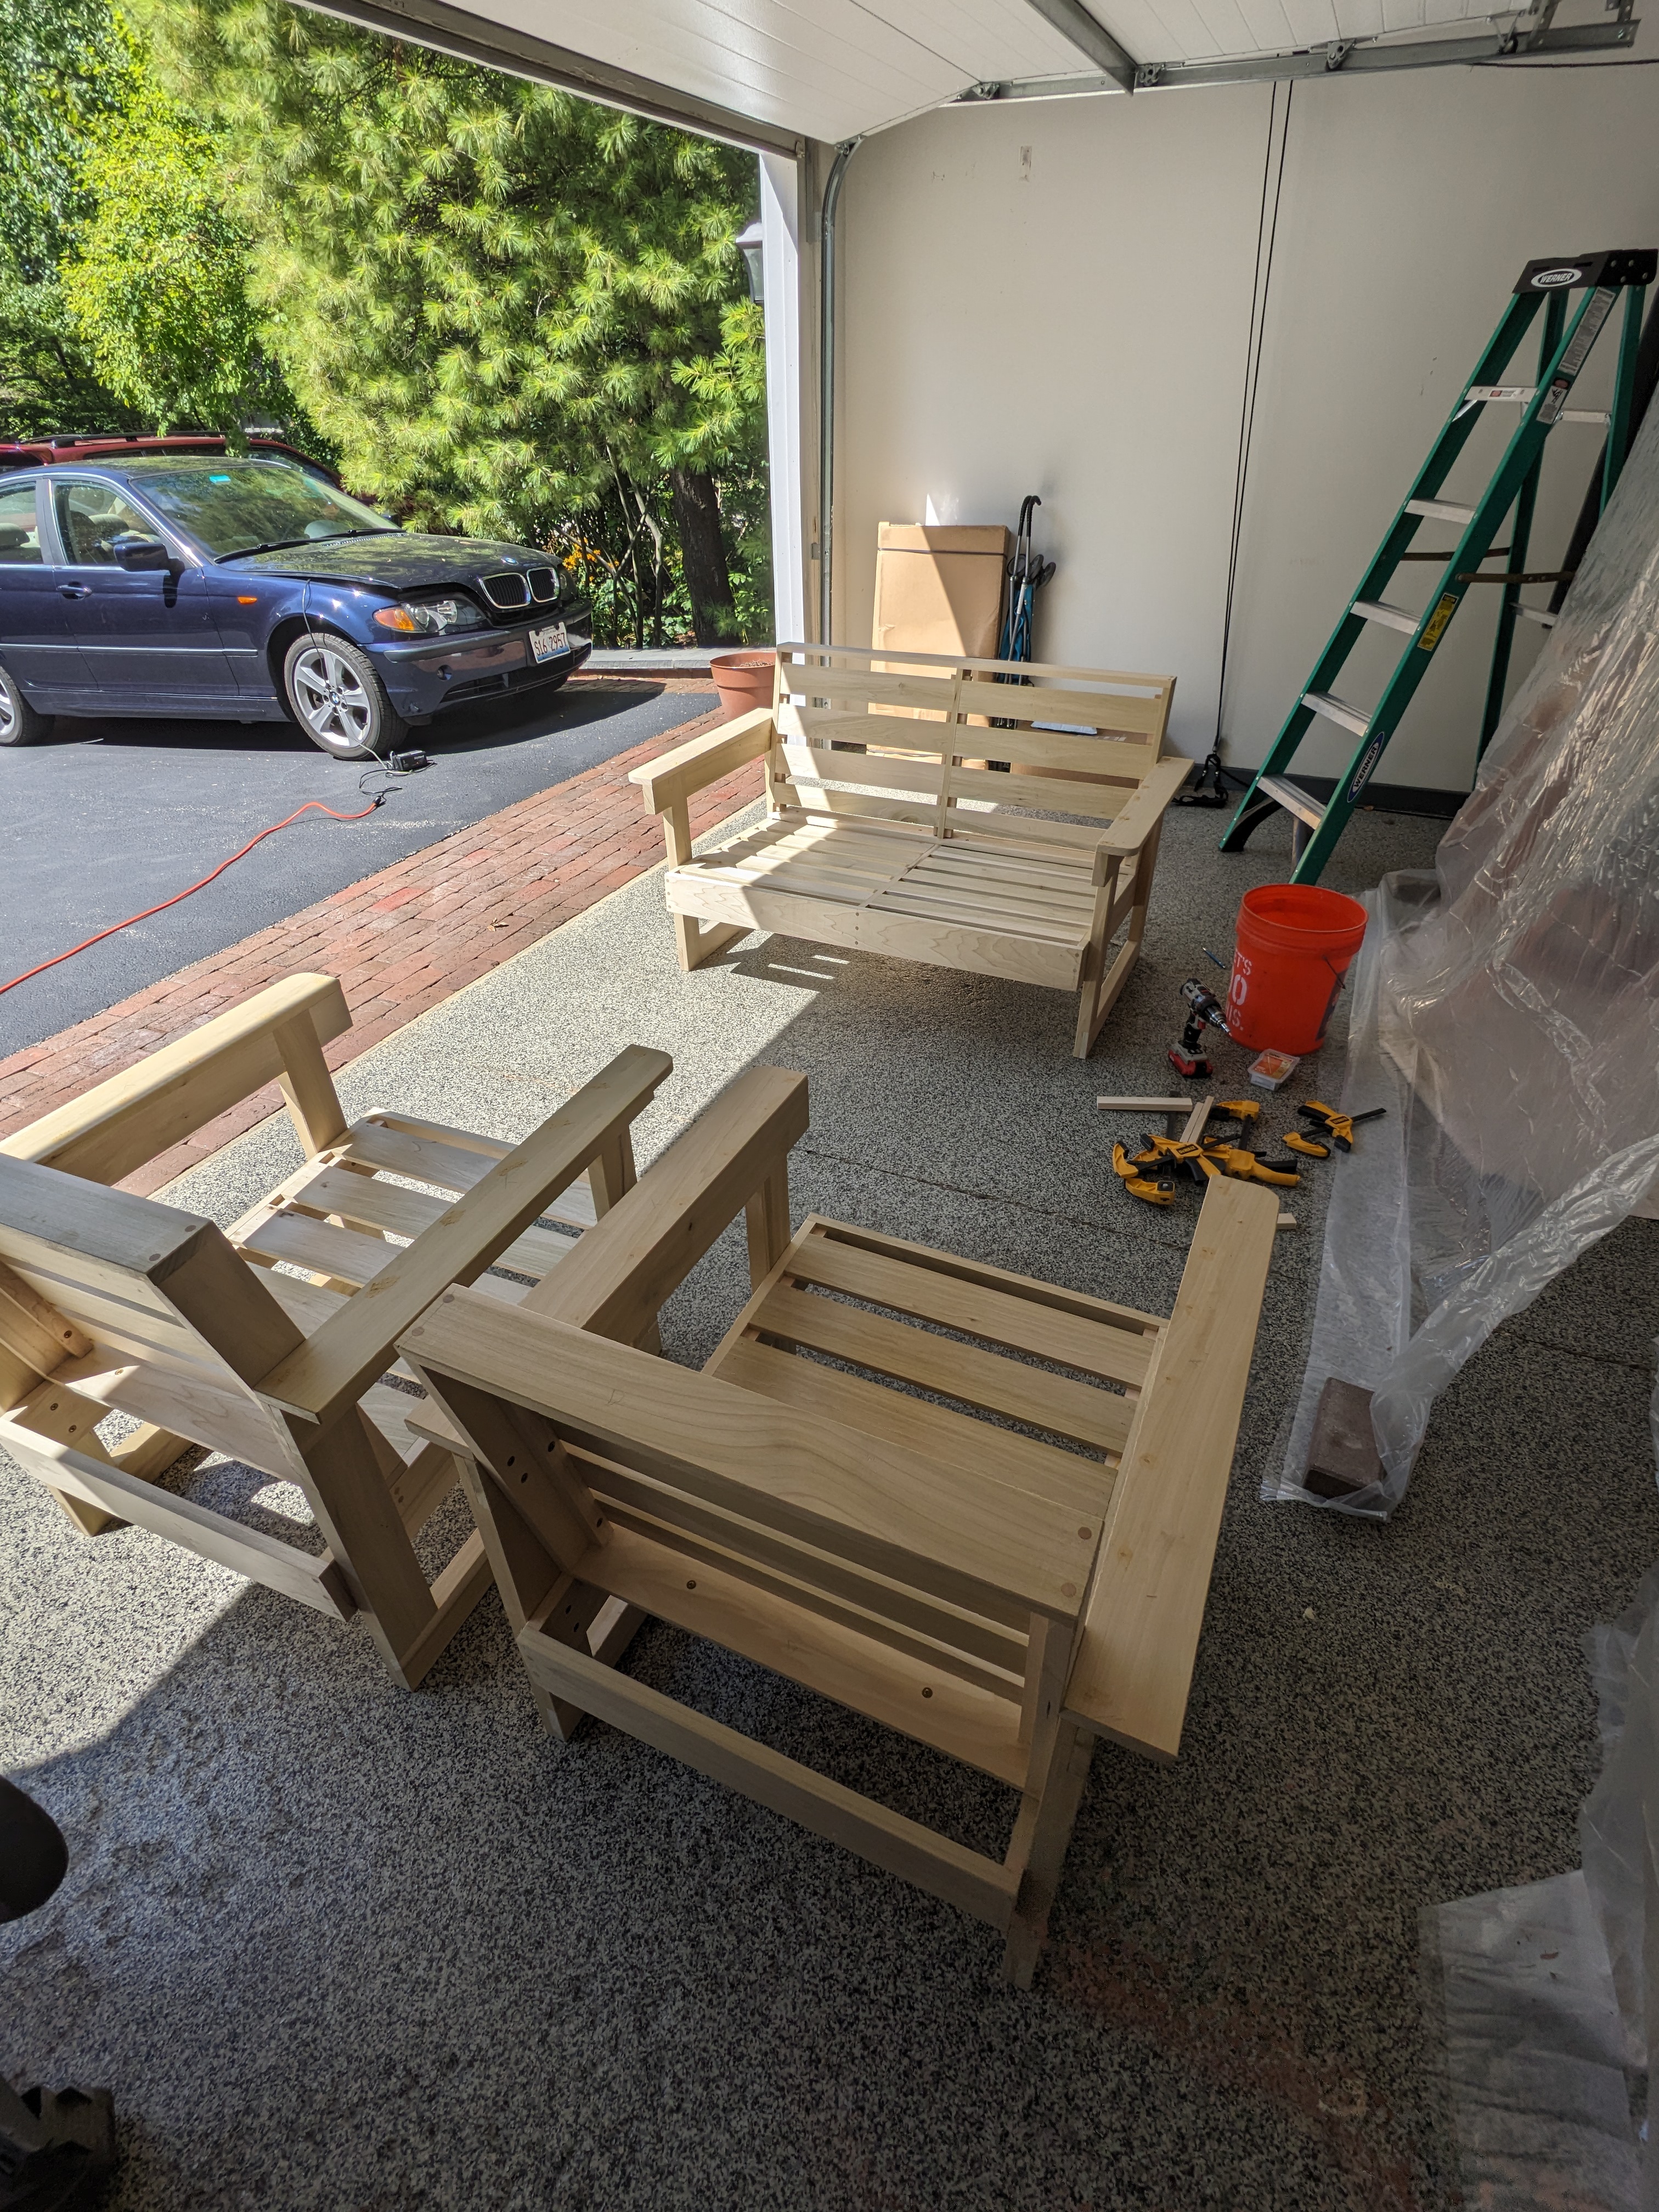
- Spray 5 coats dutch boy premium cabinet paint. Used almost exactly 1 gallon at $57. The room is exposed to humidity, but has fairly good protection from rain and almost no sun reaches it. Planning on covering the chairs in the winter. Hoping the paint holds up.
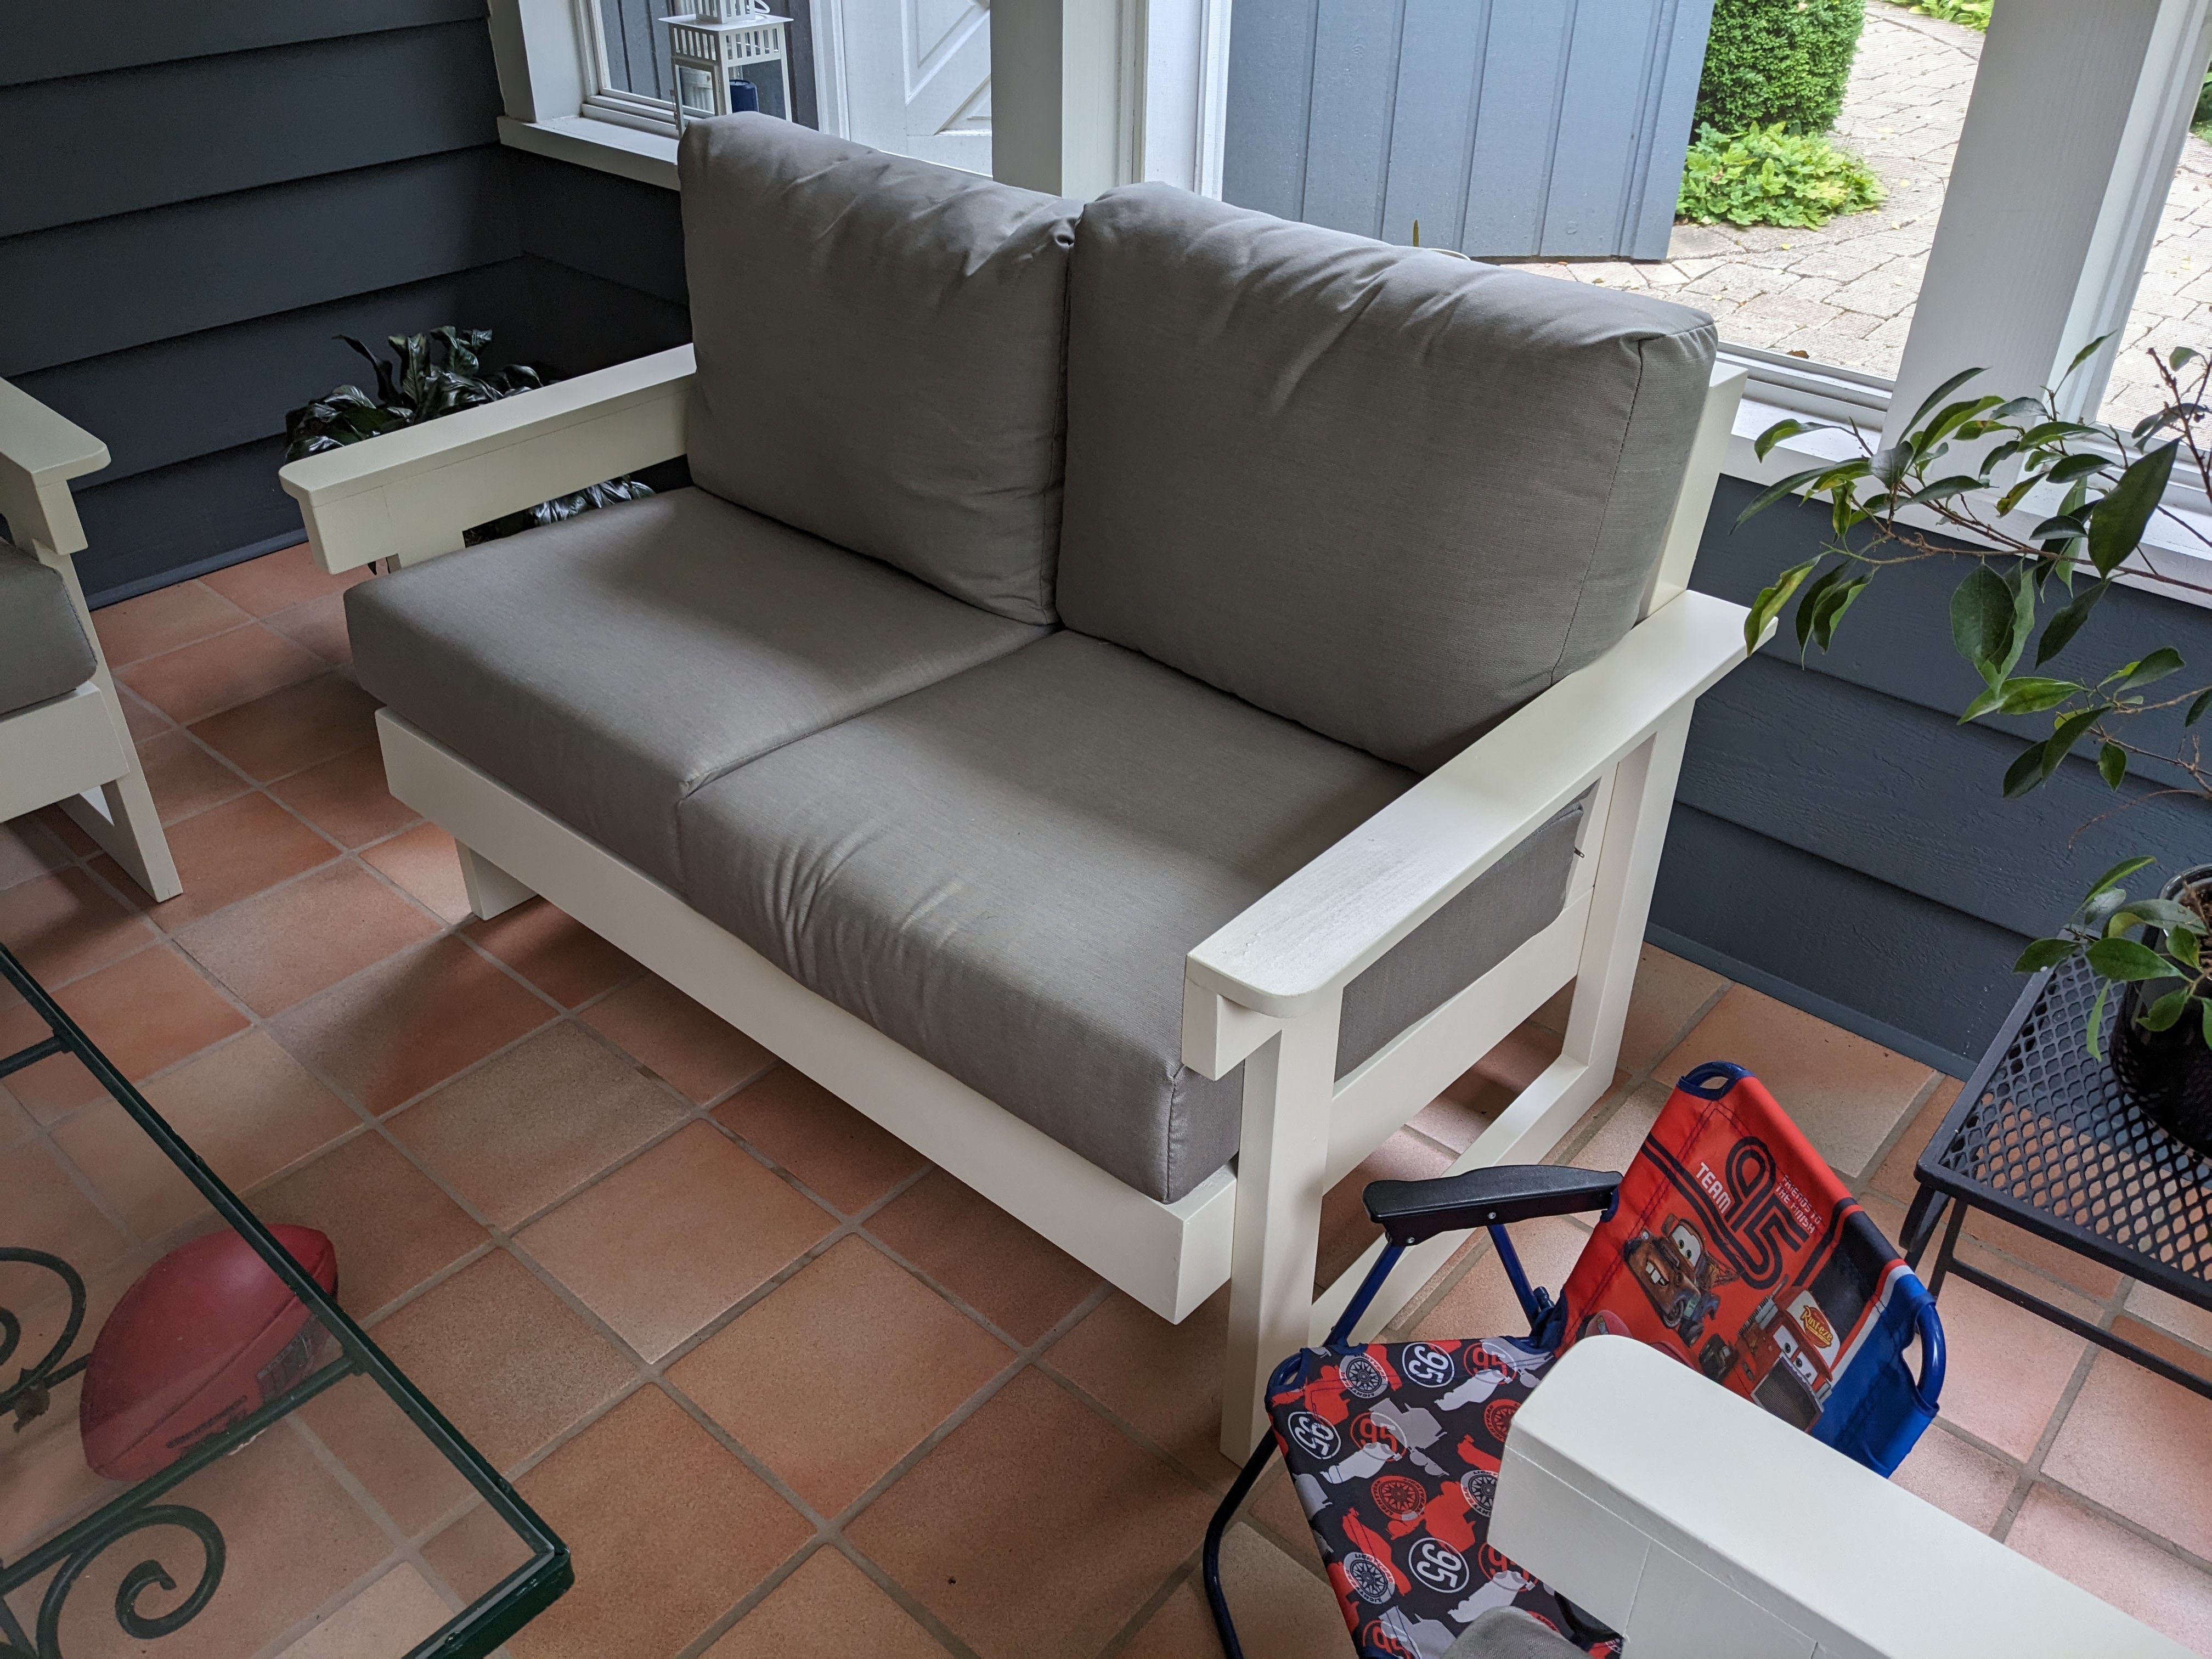
- Purchased cushions for ~$500. They are ~5” thick, appear to be firm and of decent quality, and are covered with sunbrella fabric.
- Spent ~$950 all in I think.
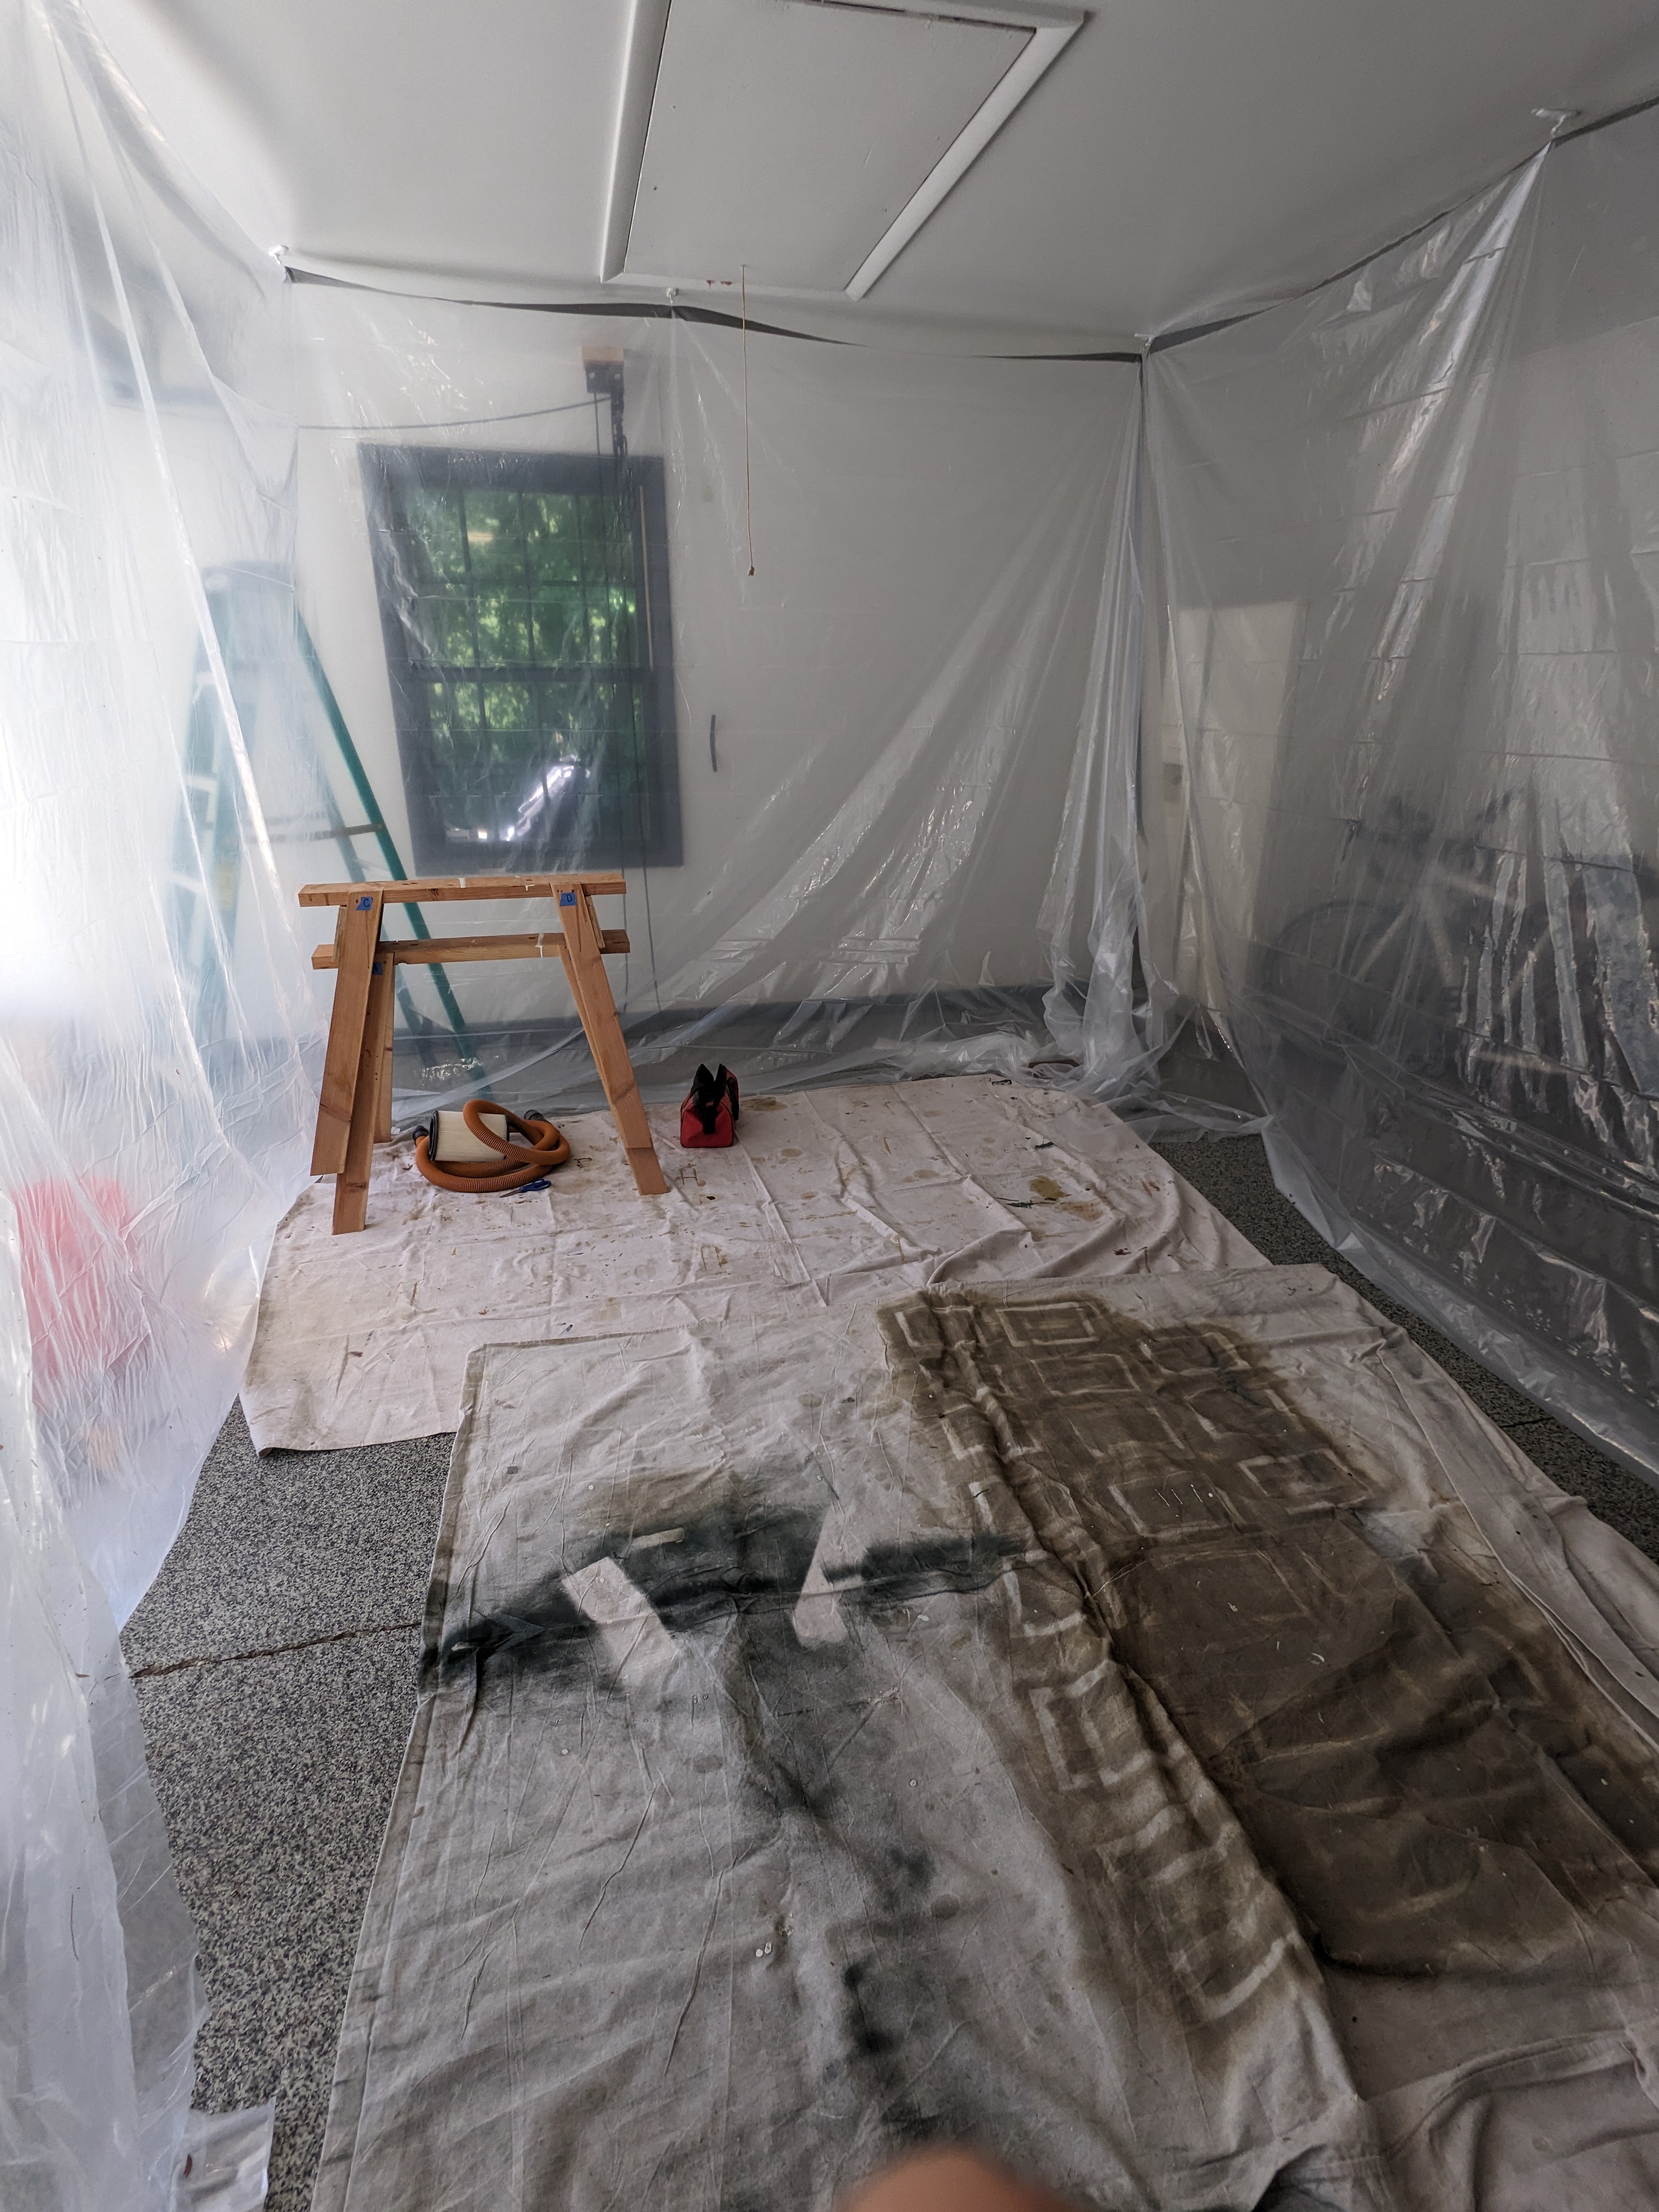
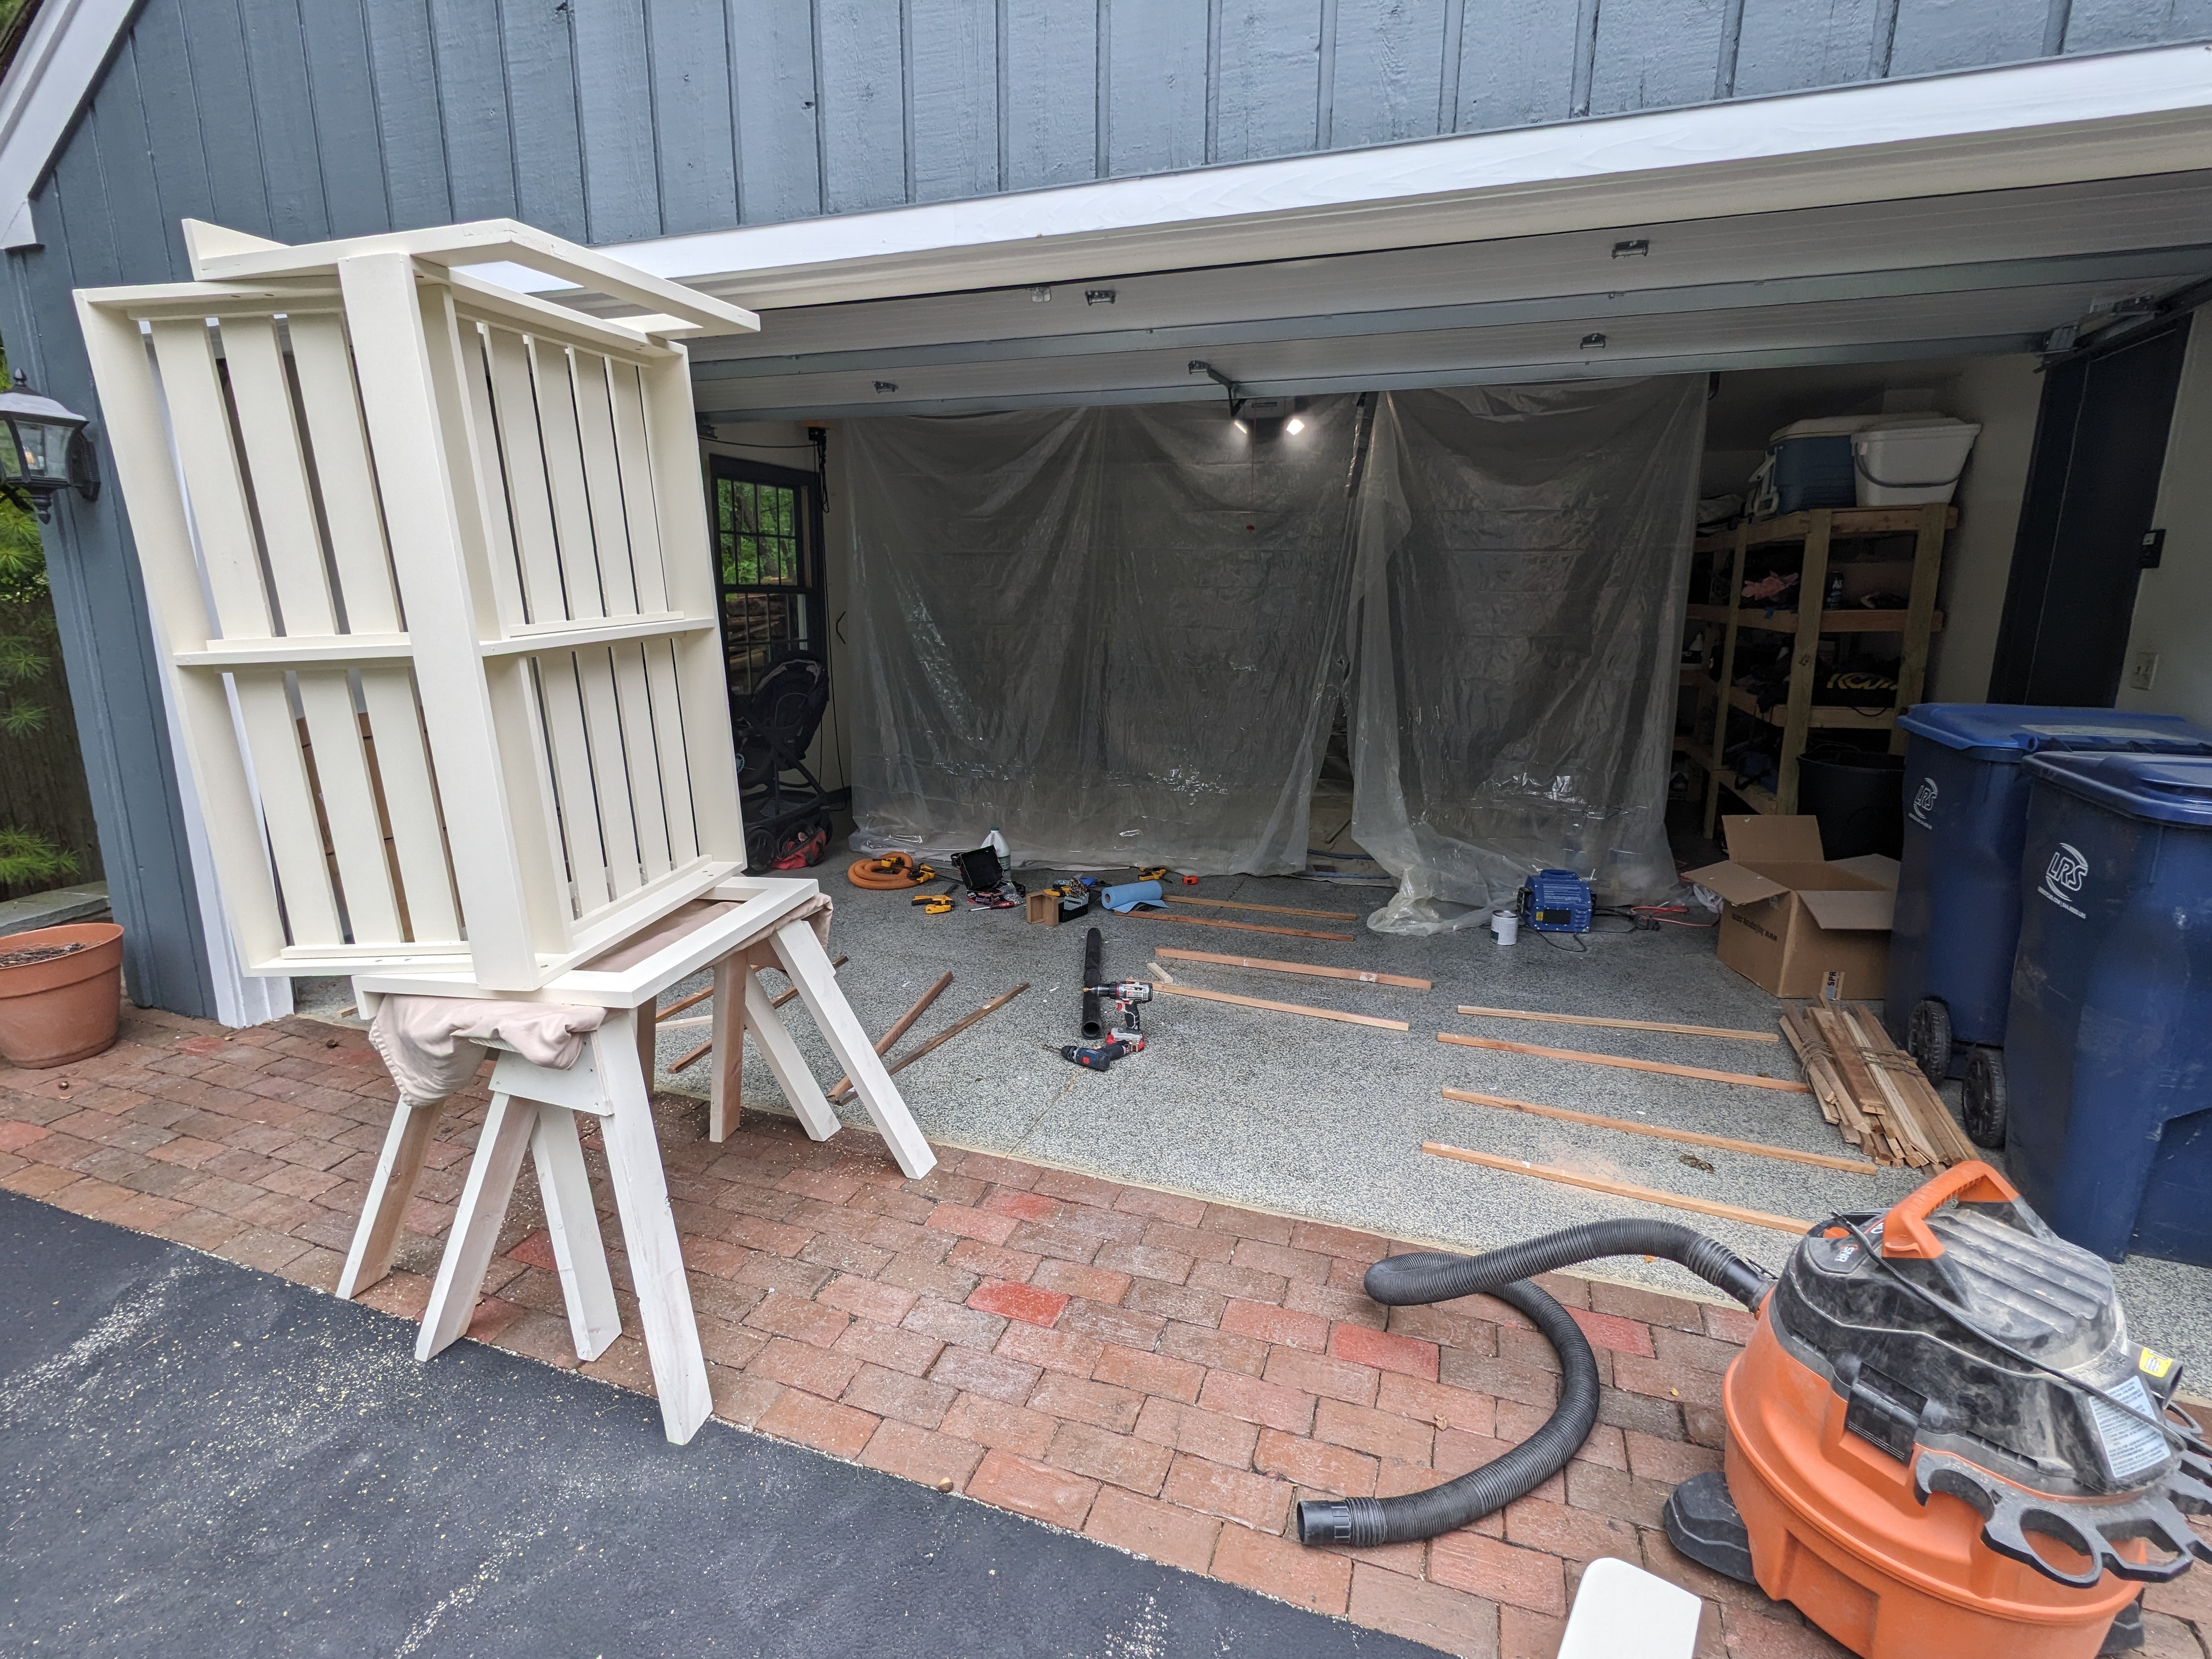
This was my first time using the Fuji mini-mite 3 HVLP sprayer my dad and I purchased a few years back. I setup a paint tent in the garage and got to work climbing the learning curve. Lessons include: batch setup parts to minimize time moving, leave a face unpainted for drying, thin coats, consistent controlled motion, paint from a comfortable position, have a comfortable cleanup station ready.
Went from a miserable 4 hours setting up / executing / cleanup for the first coat to a not-so-bad 1.25 hours by the 5th coat. With spraying, the majority of time is spent in setup and tear down. I do think it ultimately goes faster, especially with tight spots which are hard to reach with a brush. Will be doing more spraying in the future.
Gallery