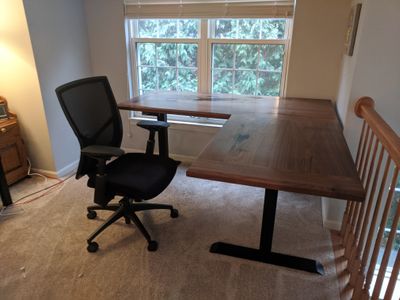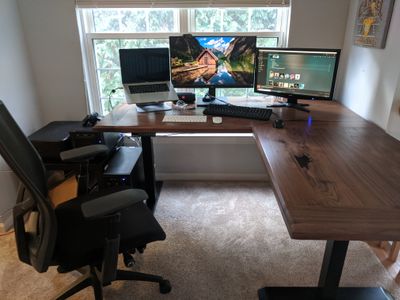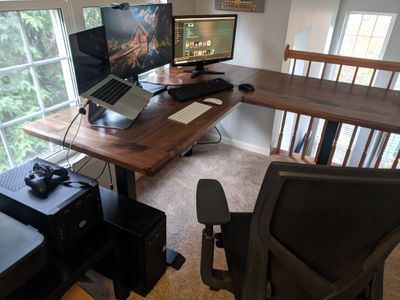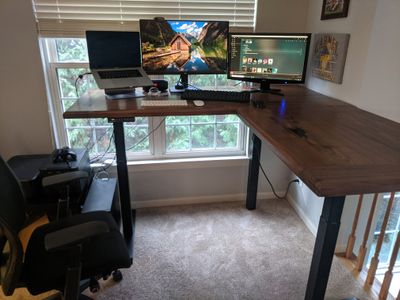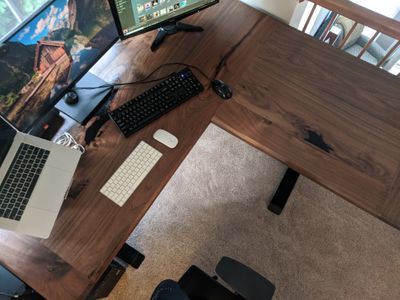
My working arrangement recently became permanently remote, and my old desk just wasn’t cutting it anymore. The desk’s surface was small and cluttered, its clumsy finish was becoming increasingly hard to look at, and its fixed height was not particularly ergonomic. It was time to invest in my home office setup, and build a better desk.
The previous office I worked at provided standing desks for everyone, and even though I only used the standing feature maybe 15% of the time, it was great to have the option. Also, the ability to make micro adjustments to the sitting height was super convenient. My brother gave me a tip that a company called Autonomous makes solid standing desks. Some research revealed that they also sell hardware kits, and I ended up purchasing an L-Shaped frame for ~$500. A bit expensive for my taste, but quality stuff isn’t cheap.
Side note, if you use this referral link to purchase from Autonomous, you’ll get a small discount, and I’ll earn a small amount of money: click here for referral link
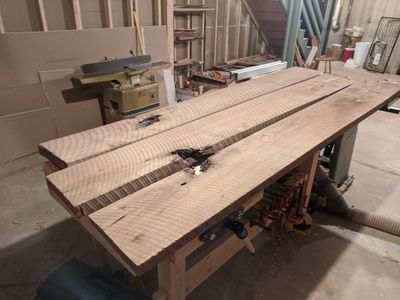
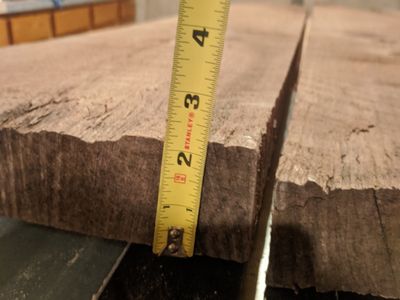
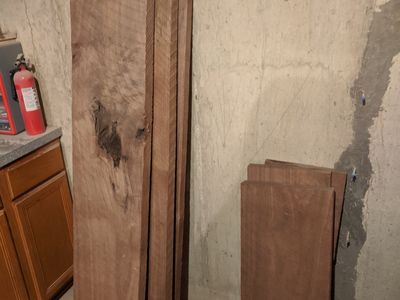
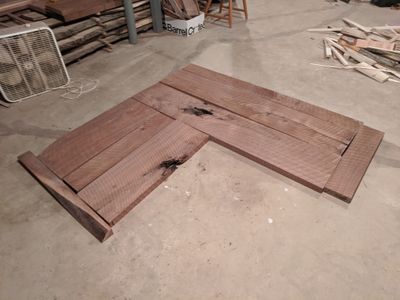
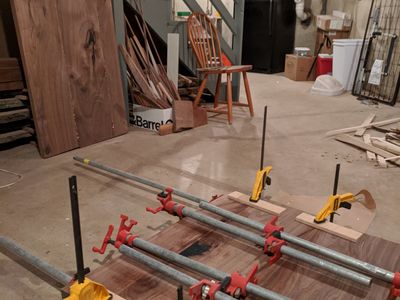
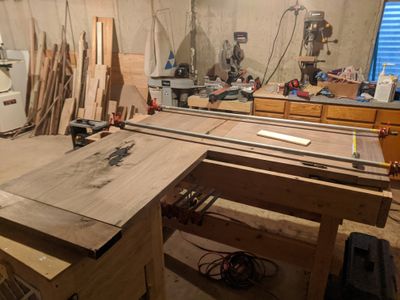
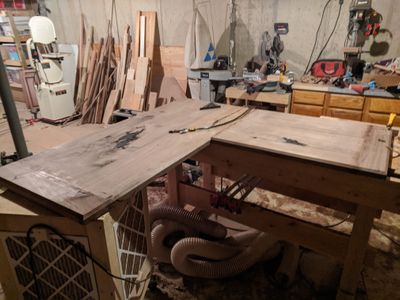
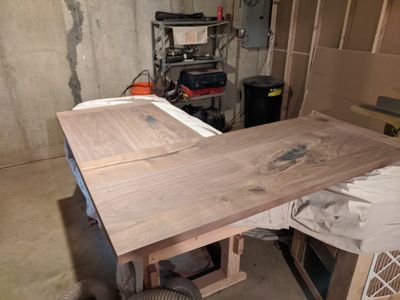
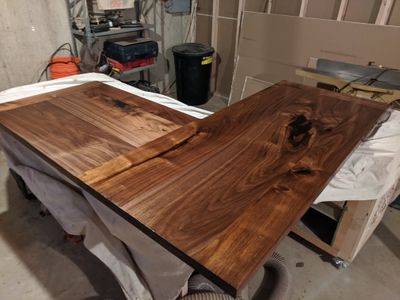
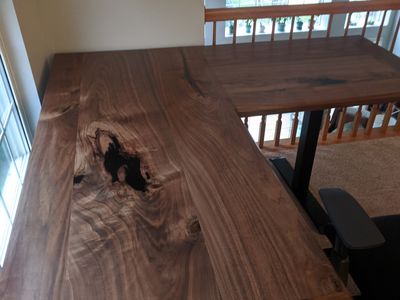
So I purchased a standing desk frame, and all I needed to build was a desk top. I built the top using some walnut I purchased a few years back. I used three boards (each roughly 96” long, 12” wide, and 1.7-2.2” thick) to make an L-Shaped desk top approximately 66” long on each side, 28” deep, and 1.5” thick. The top consists of a short panel that butts into a longer one, with breadboard ends on each. I glued up the boards on edge using biscuits for alignment, and used floating tenon joinery to connect the breadboard ends, as well as to join the two panels together.
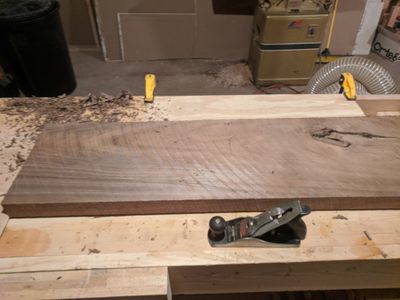
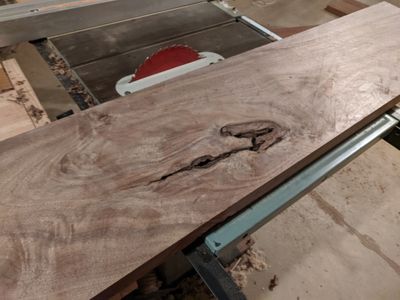
The lumber I used was rough sawn, and the boards had distorted a fair amount in the drying process. My shop’s jointer only has a 6” capacity, and as I mentioned the boards were ~12” wide. This meant that I had to either rip the boards in half before jointing, or hand flatten one side the old-fashioned way via hand planes. I decided to go with the hand plane approach so that I could retain more character in the wide boards, and ended up spending a full day flattening just one side of all the material. Afterwards, I proceeded with the rest of the milling process normally: plane the opposite side parallel, joint one edge so its perpendicular to the faces, and rip the opposite edge parallel on the table saw.
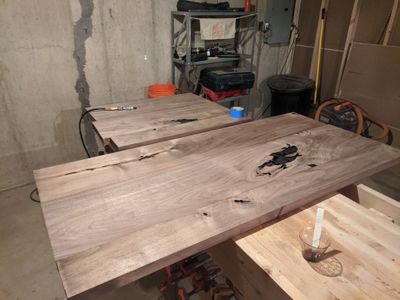
The boards had some pretty significant voids, which I filled with West System Epoxy (per the advice of Matthew Cremona). This was my first time pouring significant amounts of epoxy (~35 oz in total) and while the result was ultimately ok, I could have executed better. I underestimated the amount of heat produced by the exothermic curing reaction, and there were some pretty serious cracks and bubbles as a result. Later research showed that the hardener I used (206 Slow Hardener) should only be poured in thicknesses of ~1/4” at a time, spaced a few hours a part. I was able to fix most of the issues with additional pours, but will definitely adjust my strategy next time.
I also experienced some issues pouring the epoxy into really narrow cracks: even after refilling the cracks at least a dozen times, the crack would suck up all the epoxy once I walked away and remain unfixed. Not sure what the answer to this besides patience and additional pours. I could use a hardener with higher viscosity, but that would likely result in a surface level fix with voids persisting deeper in the material.
After sanding up to 220 grit, I applied 4 coats of Arm-R-Seal Satin Urethene finish, which is my current favorite product for finishing hardwood. Simply wipe it on and lightly sand between coats, and you get a beautiful finish. Finally, I attached the desk top to the frame with threaded inserts and 1/4”-20 machine screws.
I’m really pleased with the result. The look is simple but timeless, and the desk is large enough that I’m unlikely to outgrow it. It should serve me for many decades!
